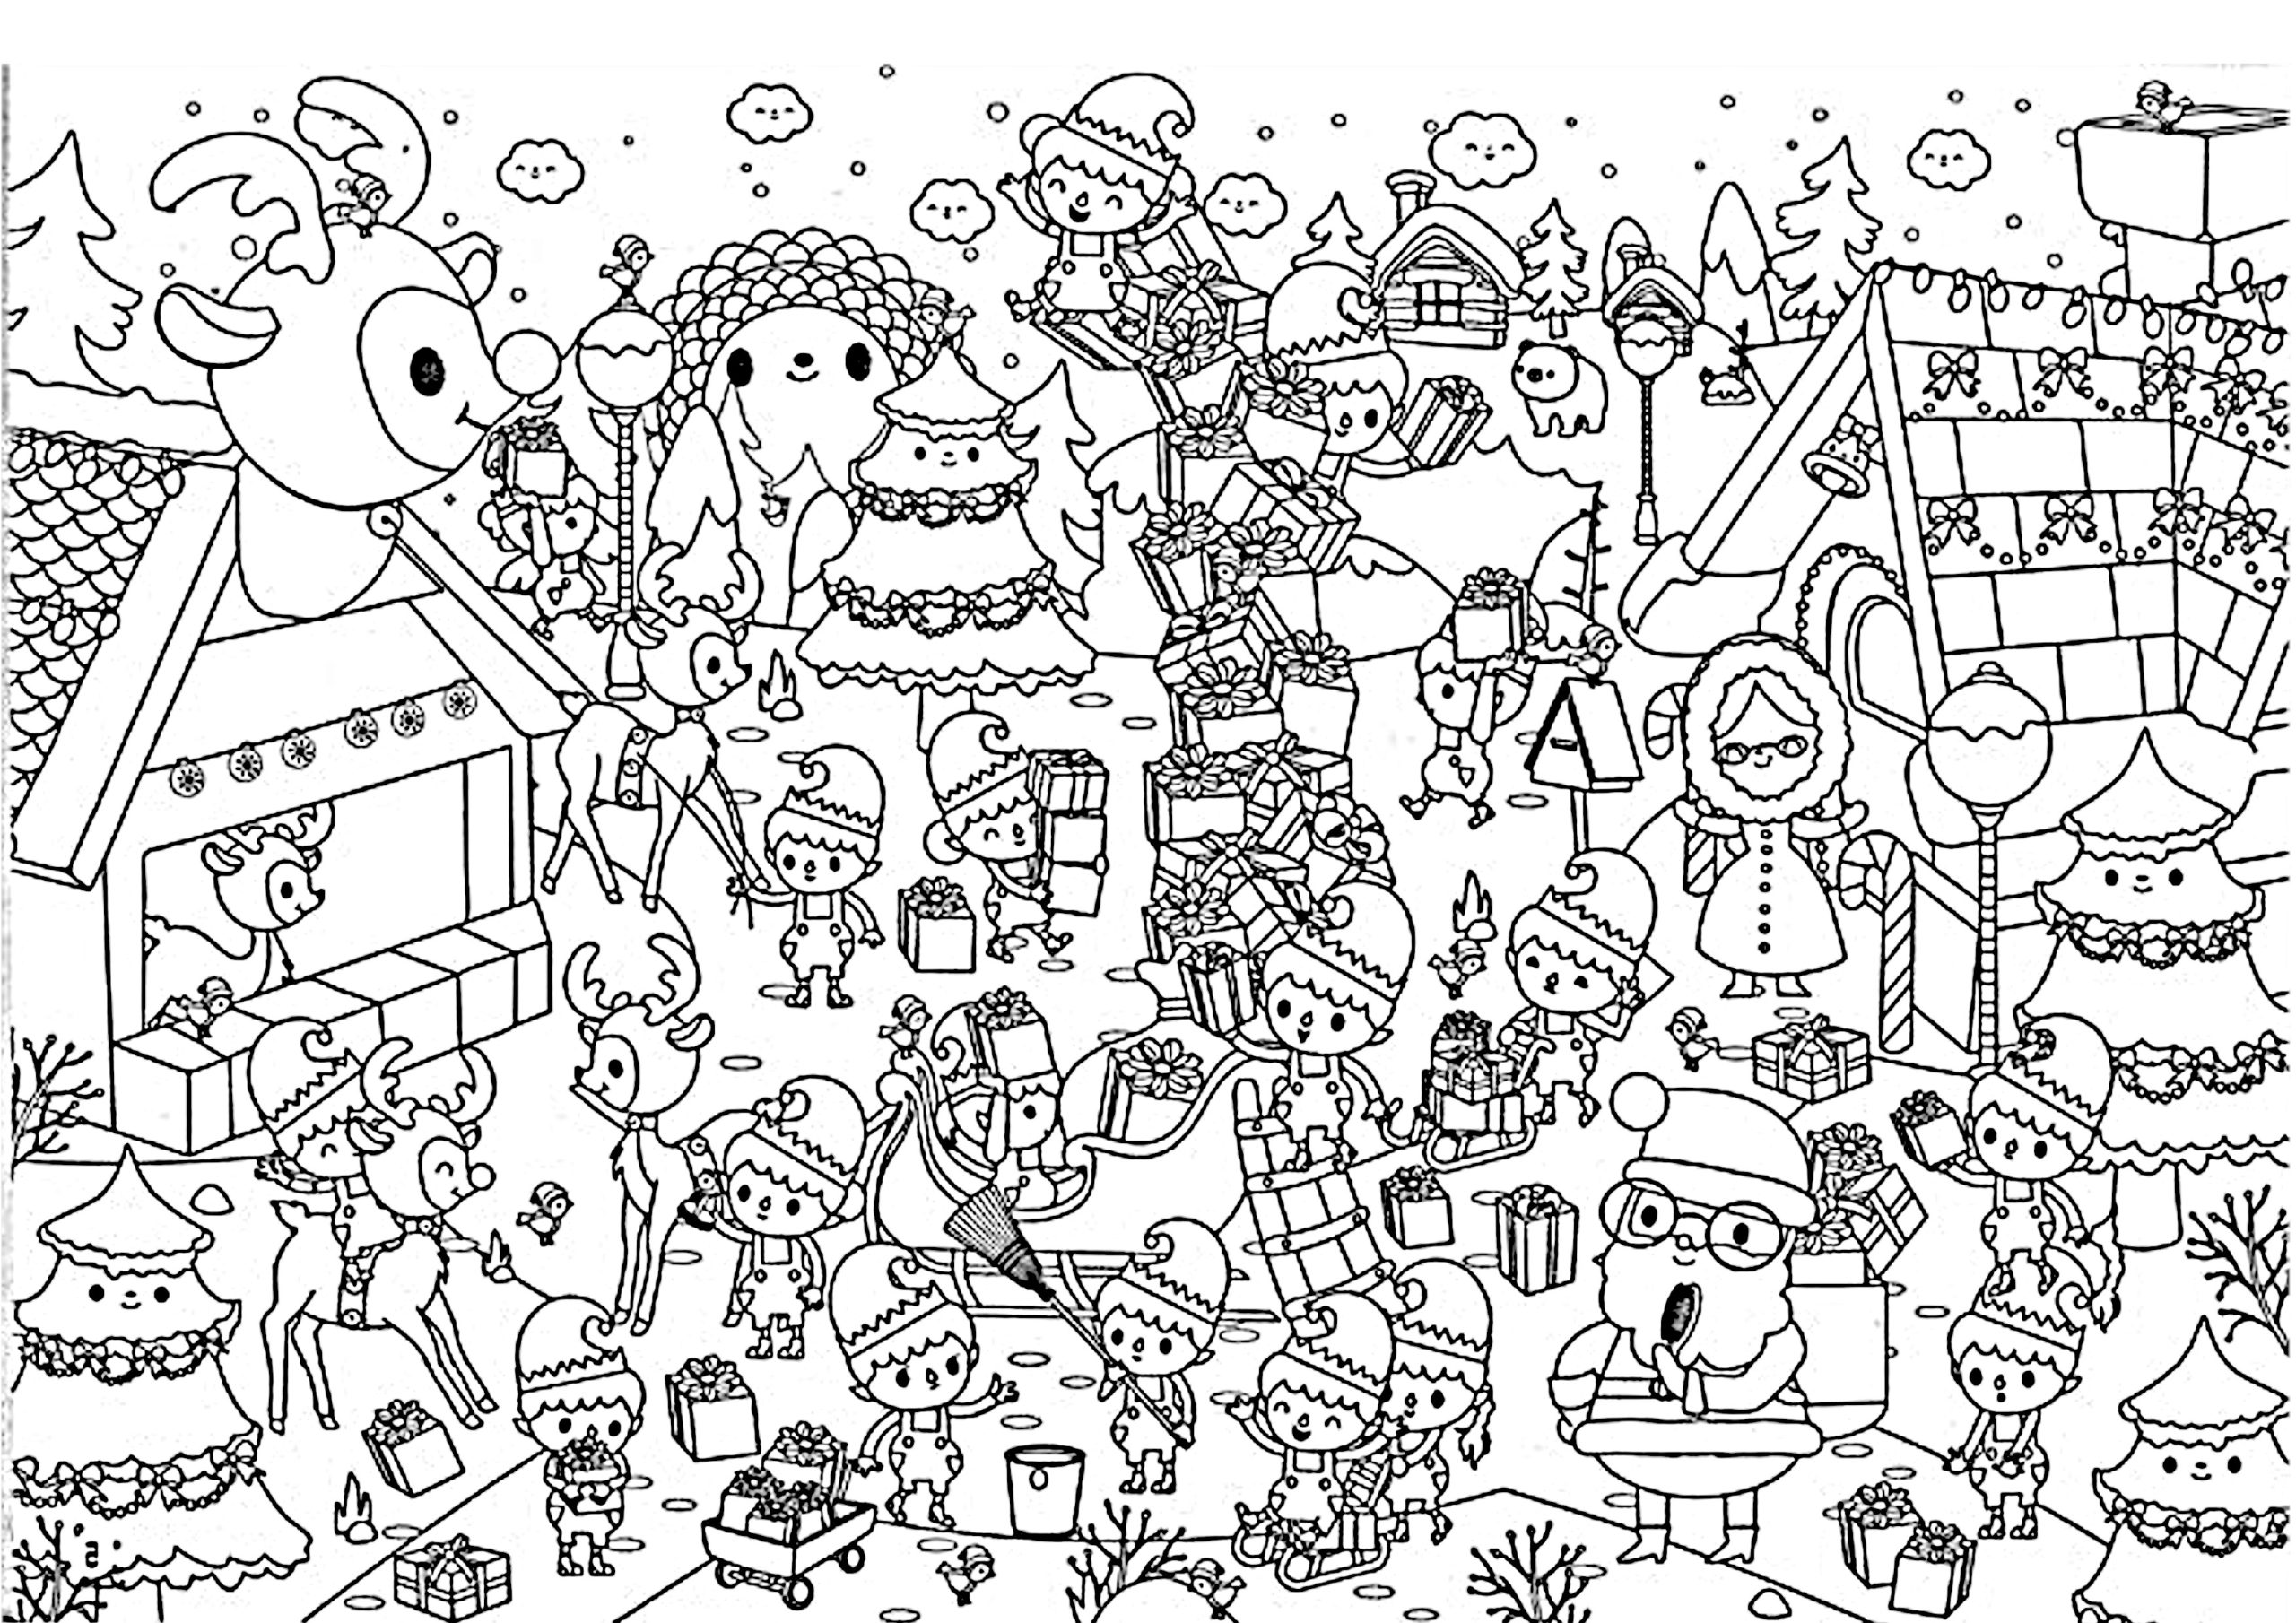
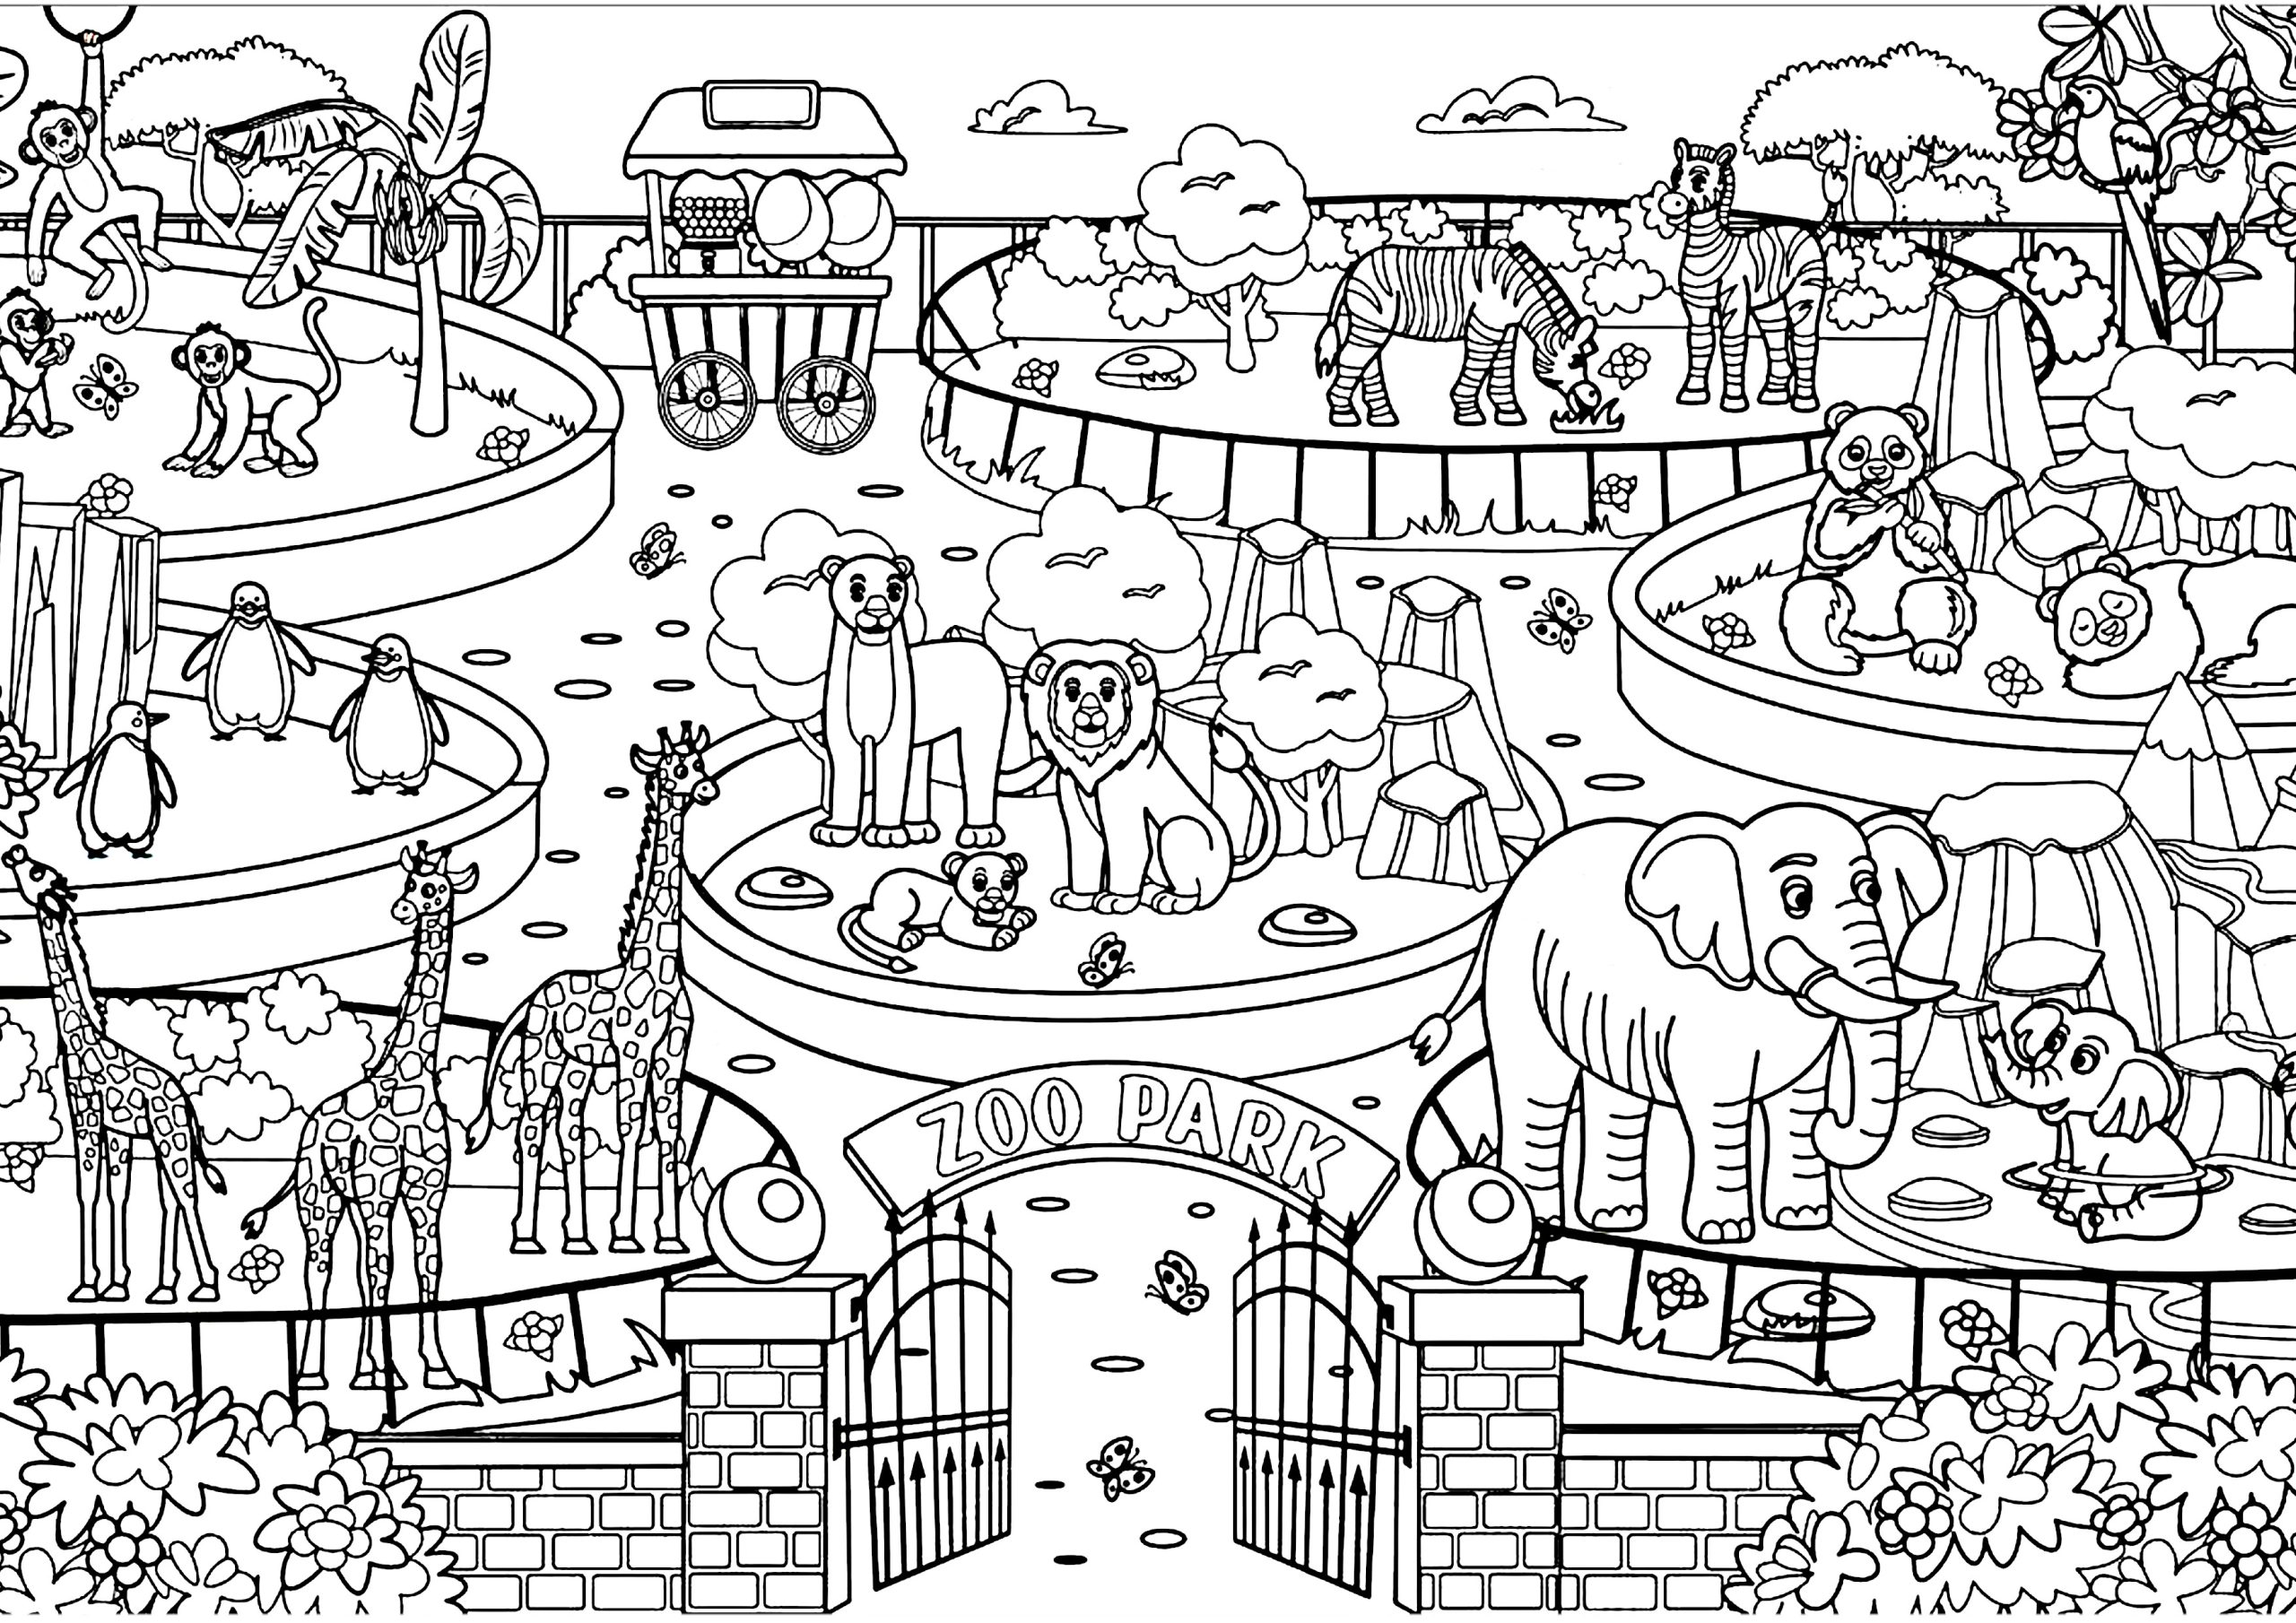
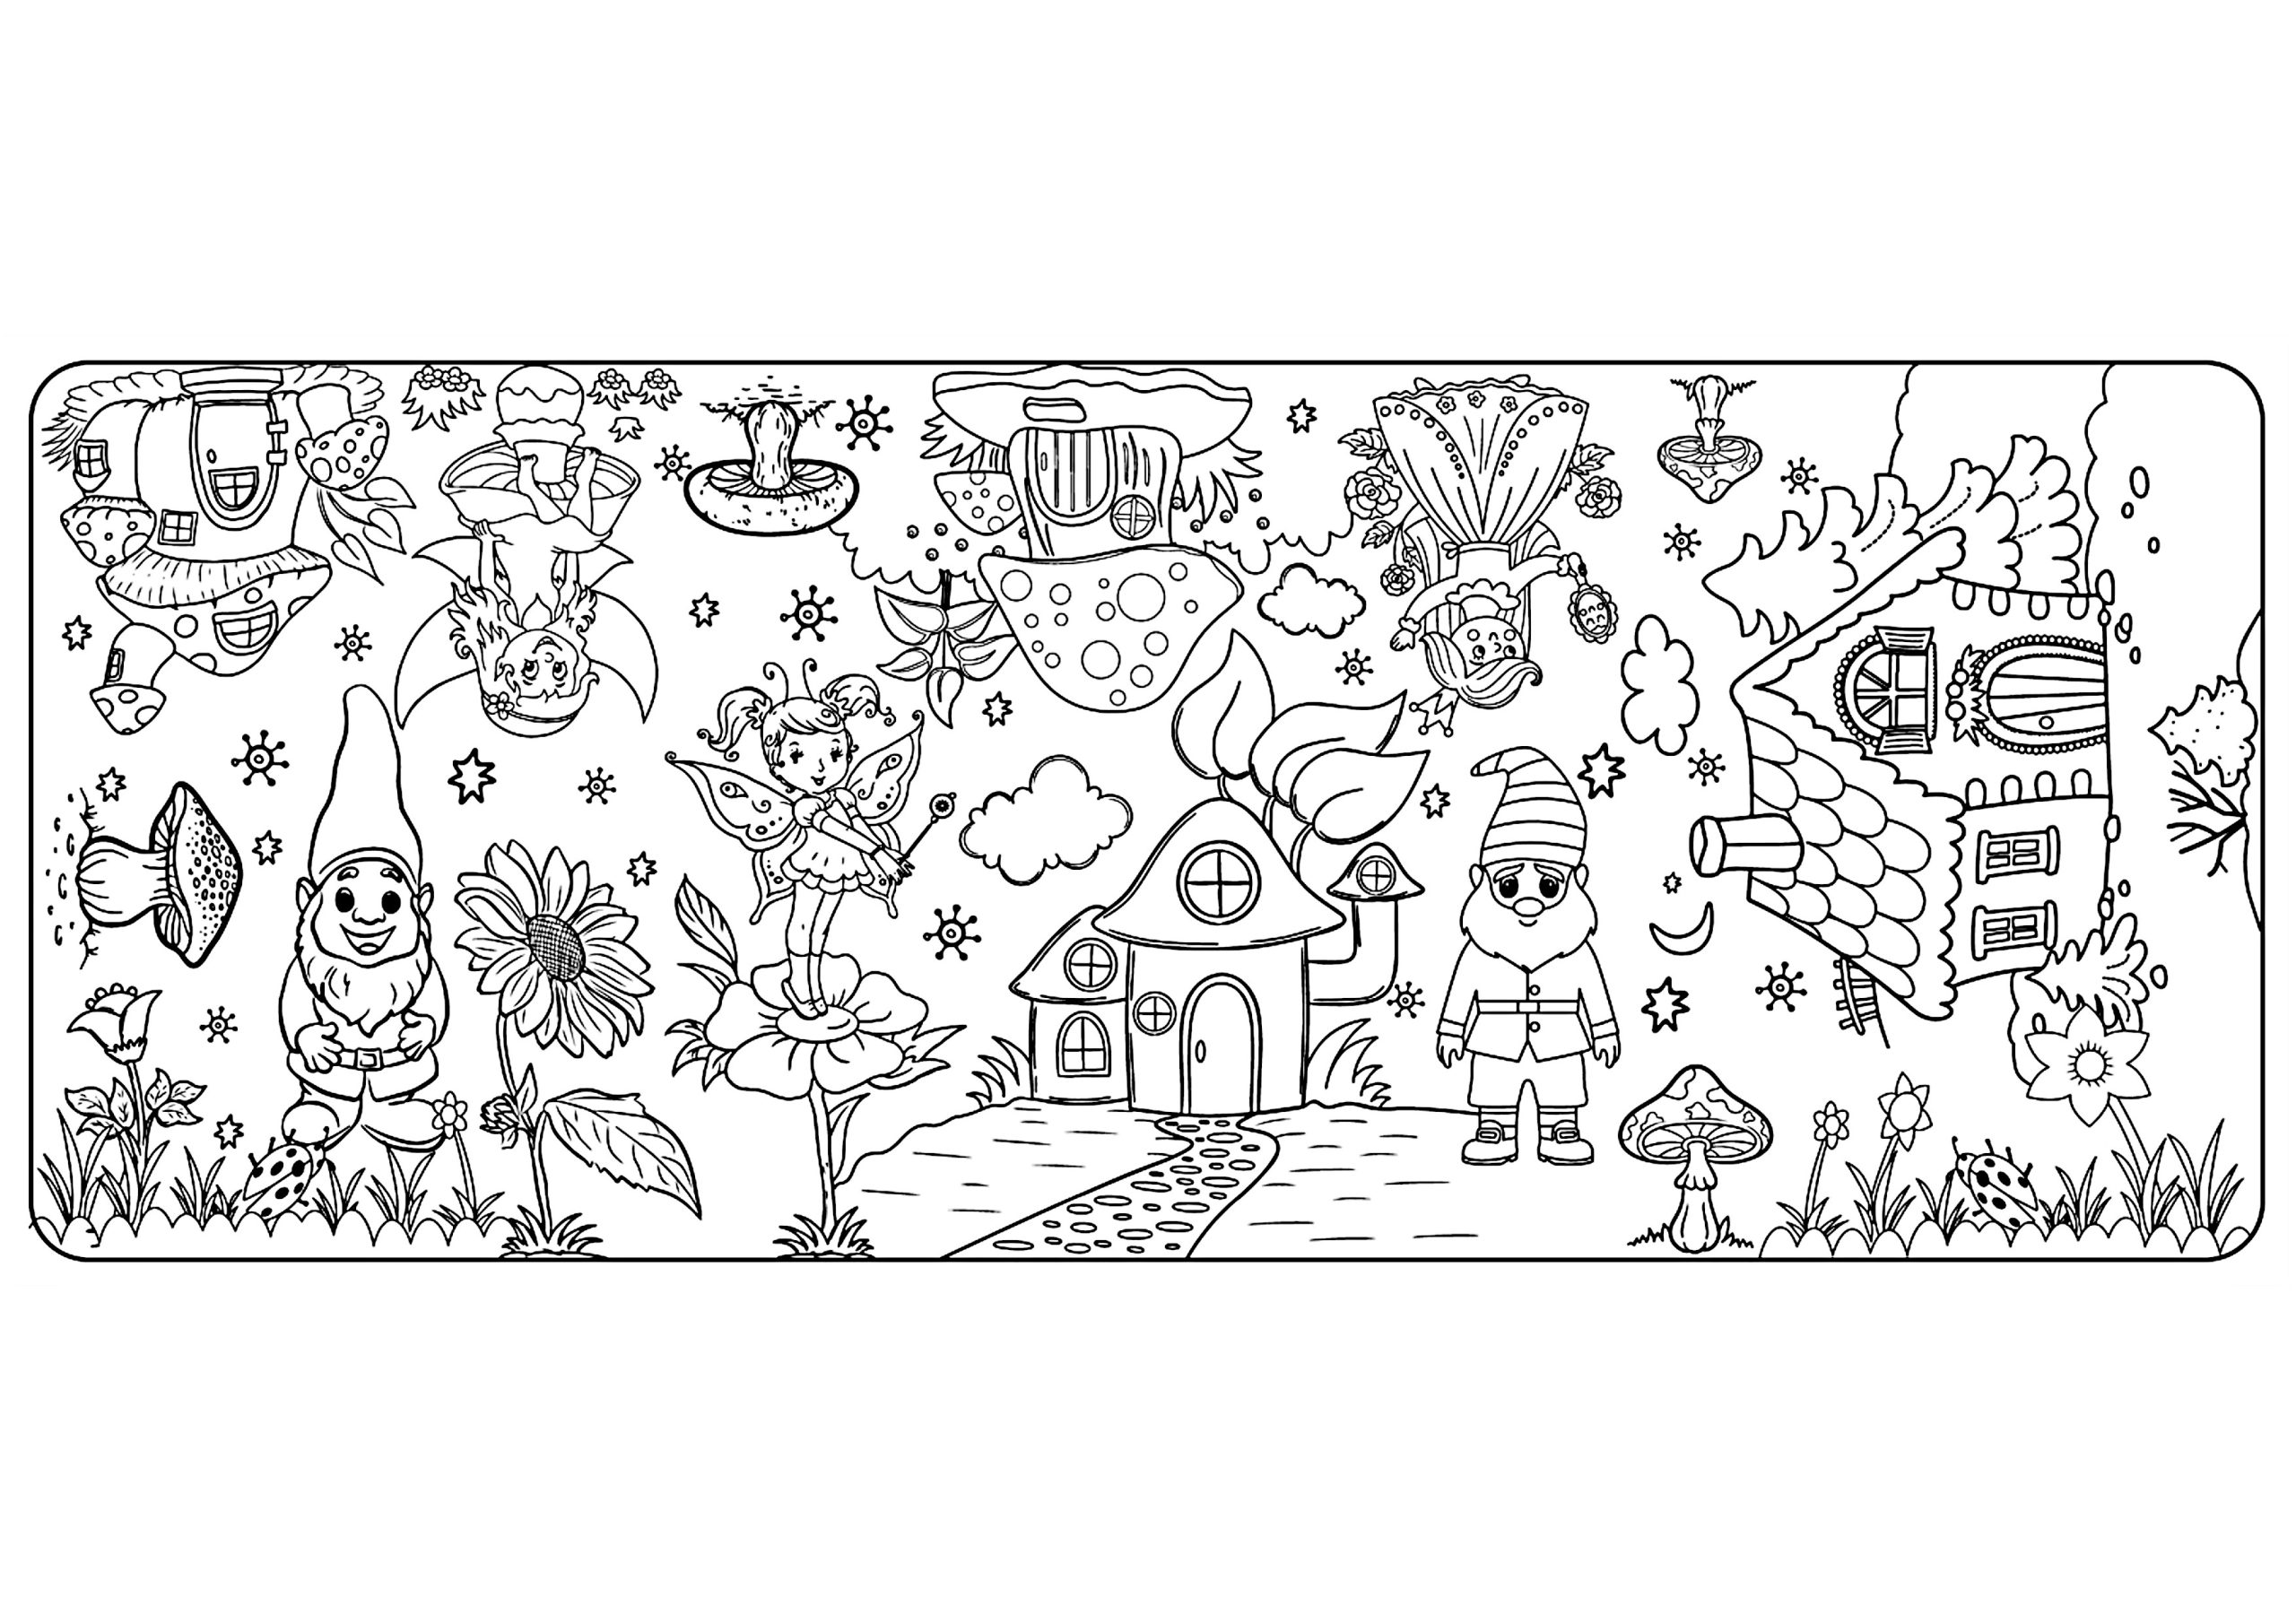
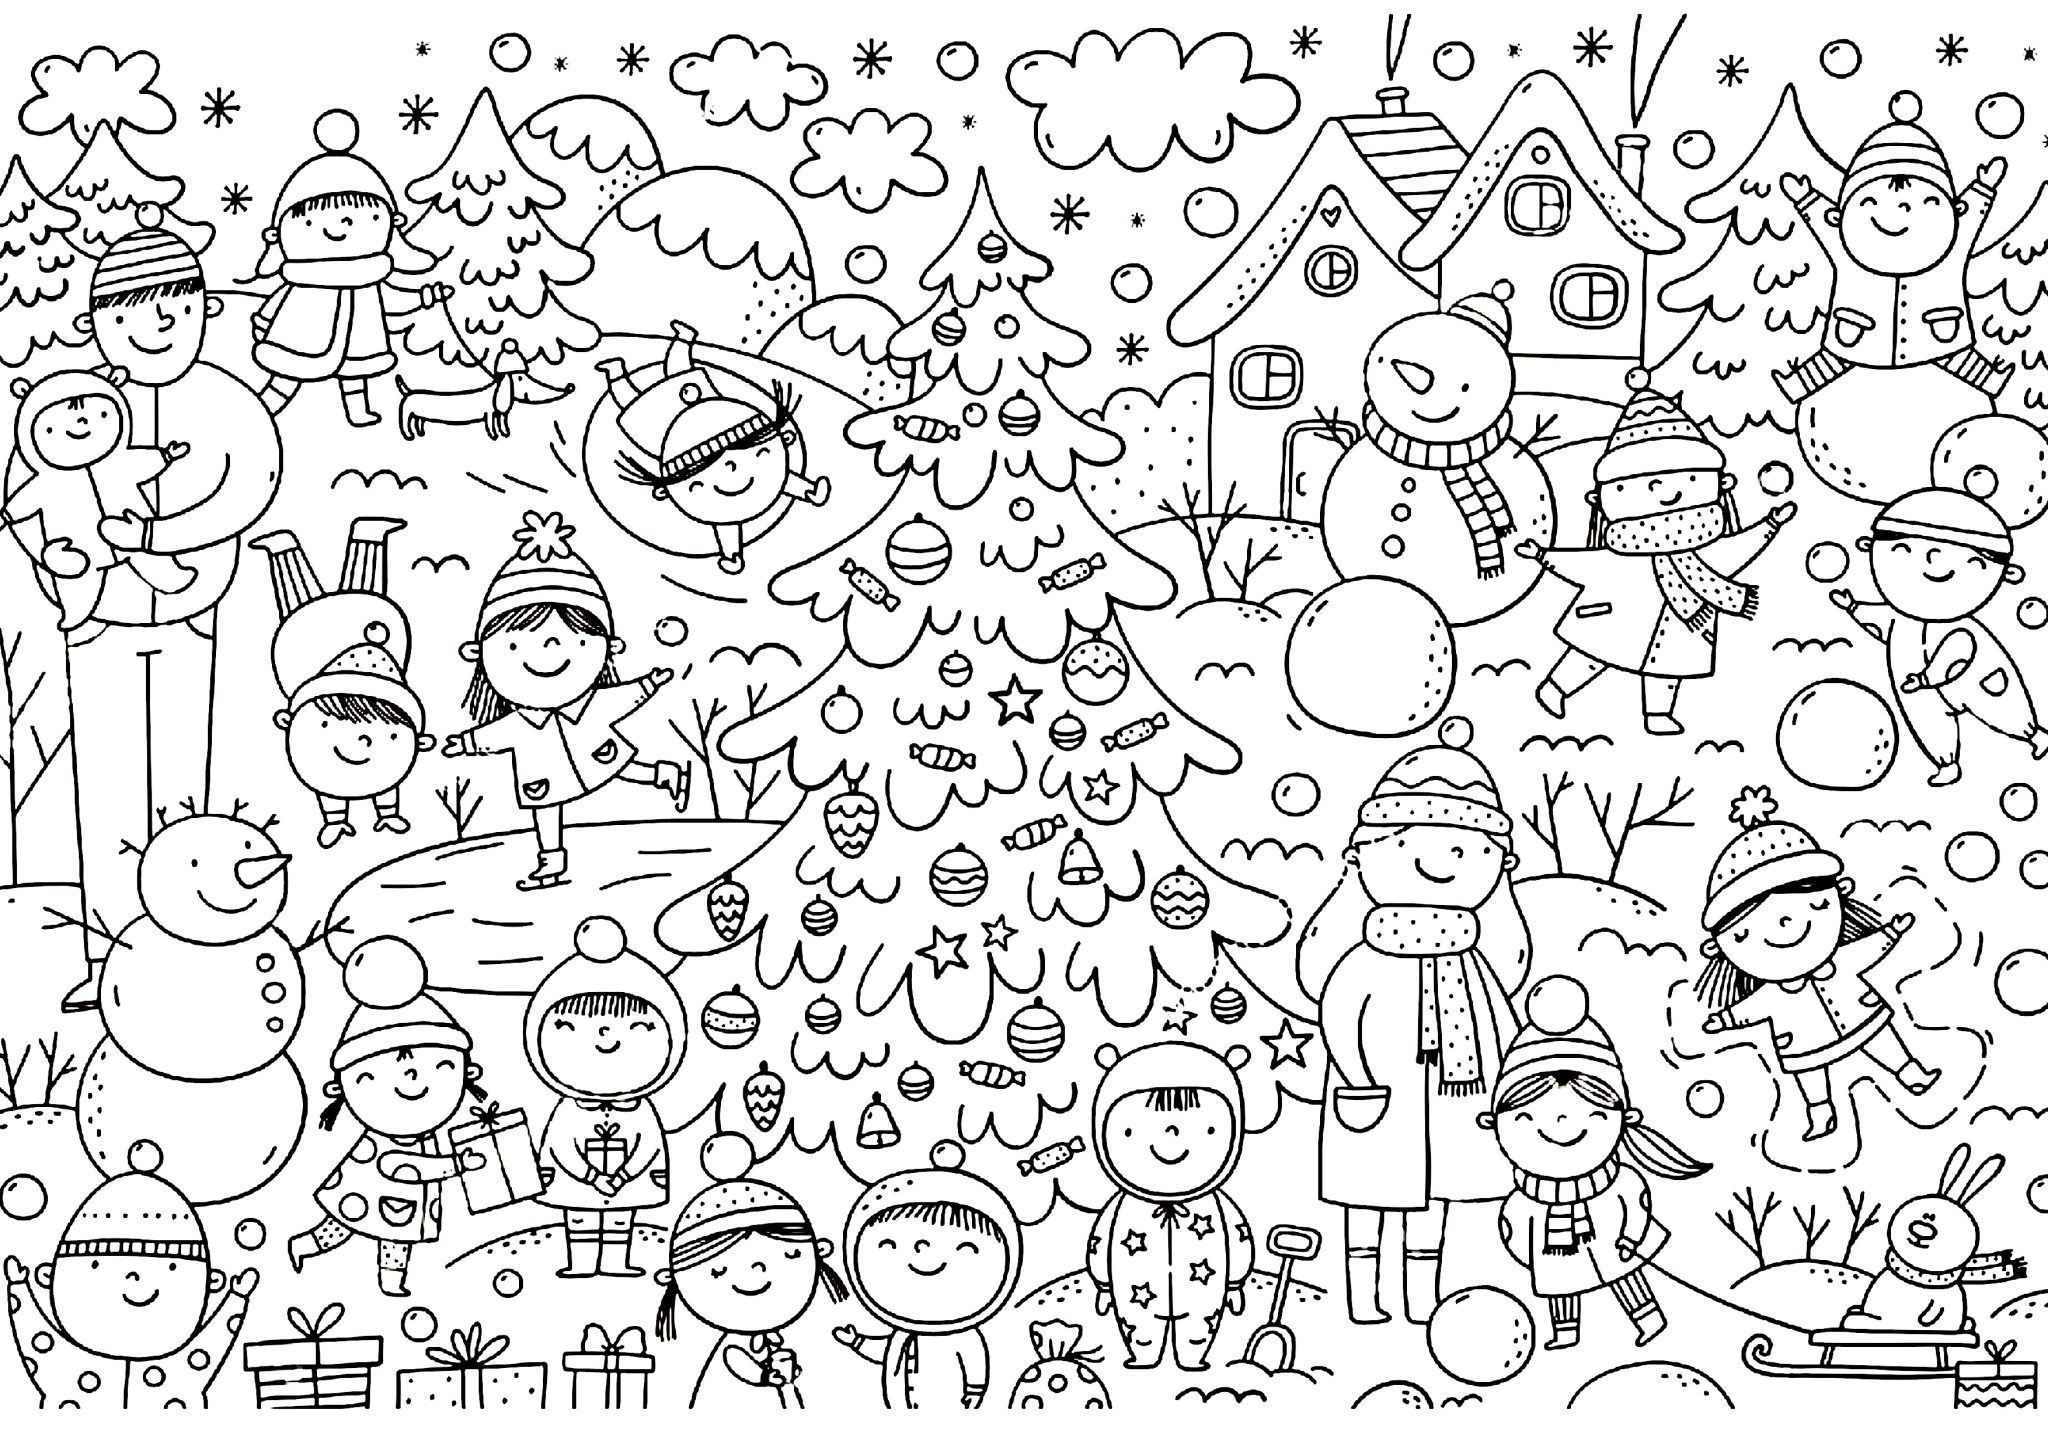
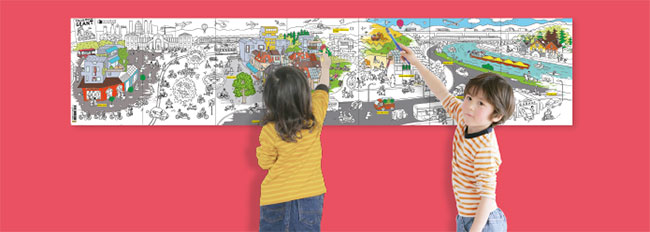
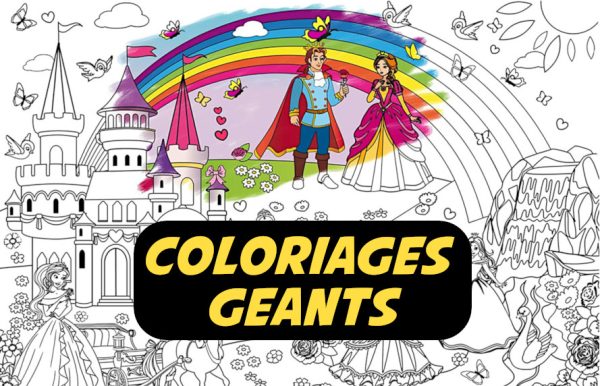
Bonjour, mes amis colorophiles! Tired of those tiny, teensy-weensy coloring books that leave you squinting and cramping your artistic hand? Do you yearn for a coloring experience so grand, so colossal, so… GÉANT… that it practically spills out of your living room? Well, grab your crayons (and maybe a stepladder), because we're diving headfirst into the glorious world of Coloriage Géant à Imprimer En Plusieurs Parties PDF!
Le Quoi? Giant Coloring Pages in Multiple Parts, Explained!
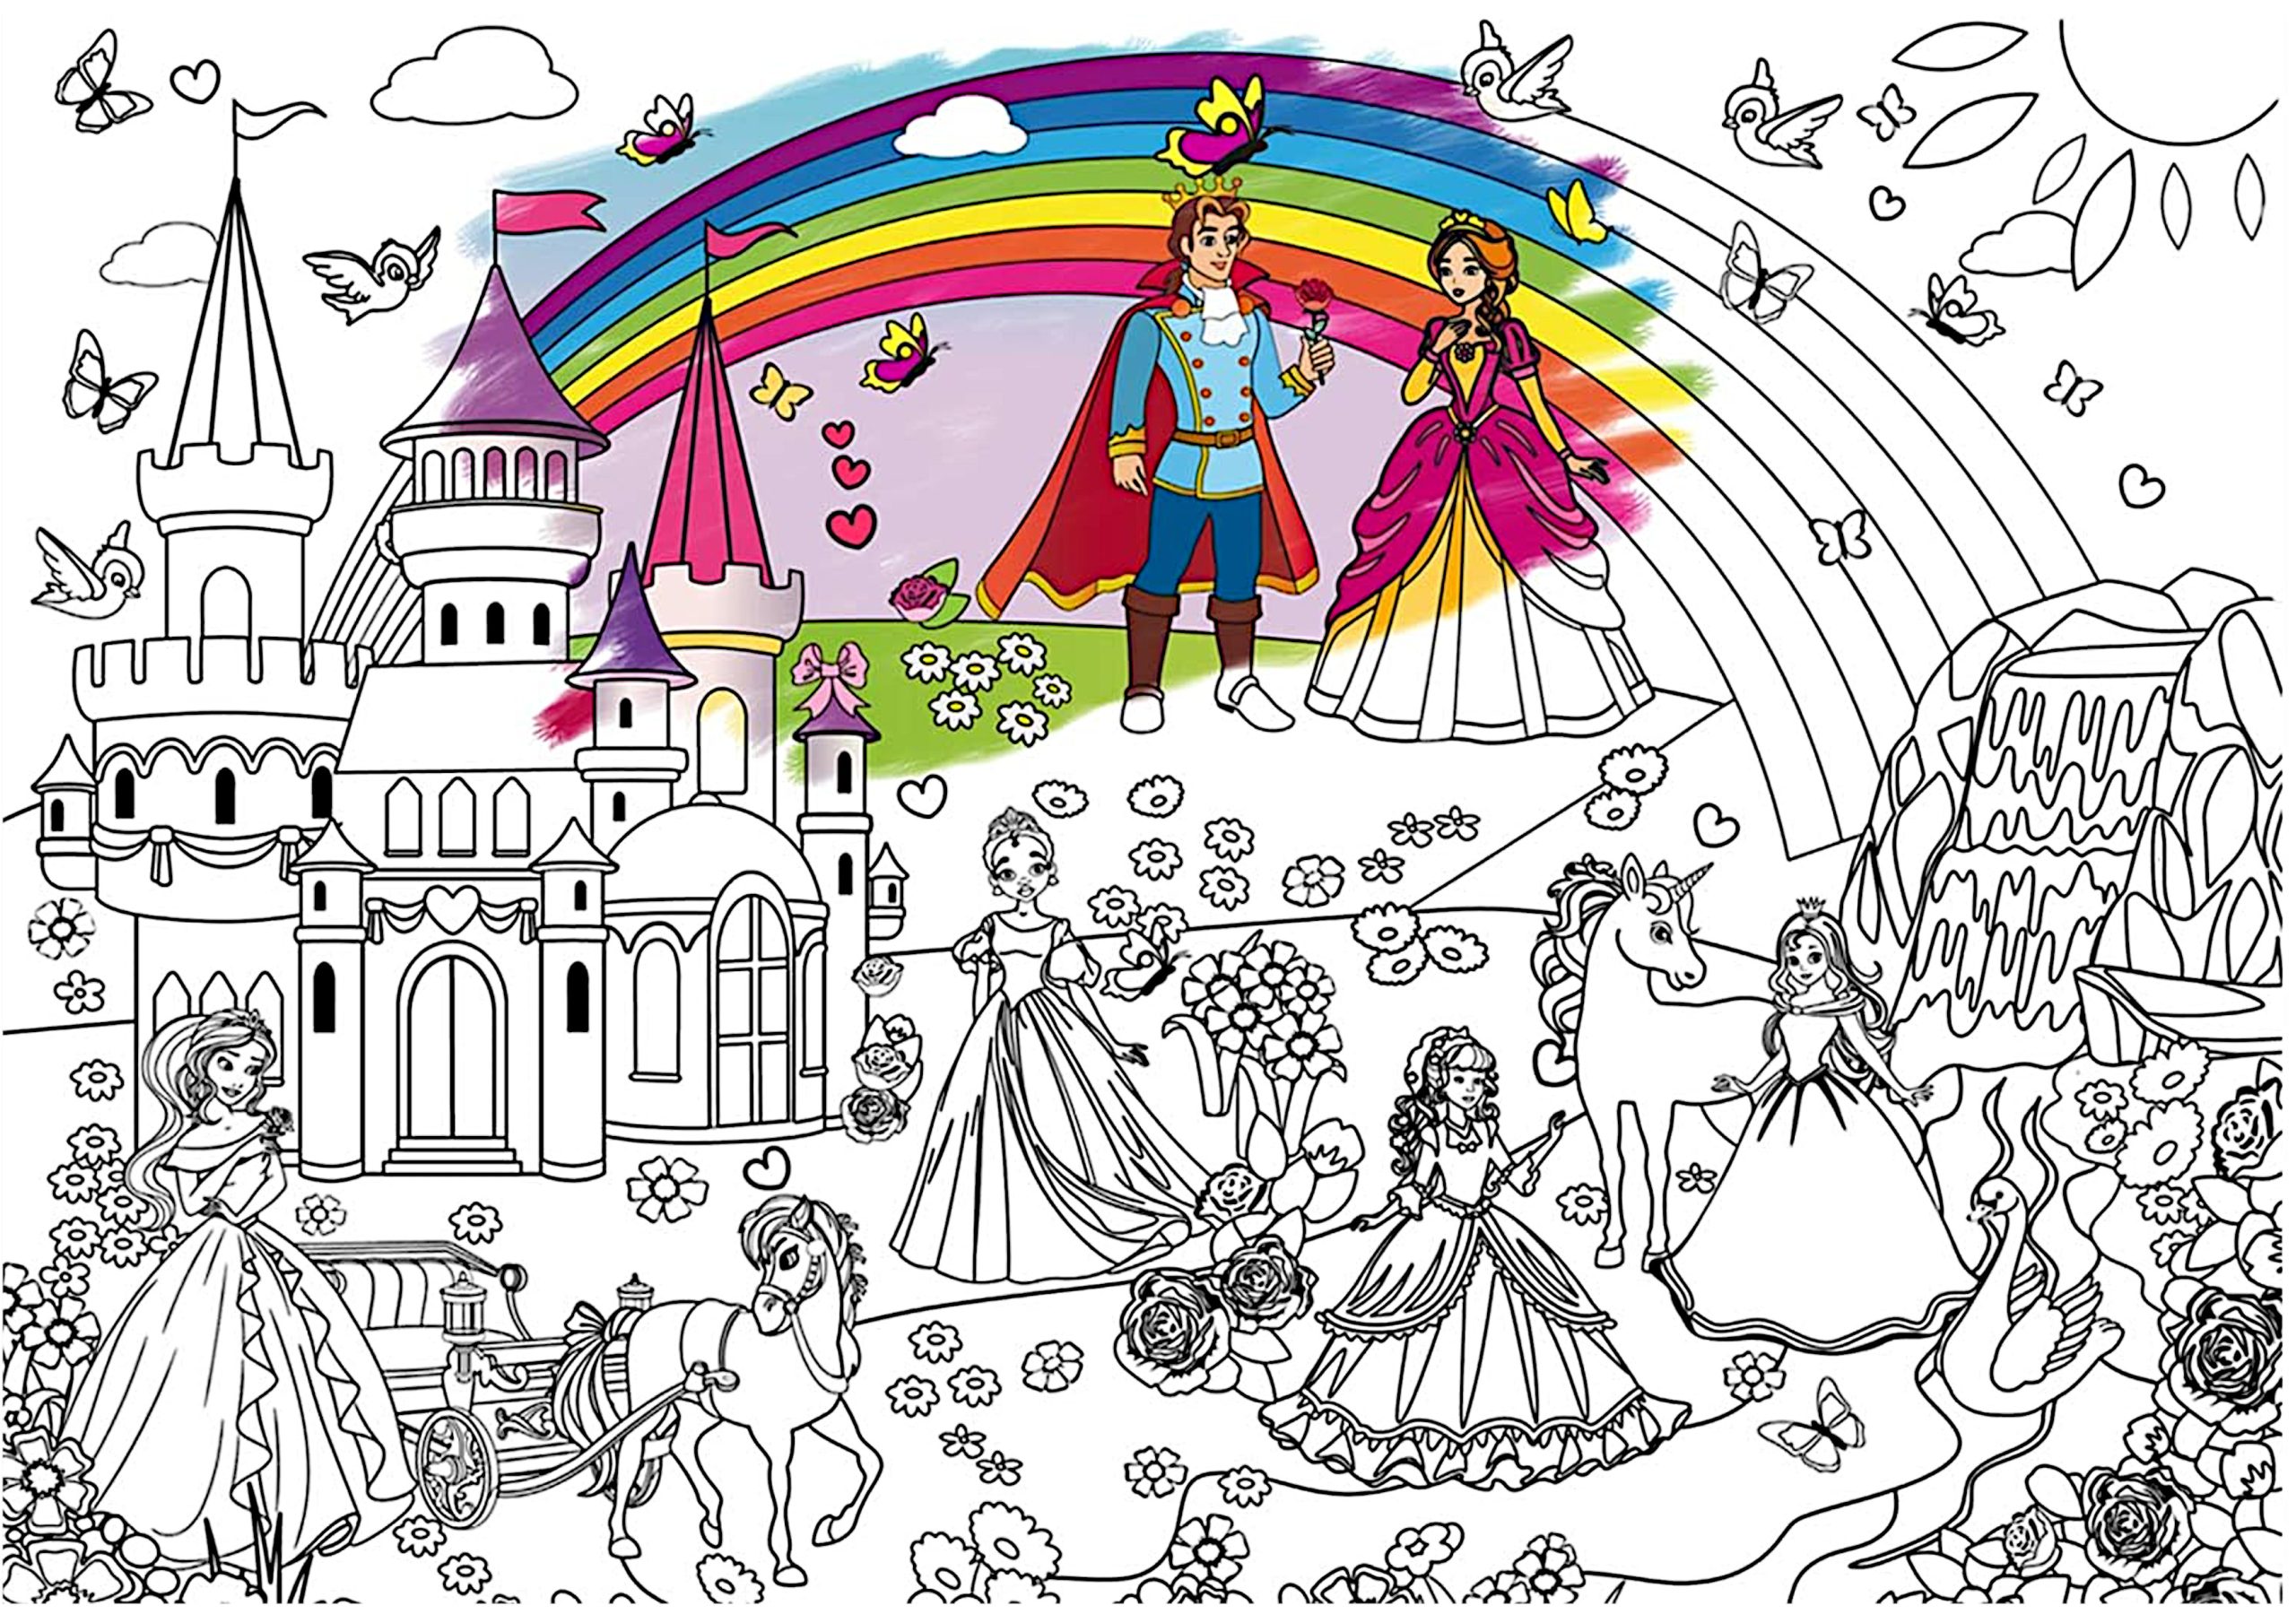
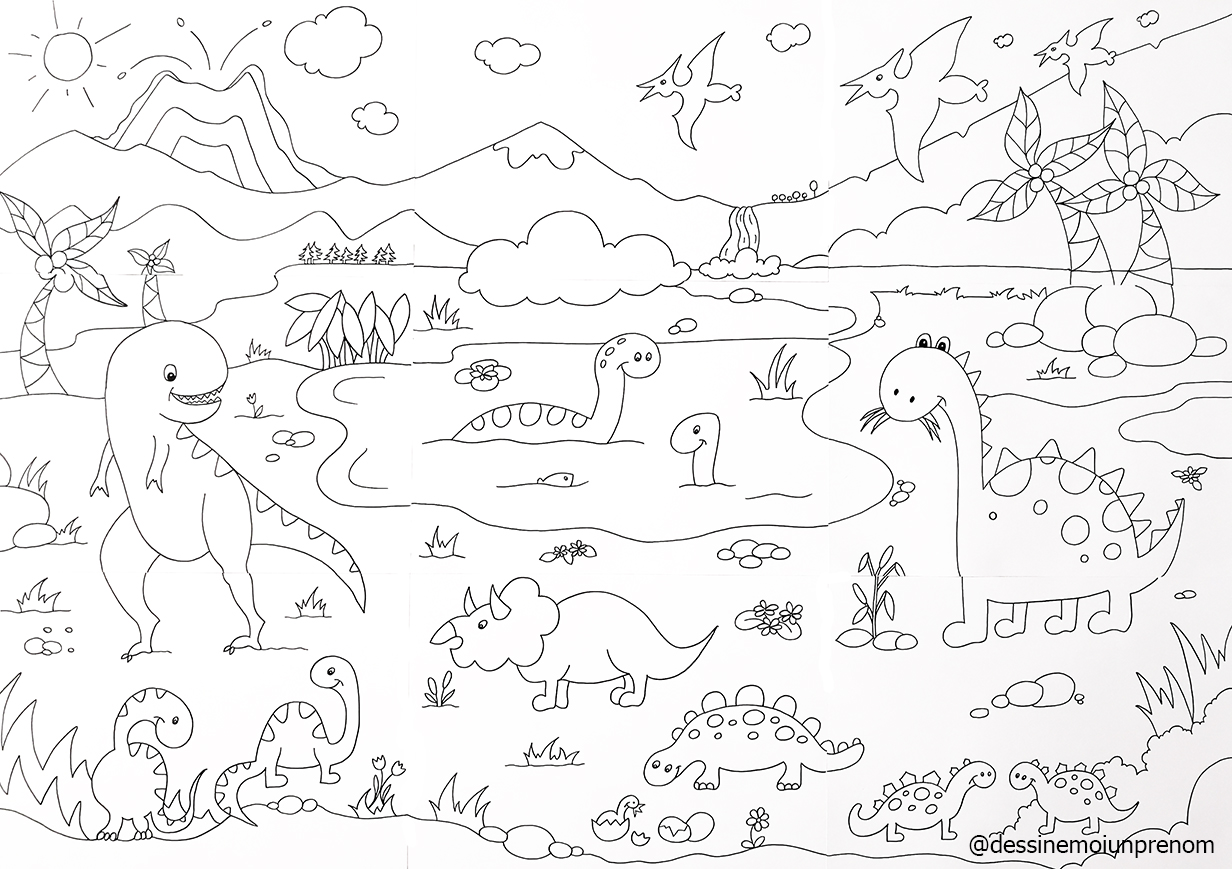
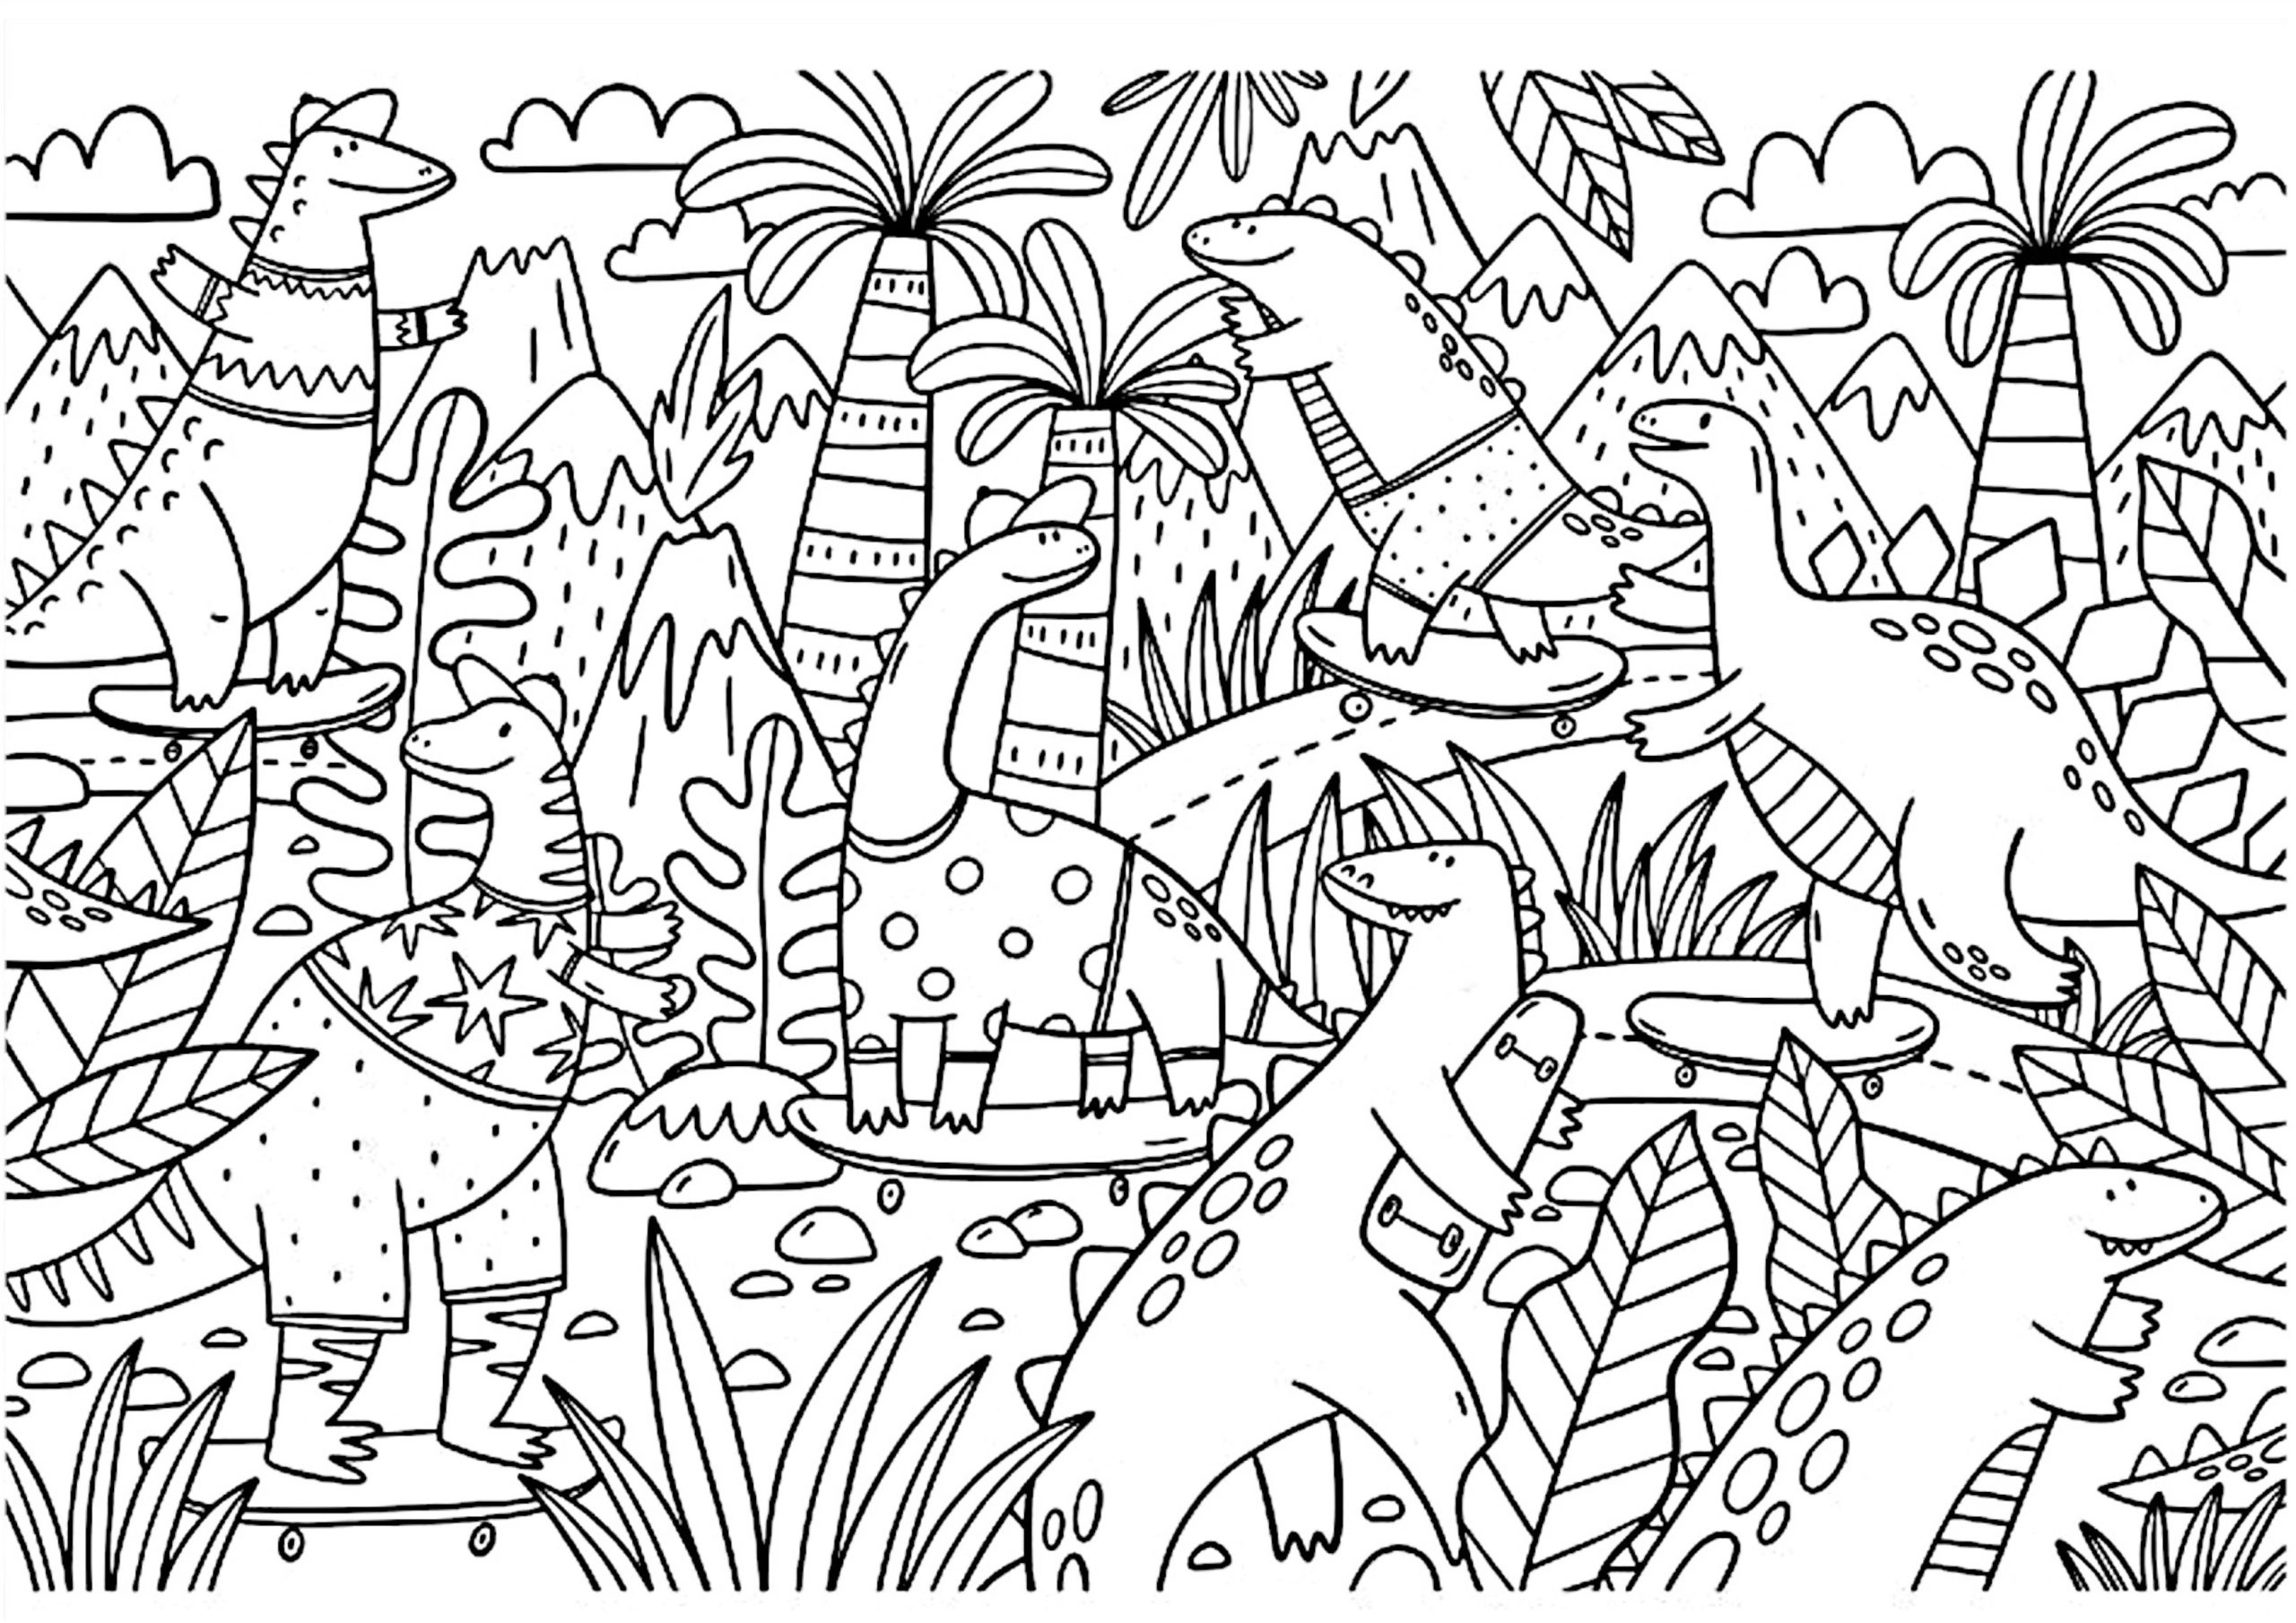
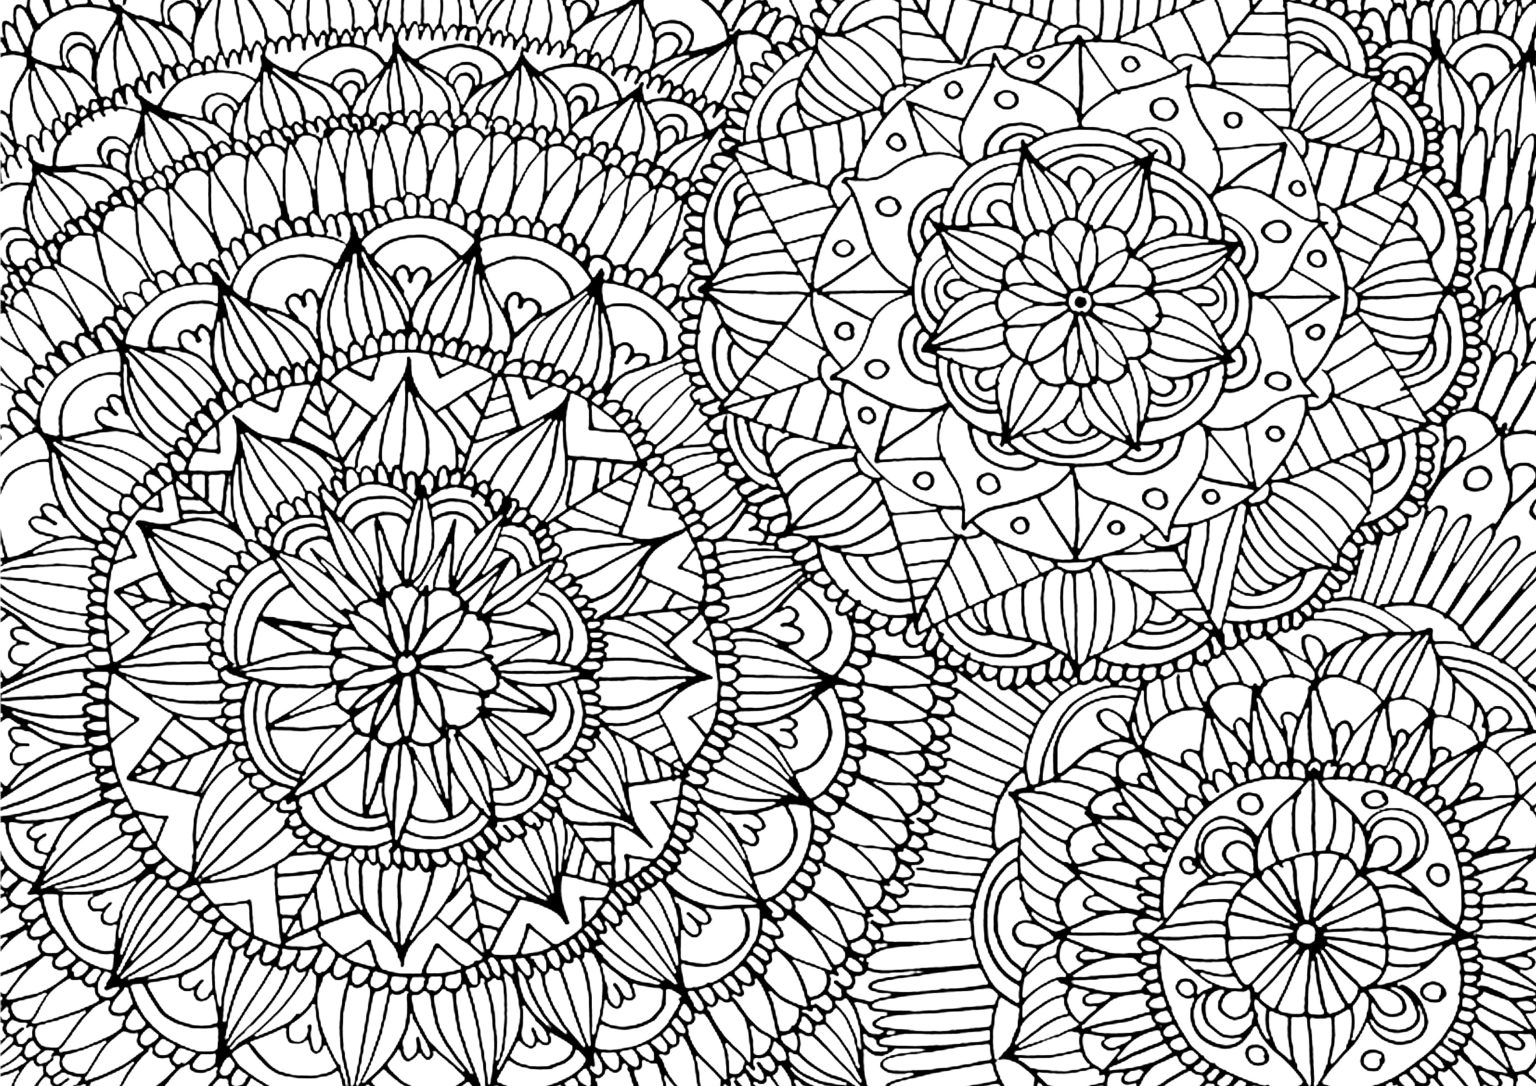
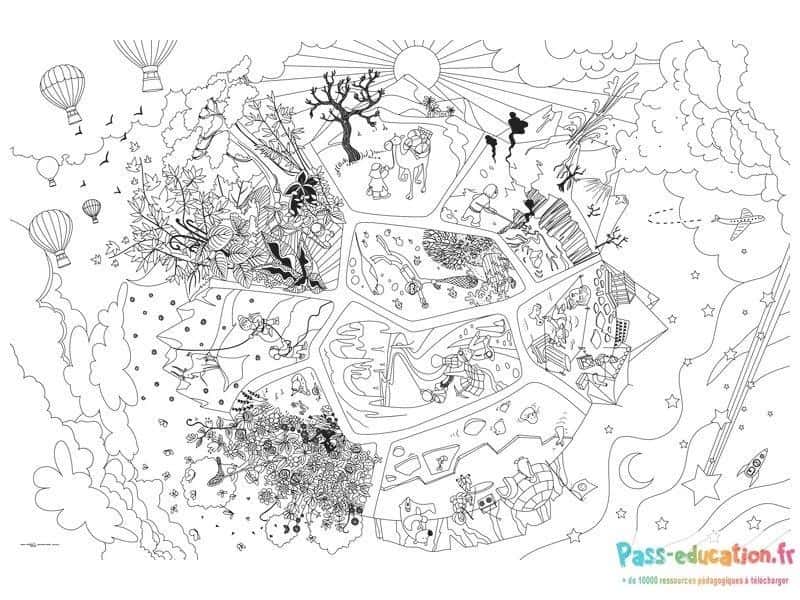
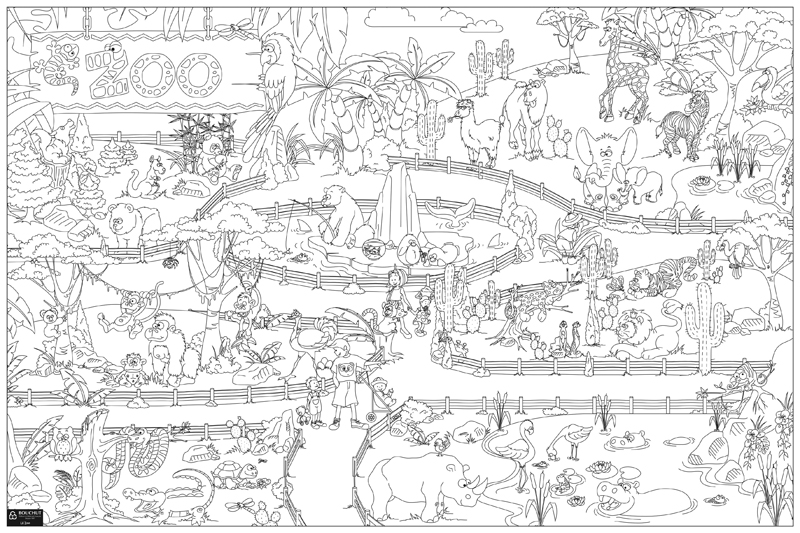
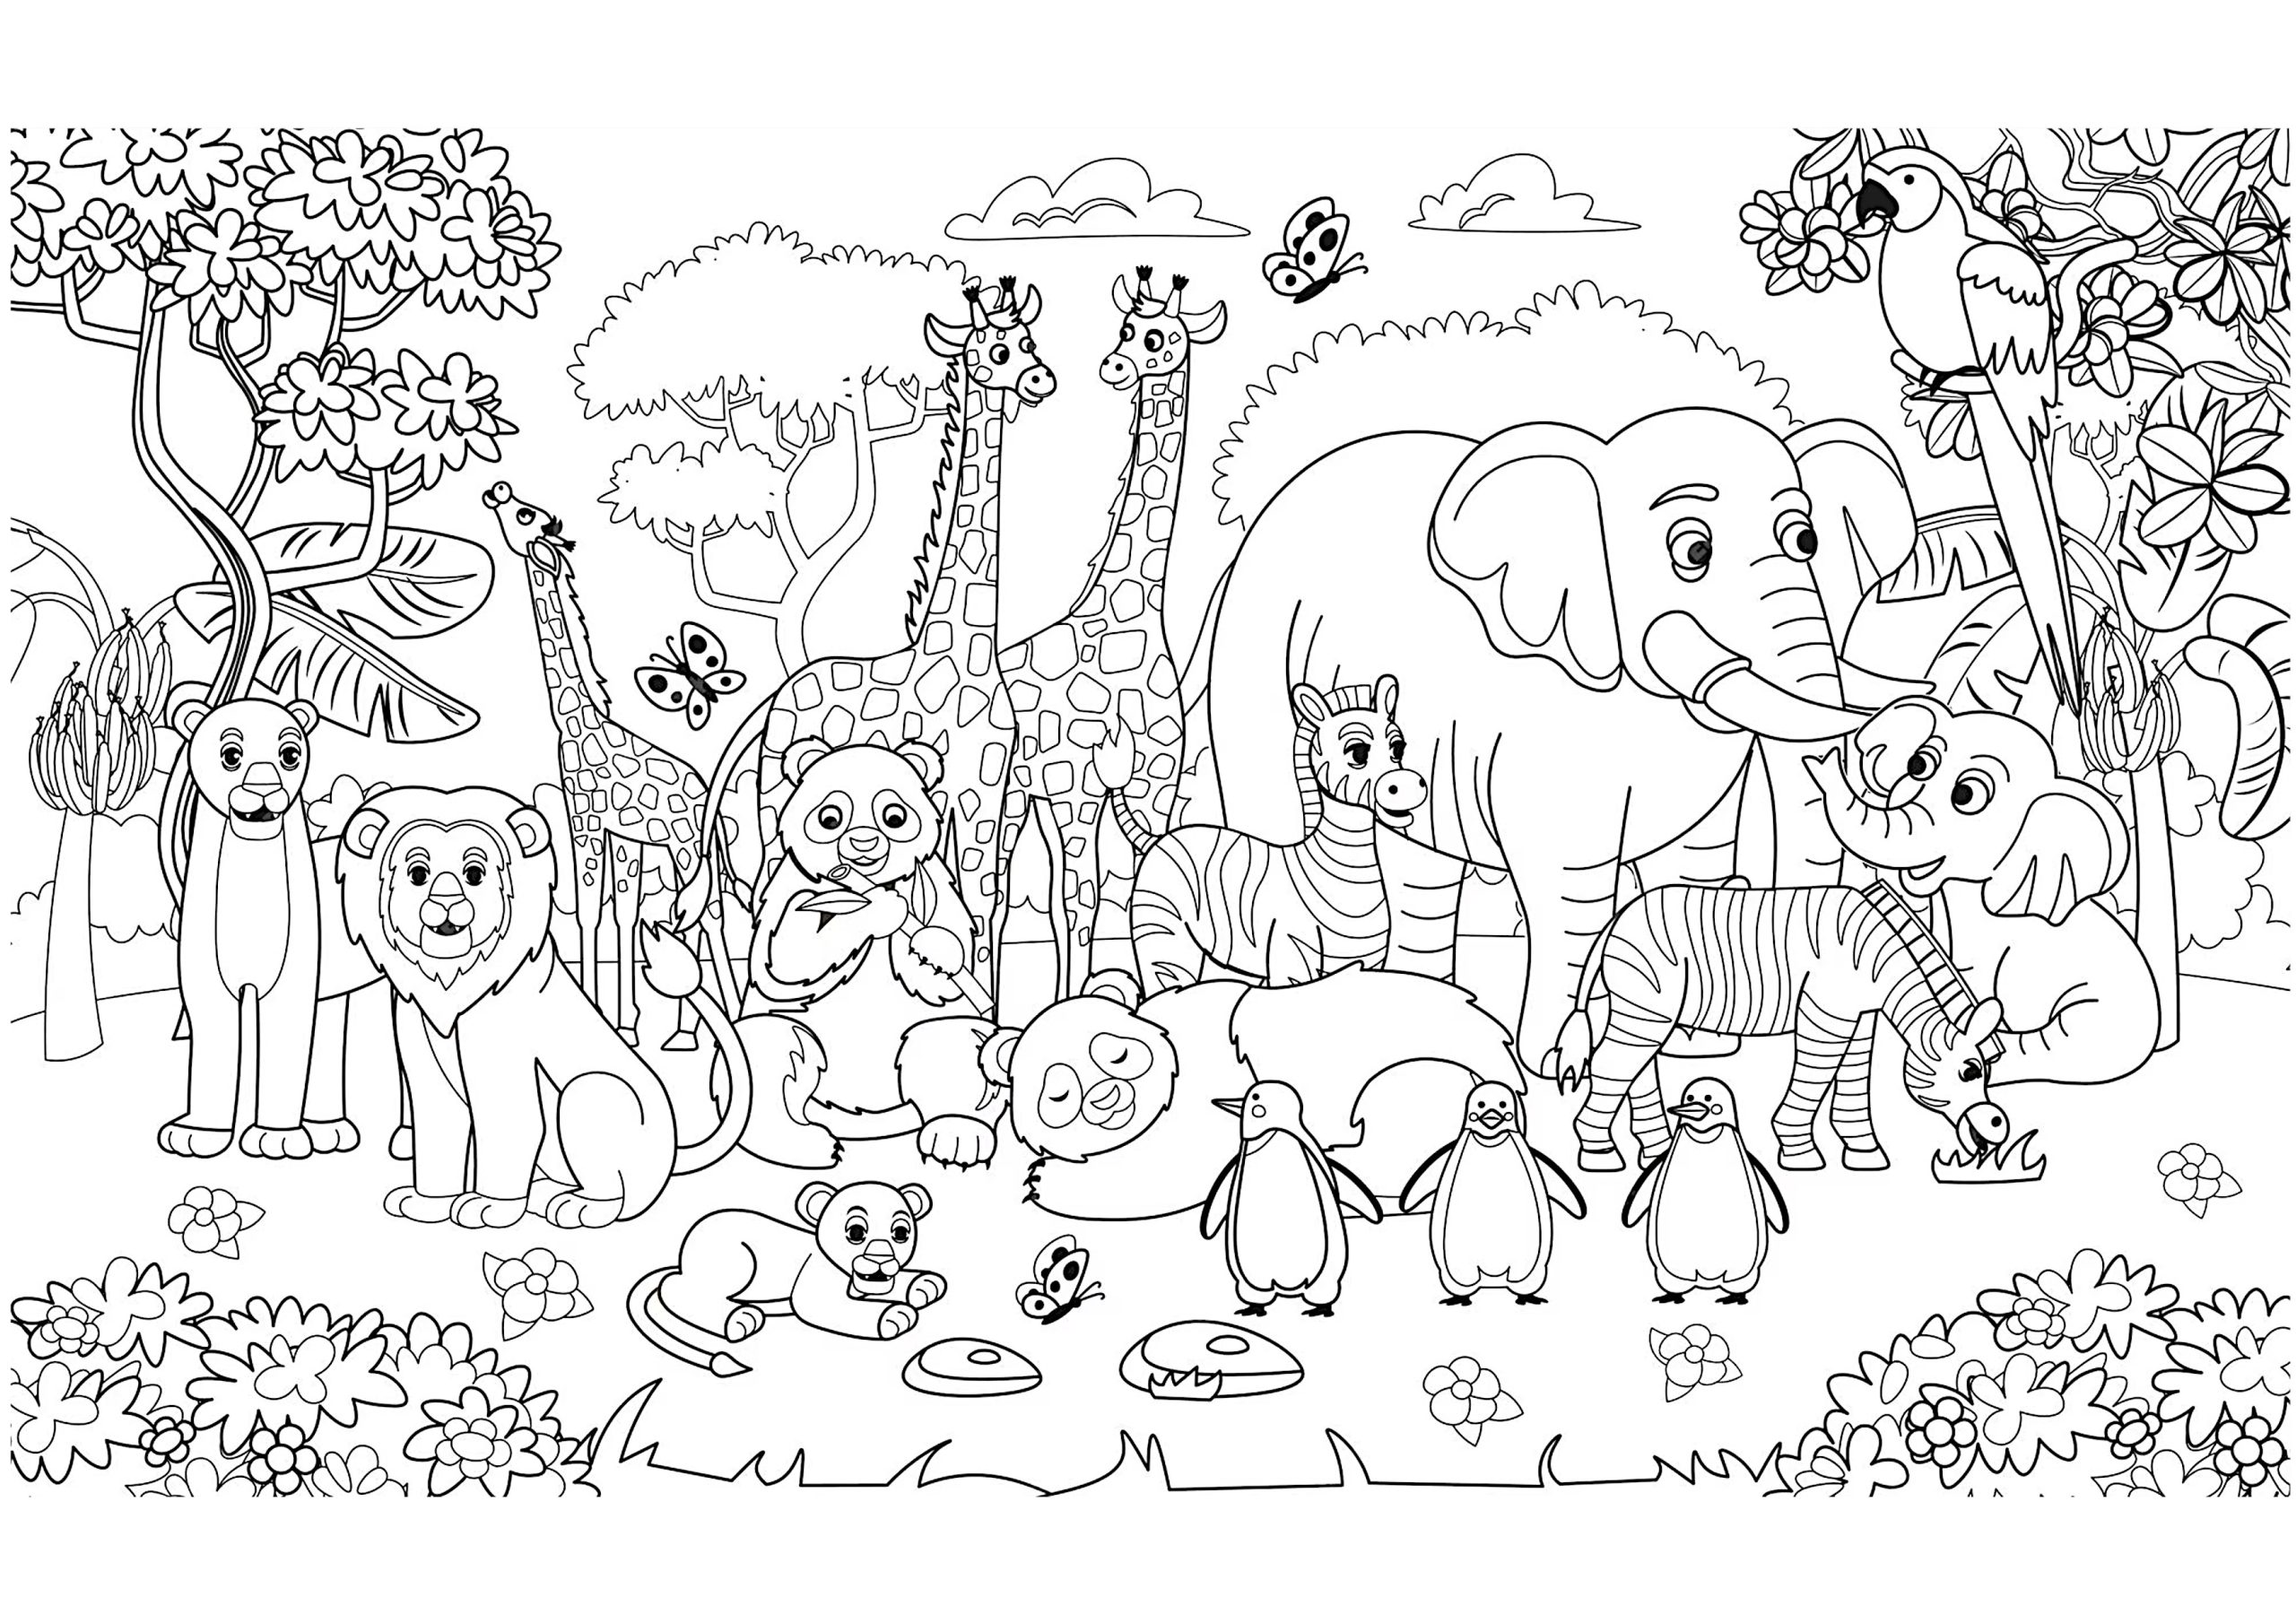
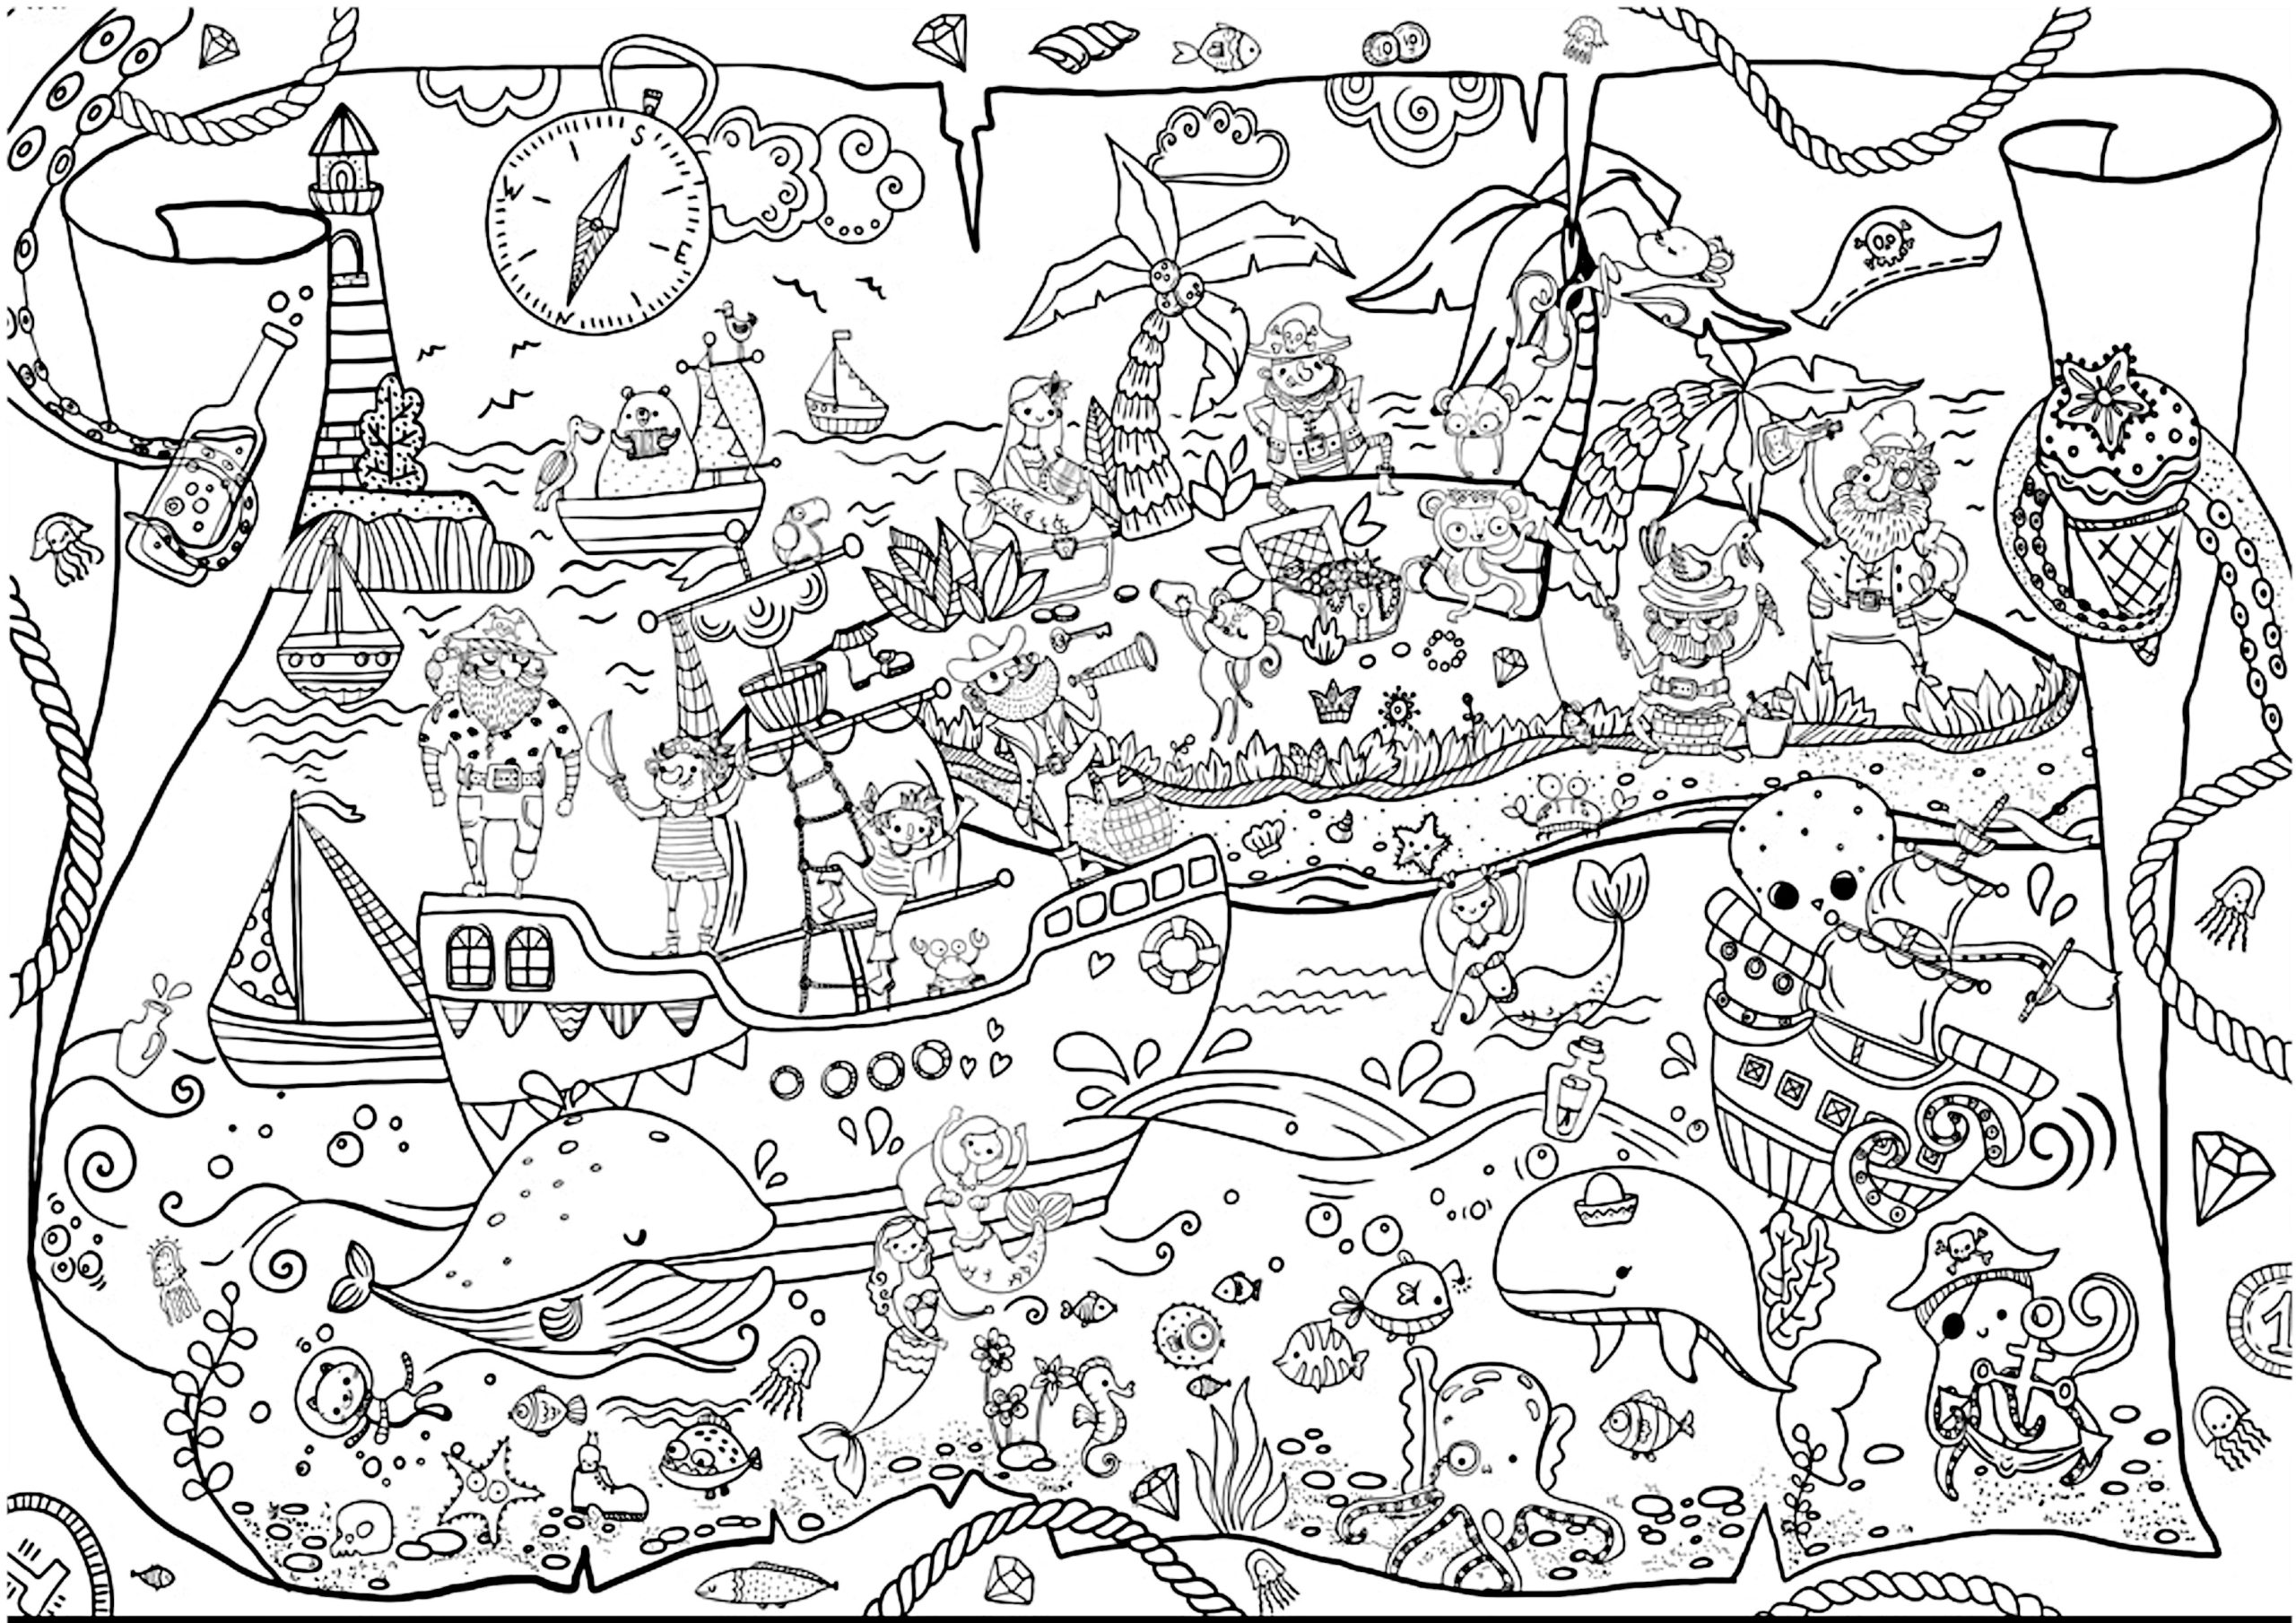
Okay, let's break that down for the less-French-inclined among us (don't worry, I've had my fair share of linguistic face-plants). "Coloriage Géant" simply means "giant coloring page." "À Imprimer En Plusieurs Parties" translates to "to print in multiple parts." Put it all together, and you've got yourself a massive coloring masterpiece just waiting to be unleashed, one A4 (or letter-sized, depending on your printing preferences) sheet at a time. Think of it as a jigsaw puzzle, but instead of trying to fit the pieces together logically, you get to fill them with rainbows, unicorns, and your own personal brand of creative chaos! It's like a coloring book exploded, but in a good way.
Why Go Giant? The Obvious (and Not-So-Obvious) Benefits
Now, you might be thinking, "Why on earth would I need a coloring page the size of a small car?" Excellent question! Let me enlighten you:
- Stress Relief on a Grand Scale: Forget that tiny mandala. When you're wielding a marker against a sea of white, deadlines and tax returns fade into insignificance. It's practically therapy, but with more glitter. And less crying (hopefully).
- Family Fun Fiesta: Forget board games that end in arguments! These giant coloring pages are a fantastic way to get the whole family involved in a collaborative artistic endeavor. Picture it: kids, parents, even that grumpy uncle, all huddled together, adding their unique flair to a giant, shared artwork. Just maybe set some ground rules first about territory and crayon ownership. Things can get heated.
- Impress Your Neighbors: Imagine hanging this bad boy on your wall! Your home décor game will instantly level up. Move over, Mona Lisa! There's a giant, brightly colored toucan in town!
- Hone Your Fine Motor Skills (or, at Least, Try To): Okay, let's be honest, coloring giant pages can be a bit of a workout for your hand. But hey, you're exercising your creativity and your hand muscles at the same time! Talk about multitasking!
- Because Why Not?: Seriously, sometimes the best reasons are the simplest. Do you need a logical explanation for wanting to color something enormous? No! Embrace the absurdity! Live a little! Color outside the lines (literally!).
Finding Your Giant Coloring Holy Grail: The PDF Quest
Alright, so you're sold on the giant coloring page idea. Excellent! Now comes the slightly trickier part: finding the perfect PDF to print. The internet is a vast and wild place, filled with both treasures and… well, let's just say things you definitely don't want to accidentally download (trust me on this one). Here's your guide to navigating the PDF jungle:
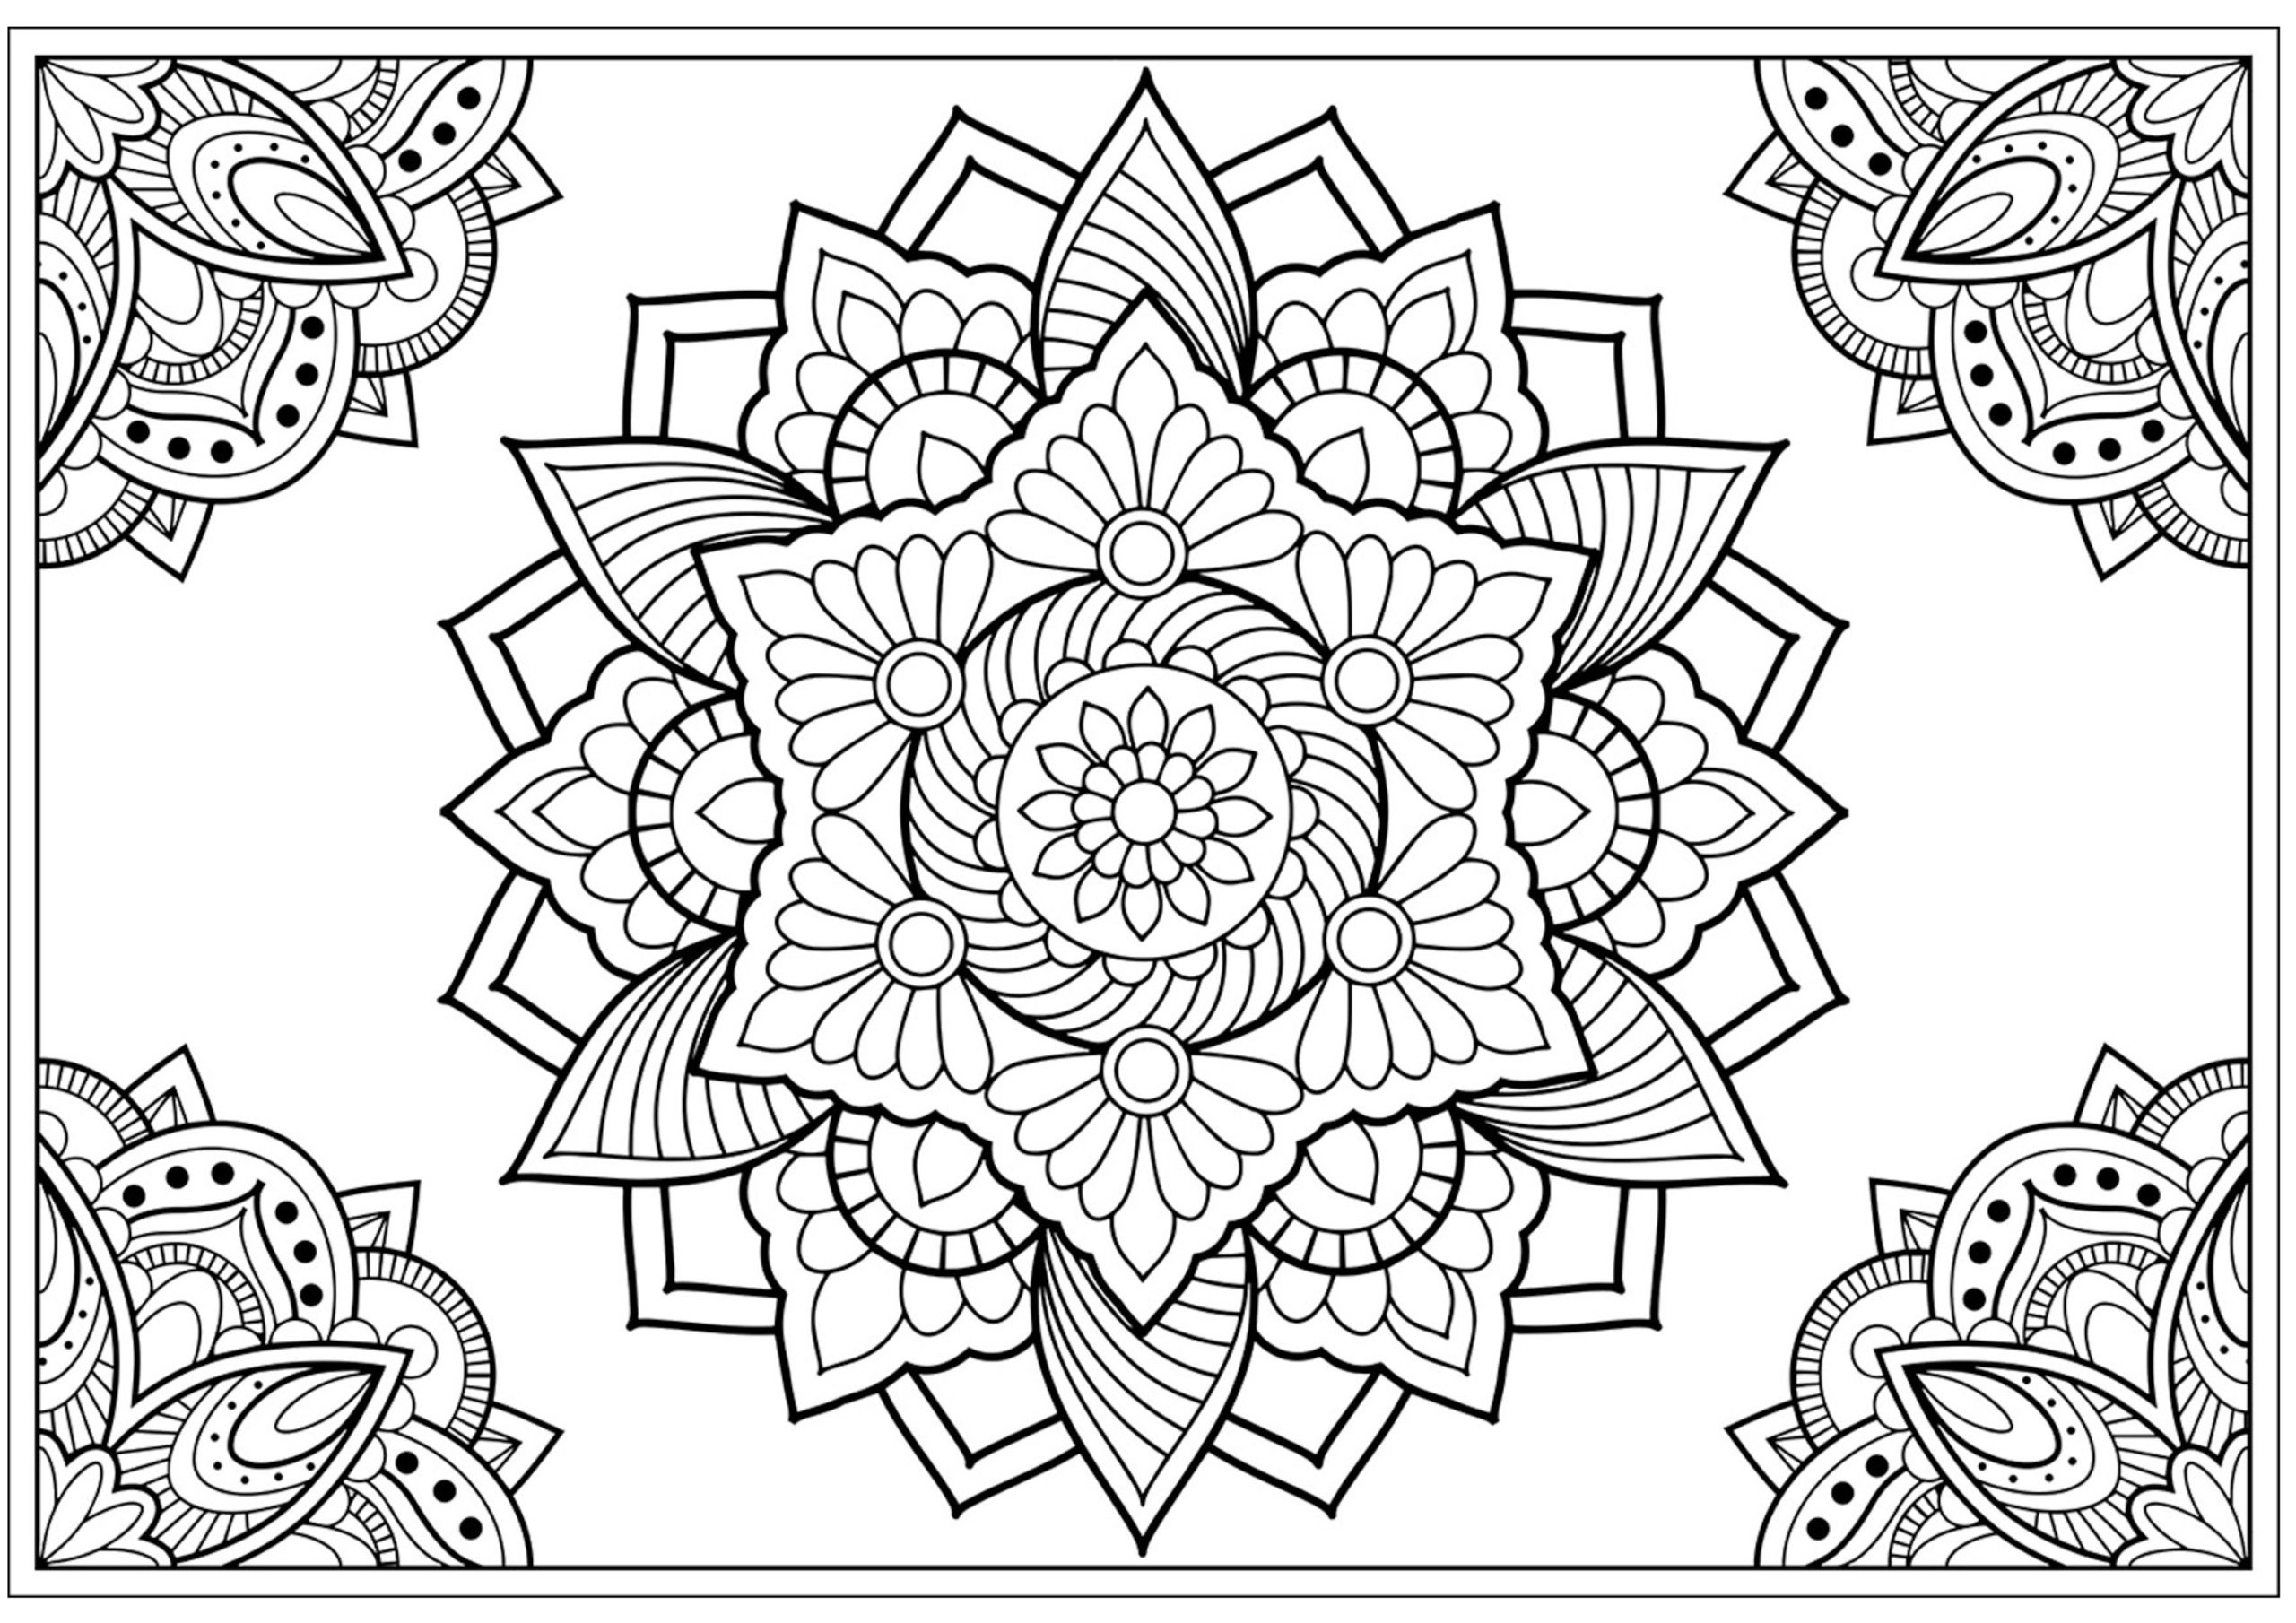
- Google is Your Friend (and Your Frenemy): Start with a simple search like "coloriage géant à imprimer pdf gratuit" (giant coloring page to print PDF free). Be prepared to wade through a lot of results, but the gems are out there! Experiment with different keywords, like "large format coloring page," "mural coloring page," or even specific themes like "giant mandala coloring page."
- Etsy: The Artist's Emporium: If you're willing to spend a few dollars, Etsy is a fantastic place to find unique and beautifully designed giant coloring pages. You'll be supporting independent artists, and you're more likely to find high-quality files that print well. Plus, the designs are often much more interesting than the free options.
- Pinterest: The Visual Treasure Trove: Pinterest is a goldmine for visual inspiration and often links to free printable resources. Search for "giant coloring pages" or "printable murals" and get ready to scroll through a seemingly endless array of options. Just be sure to click through to the original source to download the PDF.
- Beware of Shady Websites: This is crucial! Only download PDFs from websites that you trust. Look for secure connections (the little padlock icon in your browser) and be wary of sites that ask for excessive personal information. If something seems too good to be true, it probably is. Your computer (and your sanity) will thank you.
Free vs. Paid: Weighing Your Options
The age-old question: is it worth paying for a giant coloring page PDF, or should you stick with the free options? Here's a breakdown:
- Free PDFs: Pros and Cons:
- Pros: Free! Obviously! And there are some surprisingly good options out there if you're willing to do some digging.
- Cons: Quality can be inconsistent. The resolution might be low, resulting in blurry lines when printed. The designs might be simpler or less detailed. And, let's be honest, sometimes they just look… amateurish. You also run the risk of encountering those aforementioned shady websites.
- Paid PDFs: Pros and Cons:
- Pros: Higher quality designs, better resolution, more intricate details, and you're supporting artists! Plus, you're less likely to accidentally download a virus disguised as a unicorn.
- Cons: You have to spend money. Duh. But consider it an investment in your artistic well-being!
Ultimately, the choice is yours. If you're on a tight budget, there's no shame in sticking with free options. Just be prepared to do some extra searching and potentially compromise on quality. If you're willing to splurge a little, a paid PDF can provide a much more satisfying and aesthetically pleasing coloring experience.
The Printing Process: From PDF to Palatial Page
Okay, you've found your perfect PDF. Now comes the moment of truth: printing it! This is where things can get a little… interesting. Unless you have a printer the size of a small apartment, you're going to be printing your giant coloring page in multiple parts. Here's how to make it work:
- Open the PDF in Adobe Acrobat Reader (or a similar program): This is essential for proper printing. Don't try to print directly from your web browser – it rarely works well.
- Find the "Print" Option (duh): Usually located under the "File" menu or accessible with the Ctrl+P (or Cmd+P on a Mac) shortcut.
- Look for the "Poster" or "Tile" Printing Option: This is the key! This setting tells your printer to divide the image into smaller sections that can be printed on individual sheets of paper.
- Adjust the Tile Scale (if necessary): This determines how many pages your coloring page will be divided into. A higher scale means more pages and smaller tiles. Experiment to find the right balance between manageable page size and overall image quality.
- Overlap the Tiles (Important!): Make sure to enable the "overlap" option (usually expressed in inches or millimeters). This creates a small overlap between the printed tiles, making it easier to align them when you assemble the final image. Without overlap, you'll end up with unsightly white gaps between the sections. Nobody wants that.
- Print a Test Page (Highly Recommended): Before you commit to printing the entire mural, print a single tile to make sure everything is working correctly. Check the alignment, the image quality, and the overall size of the printed section.
- Print the Rest! Once you're satisfied with the test page, unleash the printing beast! Prepare for your printer to make a lot of noise and potentially run out of ink halfway through. It's all part of the adventure!
Tips for a Smooth Printing Experience
- Use Good Quality Paper: Thin, flimsy paper will tear easily and won't hold up well to heavy coloring. Opt for a slightly thicker paper stock for best results.
- Check Your Ink Levels: Running out of ink mid-print is a classic Murphy's Law scenario. Avoid the frustration by making sure your ink cartridges are full (or at least not completely empty) before you start.
- Be Patient: Printing a giant coloring page in multiple parts takes time. Don't rush the process. Put on some music, grab a cup of coffee, and settle in for the long haul.
Assembling Your Masterpiece: From Tiles to Triumph
Congratulations! You've printed all the tiles for your giant coloring page. Now comes the final step: putting it all together! This can be a bit like assembling a giant, slightly warped puzzle, but with a little patience and some clever techniques, you'll have your masterpiece ready for coloring in no time.
- Find a Large, Flat Surface: You'll need plenty of space to lay out all the tiles and align them properly. A large table, a cleared-off floor, or even a sheet of plywood propped up on chairs can work.
- Trim the Overlapping Edges: Using a sharp pair of scissors or a paper cutter, carefully trim the overlapping edges of each tile. This will create a clean, seamless edge for joining the sections together. Be precise! A wobbly cut can throw off the alignment of the entire mural.
- Use Tape (or Glue, If You're Feeling Adventurous): Tape is the easiest and most common method for assembling giant coloring pages. Use clear tape and apply it to the back of the tiles, carefully aligning the edges as you go. For a more permanent solution, you can use glue, but be warned: this is a much messier process and requires a lot more patience. If you choose to glue, use a thin, even layer of adhesive to avoid warping the paper.
- Work in Sections: Don't try to assemble the entire mural at once. Start with a small section and gradually build outwards. This will make the process more manageable and reduce the risk of misalignments.
- Step Back and Admire Your Work (Frequently): Take breaks to step back and assess your progress. This will help you spot any misalignments or imperfections before they become too difficult to correct.
Hanging Your Finished Masterpiece: Displaying Your Artistic Prowess
You've colored your giant page. Congratulations! Now you need to get it on the wall. Here are a few options:
- The Classic Poster Putty: A solid choice for lightweight pages. Just make sure you use enough!
- Framing: Adds a touch of sophistication. Find a frame shop in your area or search online for oversized frames.
- Mounted on Foam Board: Creates a sturdy display that's easy to hang.
- Tapestry Rod: For a bohemian look, hang your masterpiece like a tapestry using a decorative rod.
Coloring Strategies: Unleash Your Inner Picasso (or, You Know, Just Have Fun)
Okay, the page is printed, assembled, and ready to be colored. But wait! What colors should you use? What techniques should you employ? Don't panic! There are no rules in the world of giant coloring pages (except maybe "don't eat the crayons"). Here are a few ideas to get your creative juices flowing:
- Embrace the Rainbow: Go wild with color! Use every crayon, marker, and colored pencil in your arsenal. Don't be afraid to experiment with different color combinations.
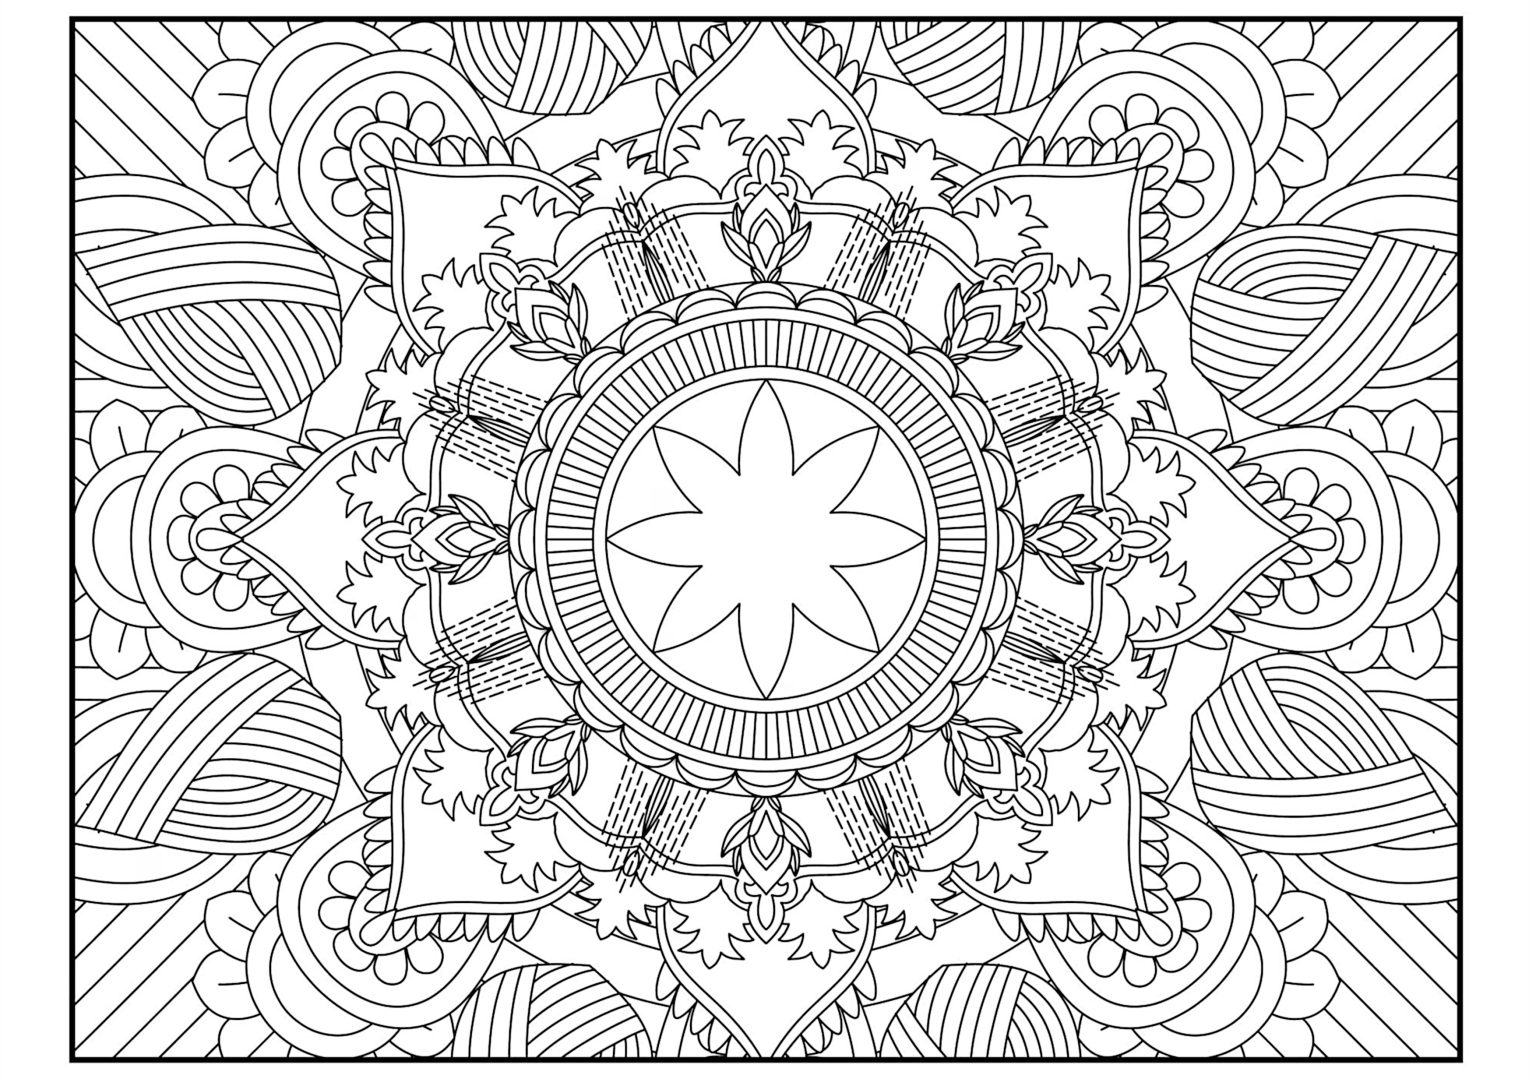
- Monochromatic Magic: Choose a single color and create a range of shades and tones. This can be a surprisingly effective and elegant approach.
- Theme It Up: Pick a theme, such as "under the sea," "outer space," or "tropical paradise," and use colors that evoke that theme.
- Get Abstract: Forget about realistic coloring. Just let your intuition guide you and create a swirling, abstract masterpiece.
- Collaborate: Invite friends, family, or even strangers to join in the coloring fun. Each person can contribute their unique style and create a truly collaborative artwork.
Tools of the Trade: Choosing Your Coloring Weapons
The right tools can make all the difference. Here are some popular choices:
- Crayons: The classic choice, perfect for kids and adults alike. Look for high-quality crayons with vibrant colors and good coverage.
- Colored Pencils: Offer more precision and control than crayons. Ideal for adding fine details and shading.
- Markers: Bold and vibrant, but can bleed through thinner paper. Use with caution!
- Gel Pens: Add a touch of sparkle and shimmer. Great for highlighting and adding accents.
Advanced Techniques: Level Up Your Coloring Game
Feeling adventurous? Ready to take your giant coloring page skills to the next level? Here are a few advanced techniques to try:
- Blending: Use a blending stump or a soft cloth to blend different colors together seamlessly.
- Shading: Create depth and dimension by adding shadows and highlights.
- Layering: Build up color gradually by layering different shades and tones.
- Stippling: Create texture by using small dots of color.
- Hatching and Cross-Hatching: Create shading and texture by using parallel lines (hatching) or intersecting lines (cross-hatching).
Troubleshooting: When Things Go Wrong (and They Probably Will)
Let's be honest, things don't always go according to plan. Here are some common problems and how to fix them:
- Misaligned Tiles: Carefully peel back the tape (or gently scrape off the glue) and realign the tiles. Use a ruler or straight edge to ensure everything is straight.
- Tears and Rips: Use clear tape to repair tears and rips. For larger holes, you can patch them with a piece of paper that matches the color of the background.
- Bleeding Markers: Place a sheet of paper behind the tile you're coloring to prevent the marker from bleeding onto the surface below.
- Crayon Crumbs: Use a soft brush to remove crayon crumbs.
Conclusion: Embrace the Giant!
So there you have it! Everything you need to know to embark on your own giant coloring page adventure. It may seem daunting, but trust me, the rewards are well worth the effort. From stress relief to family fun to impressive home décor, these colossal coloring canvases offer something for everyone. So go forth, find your perfect PDF, unleash your inner artist, and embrace the giant! Just remember to warn your neighbors before you try to hang it on the side of your house. They might think you've joined a particularly enthusiastic cult. And if they do, just invite them to color with you! After all, the more, the merrier (and the more likely you are to finish before your next birthday). Happy coloring, mes amis! Now, if you'll excuse me, I have a giant unicorn to attend to. It requires a lot of glitter.