Salut les Minecrafters ! Ever wondered how to get a little backup around your meticulously crafted base? Want a silent, leafy giant to keep the creepers at bay? Well, you're in the right place! Today, we're diving into the surprisingly simple (yet undeniably cool) world of golem construction in Minecraft. Are you ready to bring a bit of ancient legend to your digital world?
What's the Big Deal with Golems?
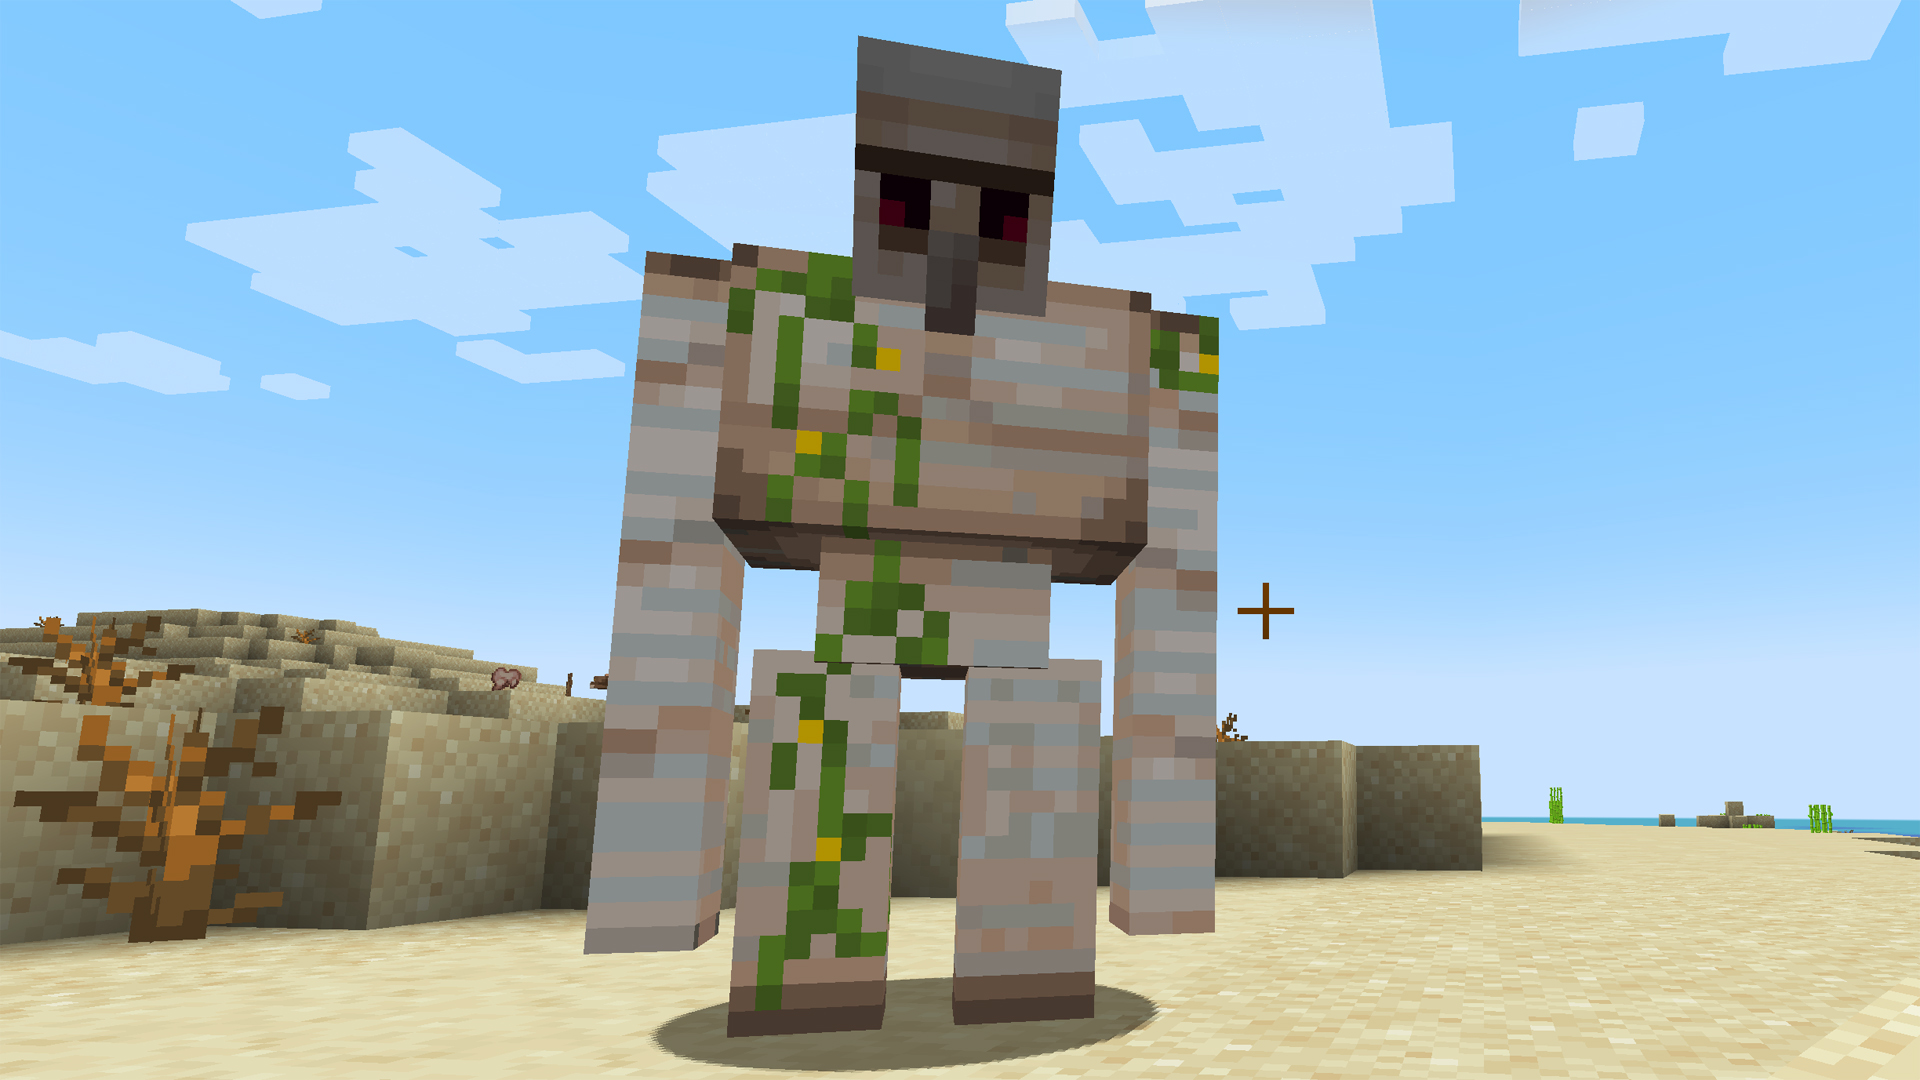
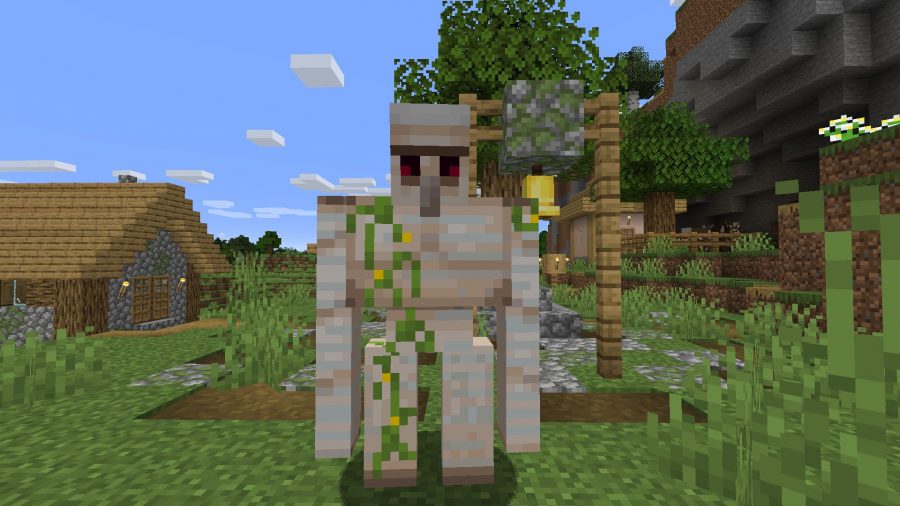
Okay, okay, so golems. What are they? Think of them like Minecraft's version of a friendly bodyguard. They're tough, they're loyal (ish – more on that later!), and they automatically attack any hostile mob that dares to wander too close to where they were created. Imagine having a super-strong, leafy superhero just chilling in your pumpkin patch! It's like having your own personal Iron Man, but... square-er and made of iron and pumpkin. Pretty neat, right?
But why bother building one? Well:
- Protection: Golems automatically defend you and your villagers from zombies, skeletons, creepers, and all those other nasty things that go bump in the night. Think of them as a really efficient, low-maintenance security system.
- They're cool: Seriously, who wouldn't want a giant iron automaton stomping around their village? It’s just… awesome.
- They're a statement: Building a golem says "I'm prepared!" and "Don't mess with me or my virtual stuff!"
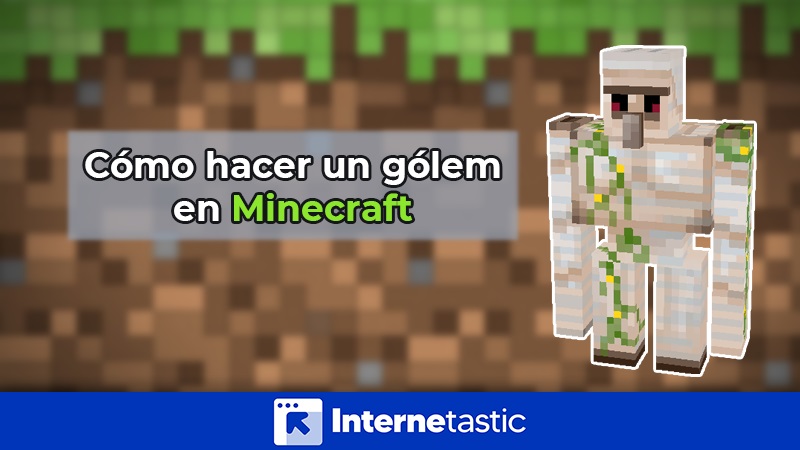
How to Build Your Own Golem: The Basics
Alright, let's get down to brass tacks. There are two main types of golems you can build in Minecraft, each with its own unique charm: the Iron Golem and the Snow Golem. Let's start with the iron behemoth:
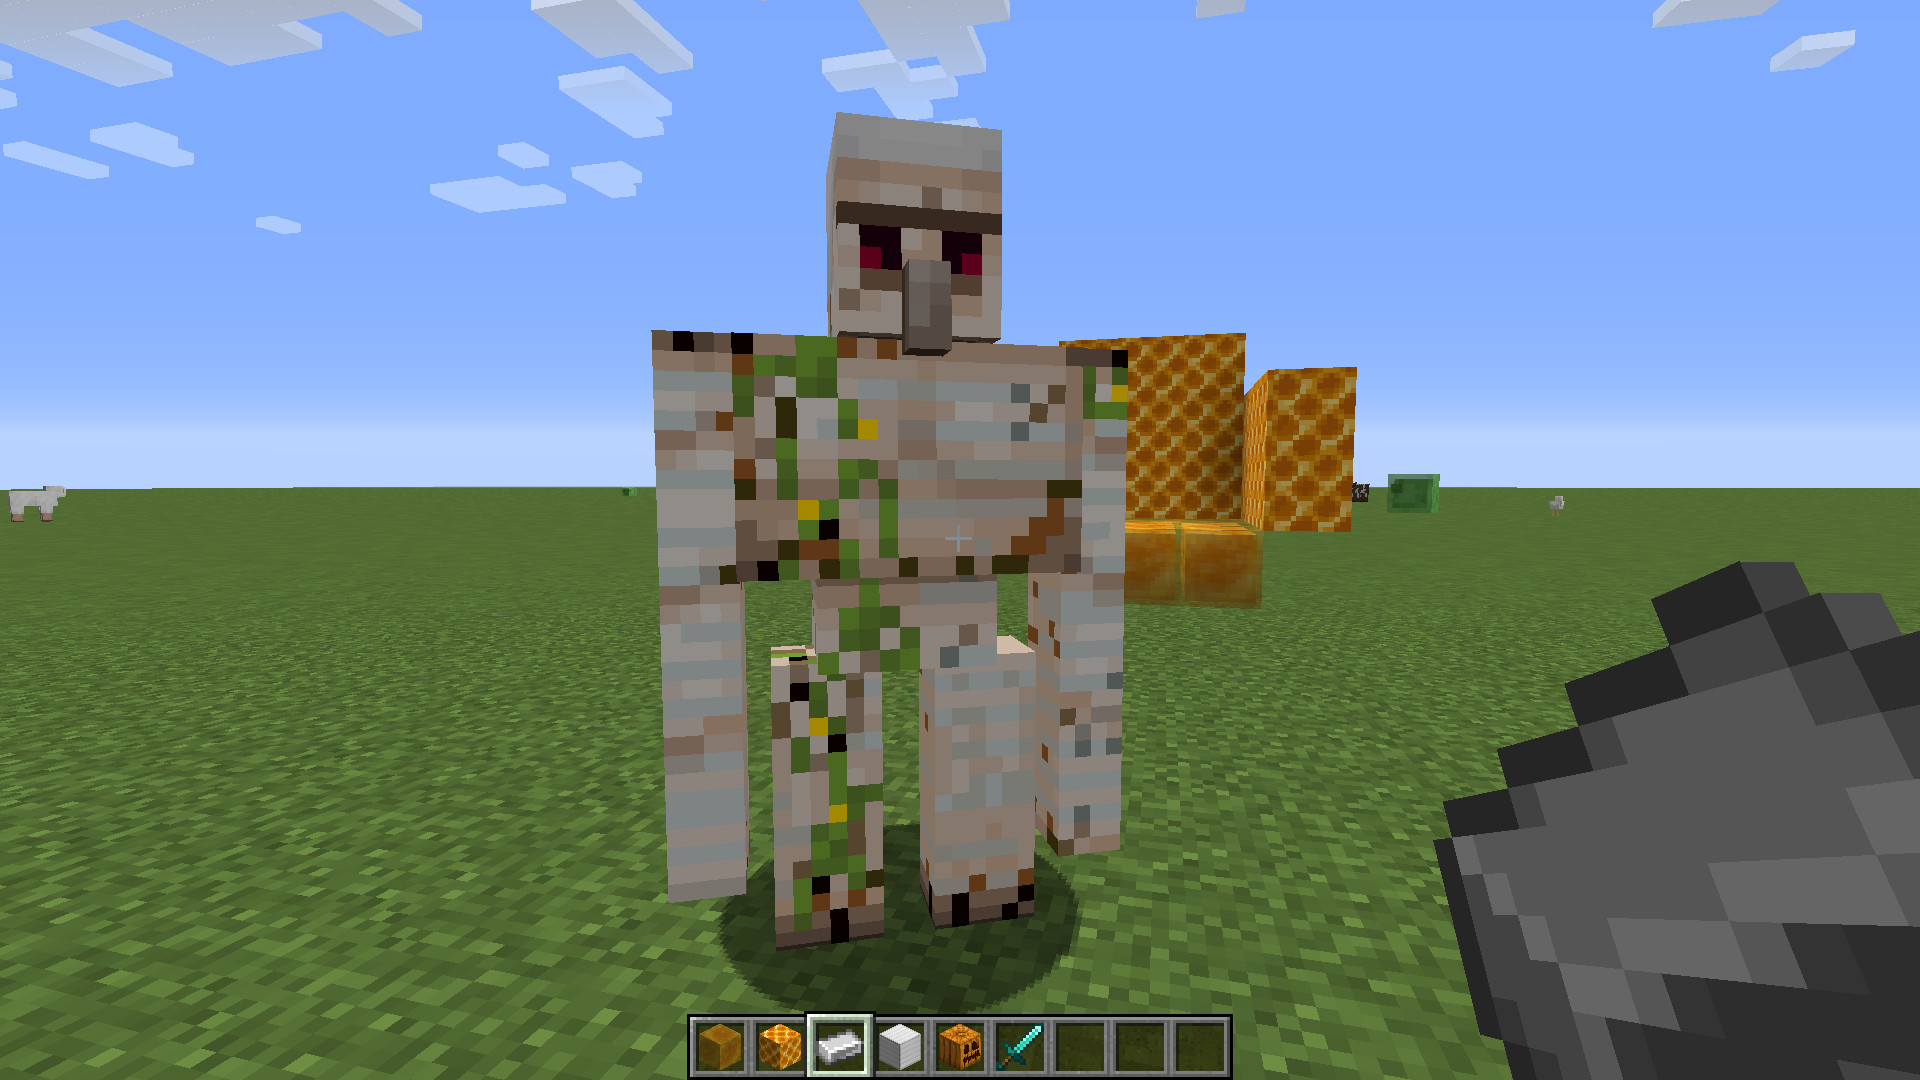
Iron Golem Recipe:
Building an Iron Golem is surprisingly straightforward. You'll need:

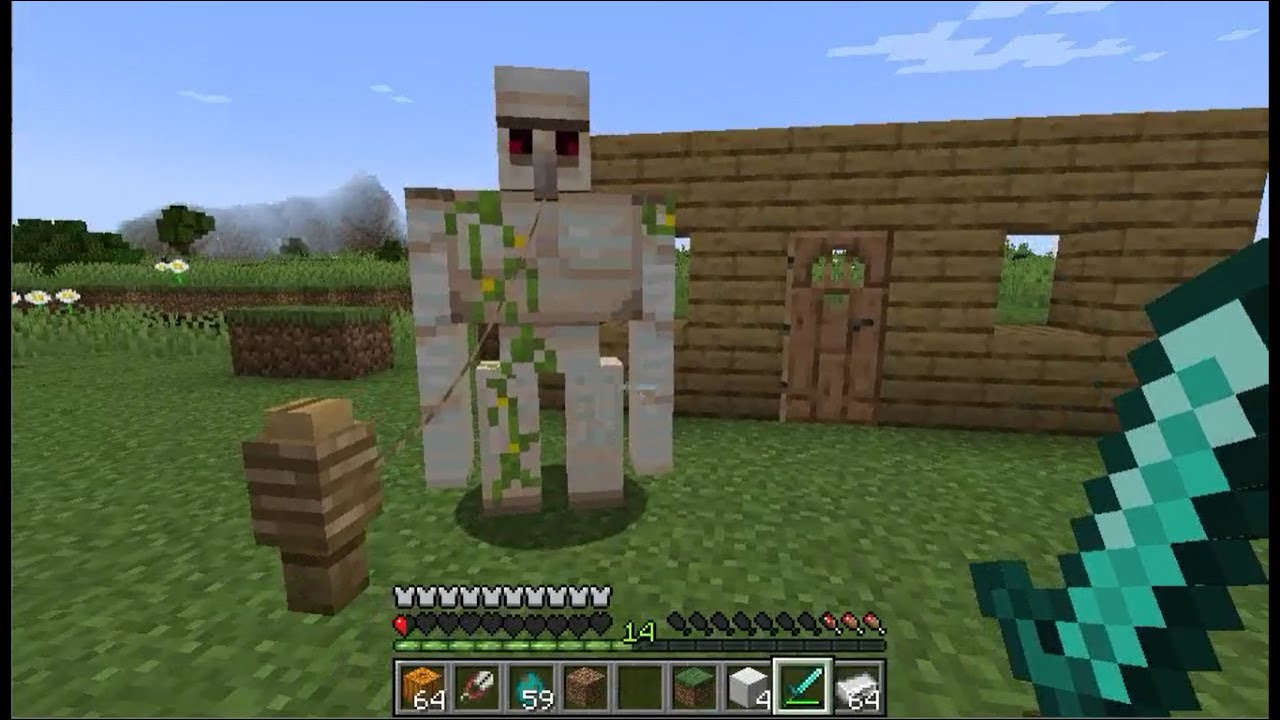
- 4 Iron Blocks (that's 36 Iron Ingots!)
- 1 Carved Pumpkin (or Pumpkin, if you're playing an older version)
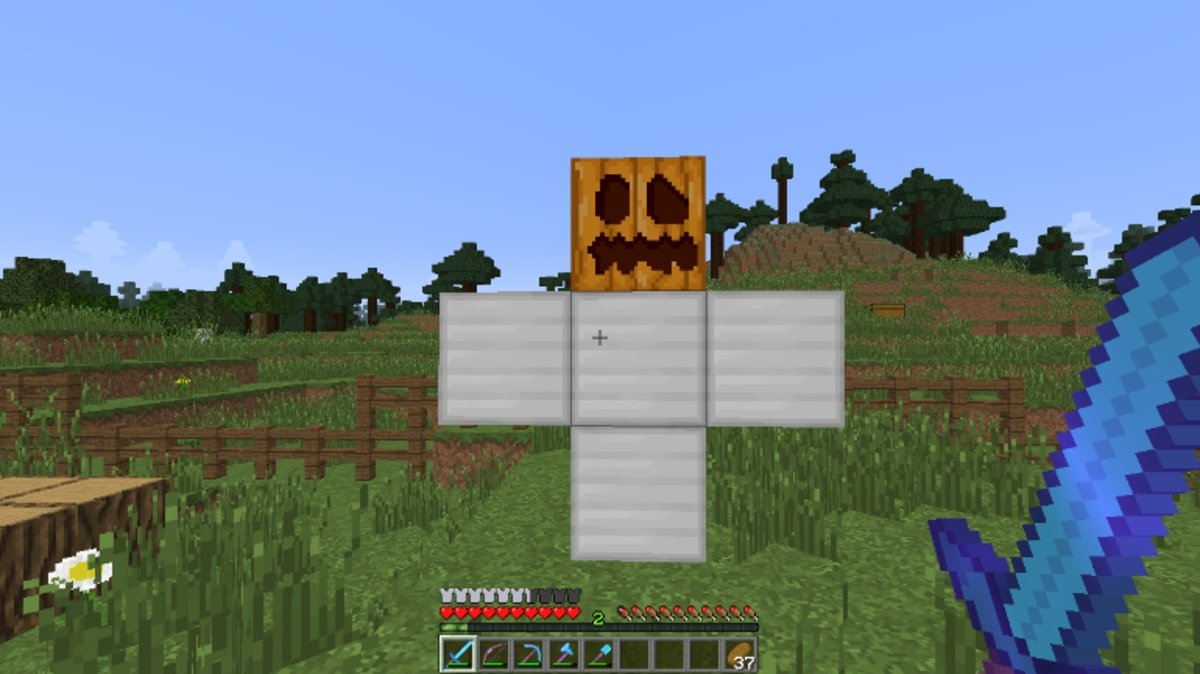
The building process is key. You arrange the Iron Blocks in a "T" shape: One block on the ground, then three stacked on top of it, centered on the first block. Then, place the Carved Pumpkin on top of the center block of the 'T'. Voilà! Your Iron Golem will spring to life, ready to defend your territory! It's like following an IKEA instruction manual, but instead of a bookshelf, you get a giant metal bodyguard.
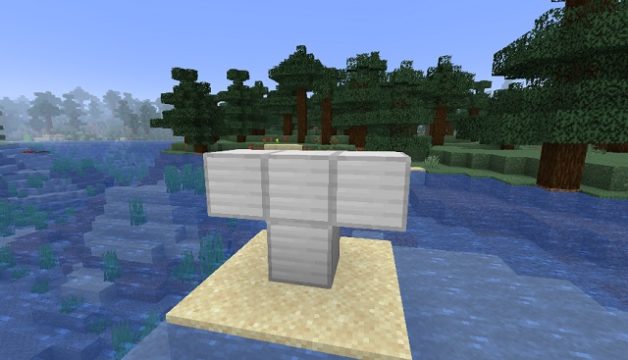
Snow Golem Recipe:
Now for the Snow Golem, the slightly less intimidating, but still helpful, little brother.

- 2 Snow Blocks
- 1 Carved Pumpkin (or Pumpkin)
Stack the two Snow Blocks on top of each other, then place the Carved Pumpkin on top. Easy peasy! Keep in mind that Snow Golems melt in warm biomes, so they're best suited for snowy areas. They're more like a temporary, frosty friend than a permanent protector.
Important Tips and Tricks
Before you rush off to build your golem army, here are a few things to keep in mind:
- Golem spawning: Iron Golems can also spawn naturally in villages with a certain number of villagers and beds. But building your own gives you more control!
- Golem loyalty: Golems aren't technically loyal to you, but they are programmed to defend the area where they were created. So, treat them well! (By which I mean, don't let them get blown up by creepers.)
- Snow Golem melting: Seriously, keep your Snow Golems away from deserts. They won't last long.
So, there you have it! Building a golem in Minecraft is a fun and surprisingly easy way to add some extra protection and a whole lot of character to your world. Now go forth and create your own iron (or snowy) protectors! Happy crafting!


![tuto - comment faire un golem de fer [minecraft] - YouTube](https://i.ytimg.com/vi/QGNA2L6uFug/maxresdefault.jpg)