Okay, picture this: I'm giving a presentation to my boss, right? I've spent hours crafting the perfect slides, witty jokes included (which, let's be honest, landed like a lead balloon). But the real kicker? I somehow managed to leave the default PowerPoint title slide untouched. You know, the one with the generic "Click to Add Title" and "Click to Add Subtitle." My face burned brighter than a thousand suns. Let's just say it wasn't my finest hour. 😅 That's when I vowed to master the art of the PowerPoint cover page. And trust me, it’s easier than trying to explain a bad pun to a humorless manager.
So, you want to avoid my cover page catastrophe? Good call! Let's dive into how you can totally customize your PowerPoint title slide. Forget those default placeholders; we're talking personalized, professional, and maybe even…dare I say…stylish covers!
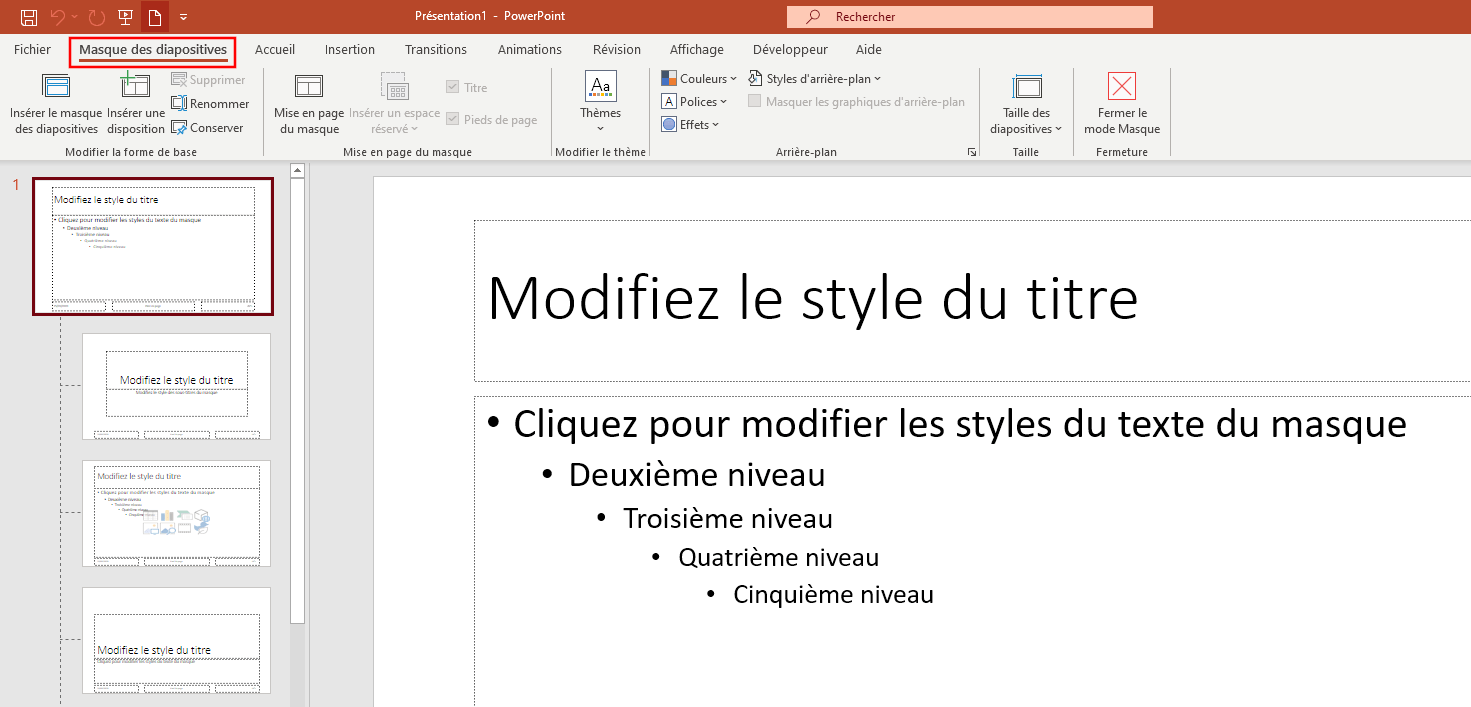
Deleting the Default Stuff
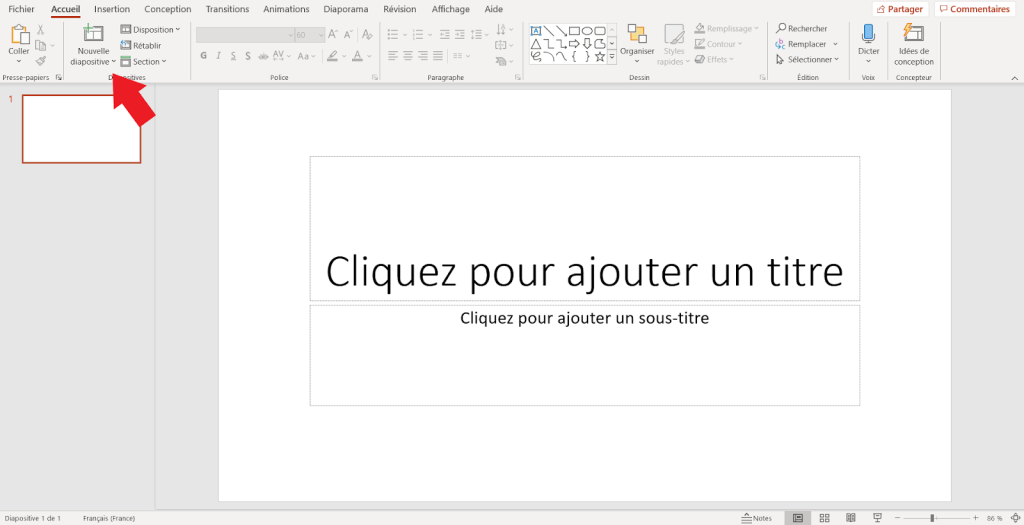
First things first: gotta get rid of the old to make way for the new. That means saying "au revoir" to those pesky "Click to Add..." boxes.
- Click to Select: Simply click on the title or subtitle placeholder box. You should see a dotted line around it.
- Hit Delete: Press the "Delete" key on your keyboard. Poof! Gone. Repeat for any other placeholders you want to vanish. This is the magic trick every PowerPoint user should know!
Now you have a blank canvas! 🎉 Ready to unleash your inner artist?
Adding Your Own Elements
This is where the fun begins! We're talking text boxes, images, shapes – the whole shebang. PowerPoint is your playground, my friend. Treat it as such!
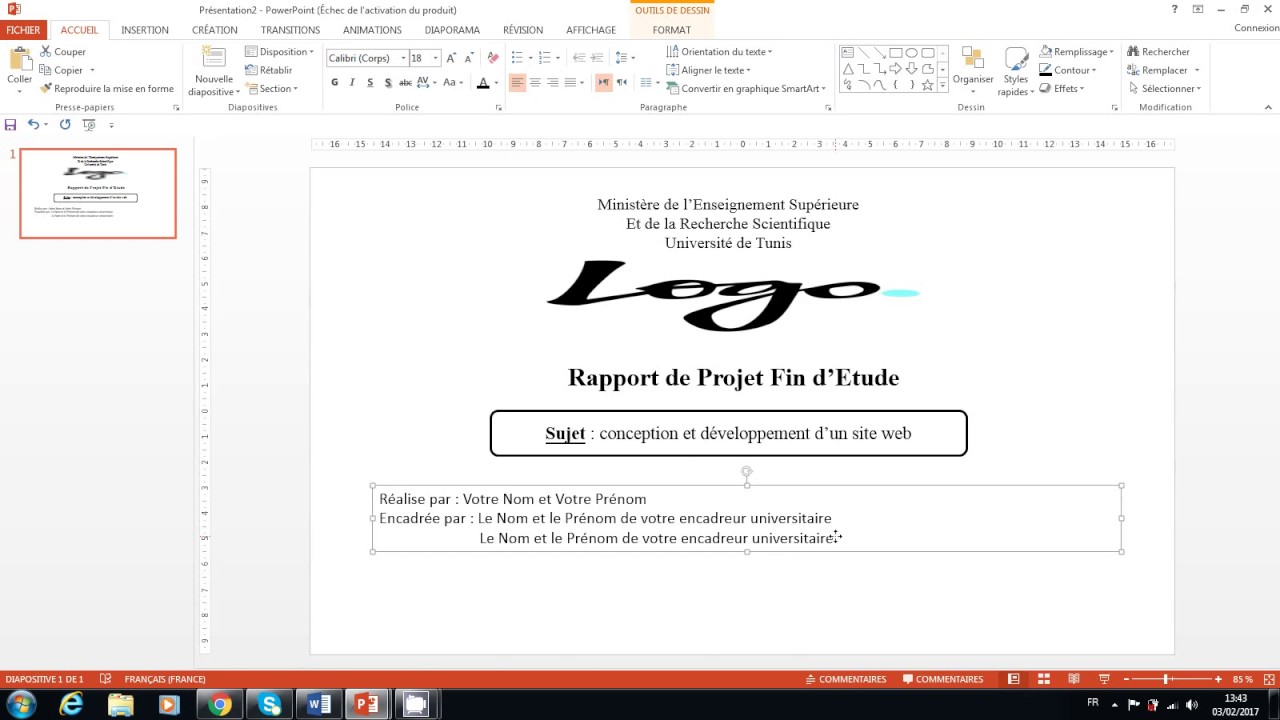
![[PPT 2016] Exemple de template PowerPoint pour un PFE (Développement d](https://4.bp.blogspot.com/-TDQ-jLnYQnA/VnnJMMF15pI/AAAAAAAAC3o/bHvR5cL4An4/s1600/Exemple%2Bde%2Bpresentation%2Bpfe%2B2016%2Bpowerpoint%2BD%25C3%25A9veloppement%2Bd%25E2%2580%2599une%2Bapplication%2Bde%2Bgestion%2Bd%25E2%2580%2599un%2Bparc%2Binformatique.PNG)
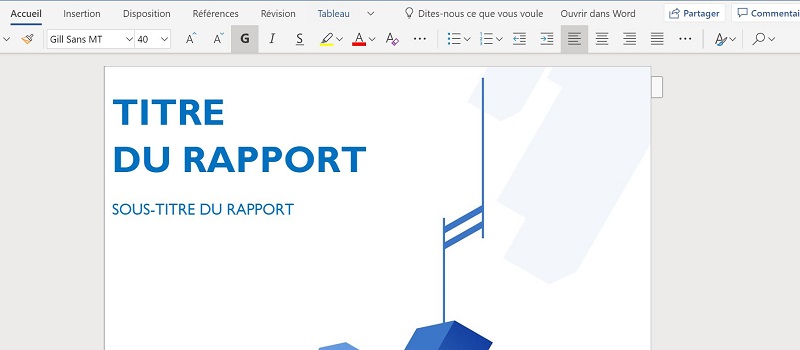
Text Boxes: Tell Your Story
To add text, go to the "Insert" tab and click on "Text Box." Then, click and drag on your slide to create a box. Start typing your title, subtitle, your name, the date – whatever floats your boat! Pro Tip: Play around with fonts, sizes, and colors to make it visually appealing. Avoid Comic Sans at all costs. Please. For the love of all that is holy. 🙏
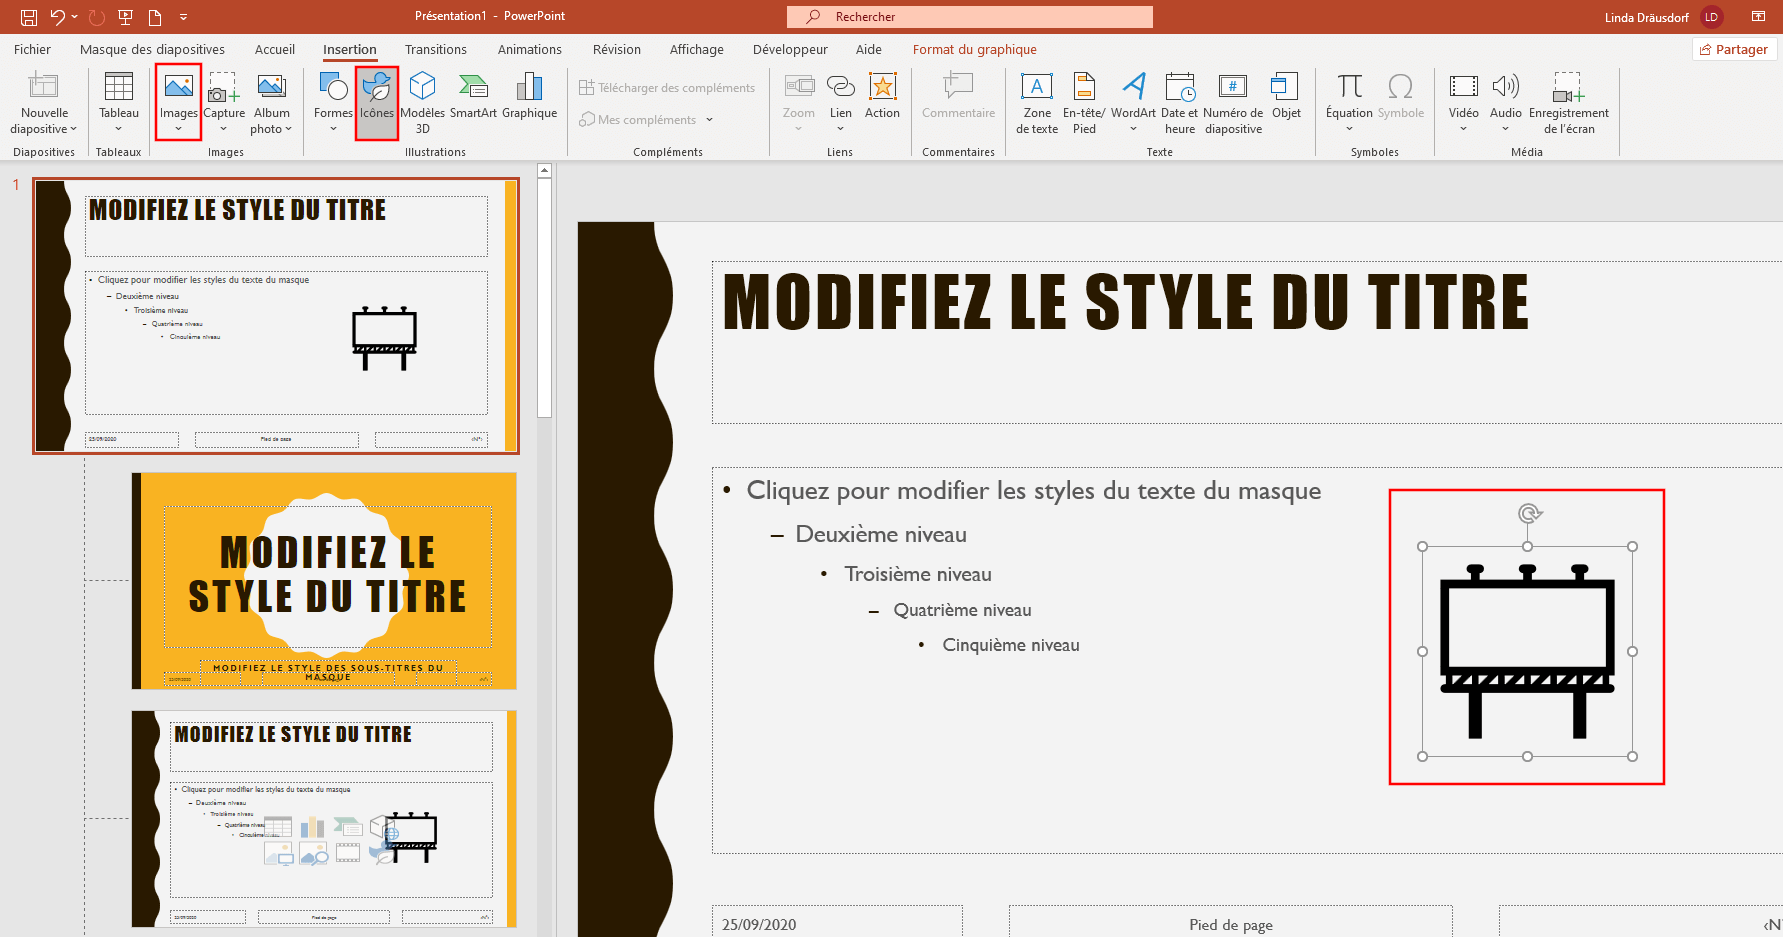
Images: A Picture is Worth a Thousand Words (Unless They’re Bad Photos)
Spice things up with an image! "Insert" tab again, then "Pictures." You can choose from files on your computer or even search for online pictures (be mindful of copyright!). Side Note: Make sure your images are high-resolution and relevant to your presentation. A blurry, unrelated image screams "I phoned it in!"

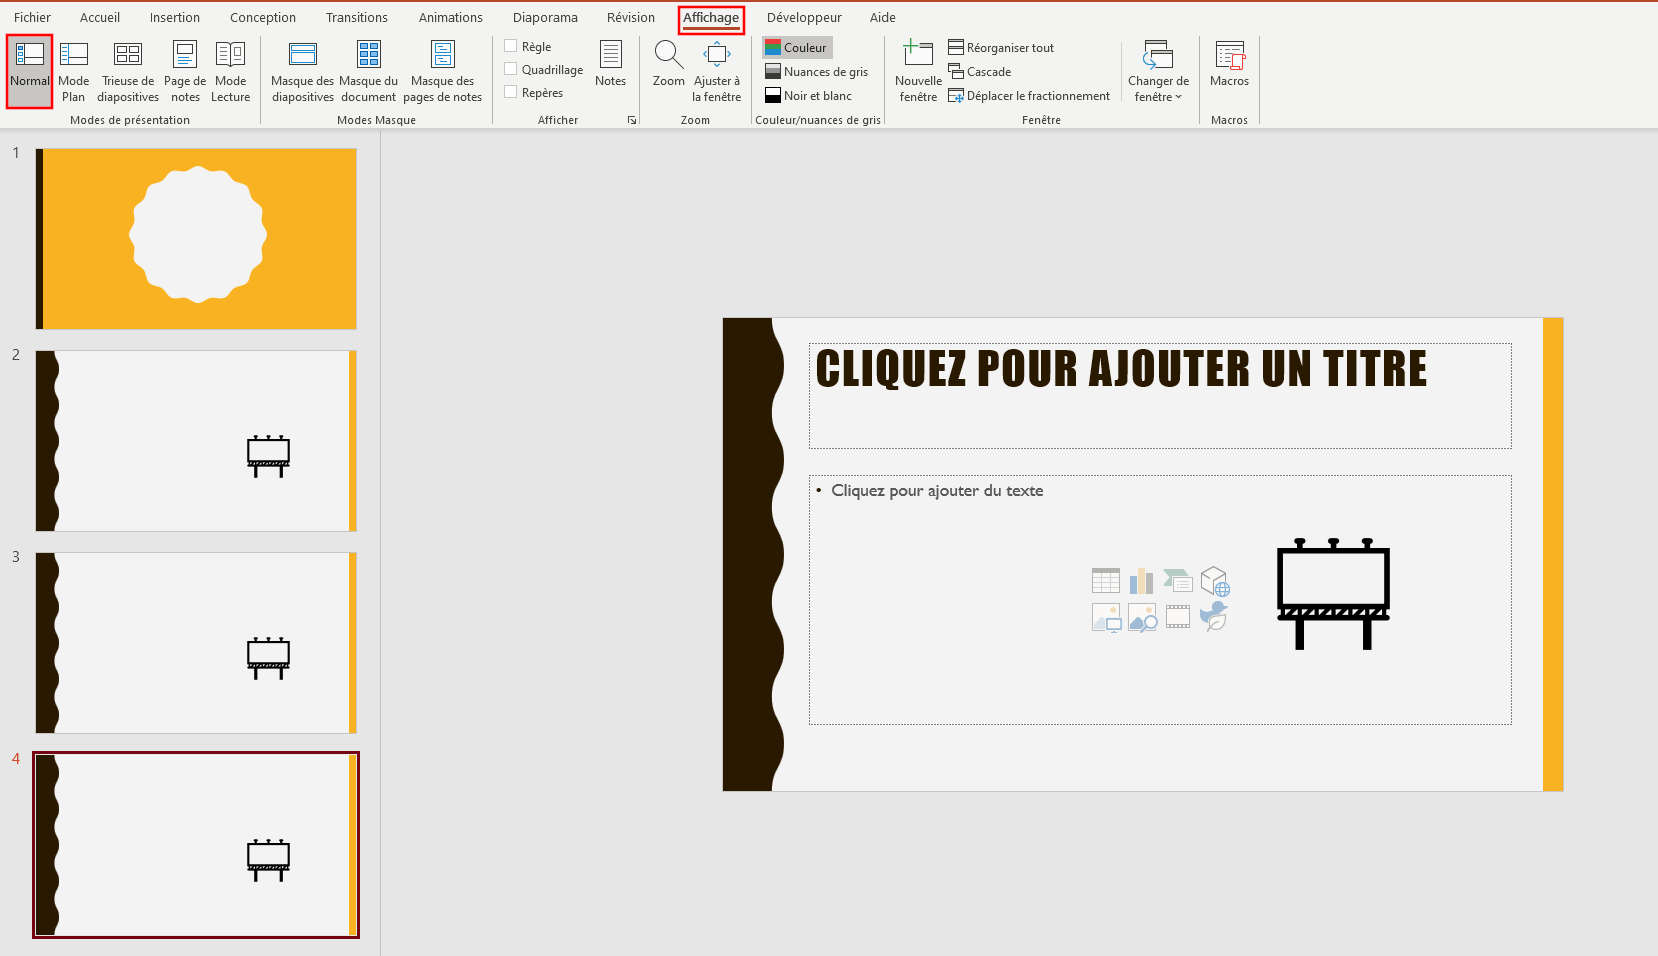
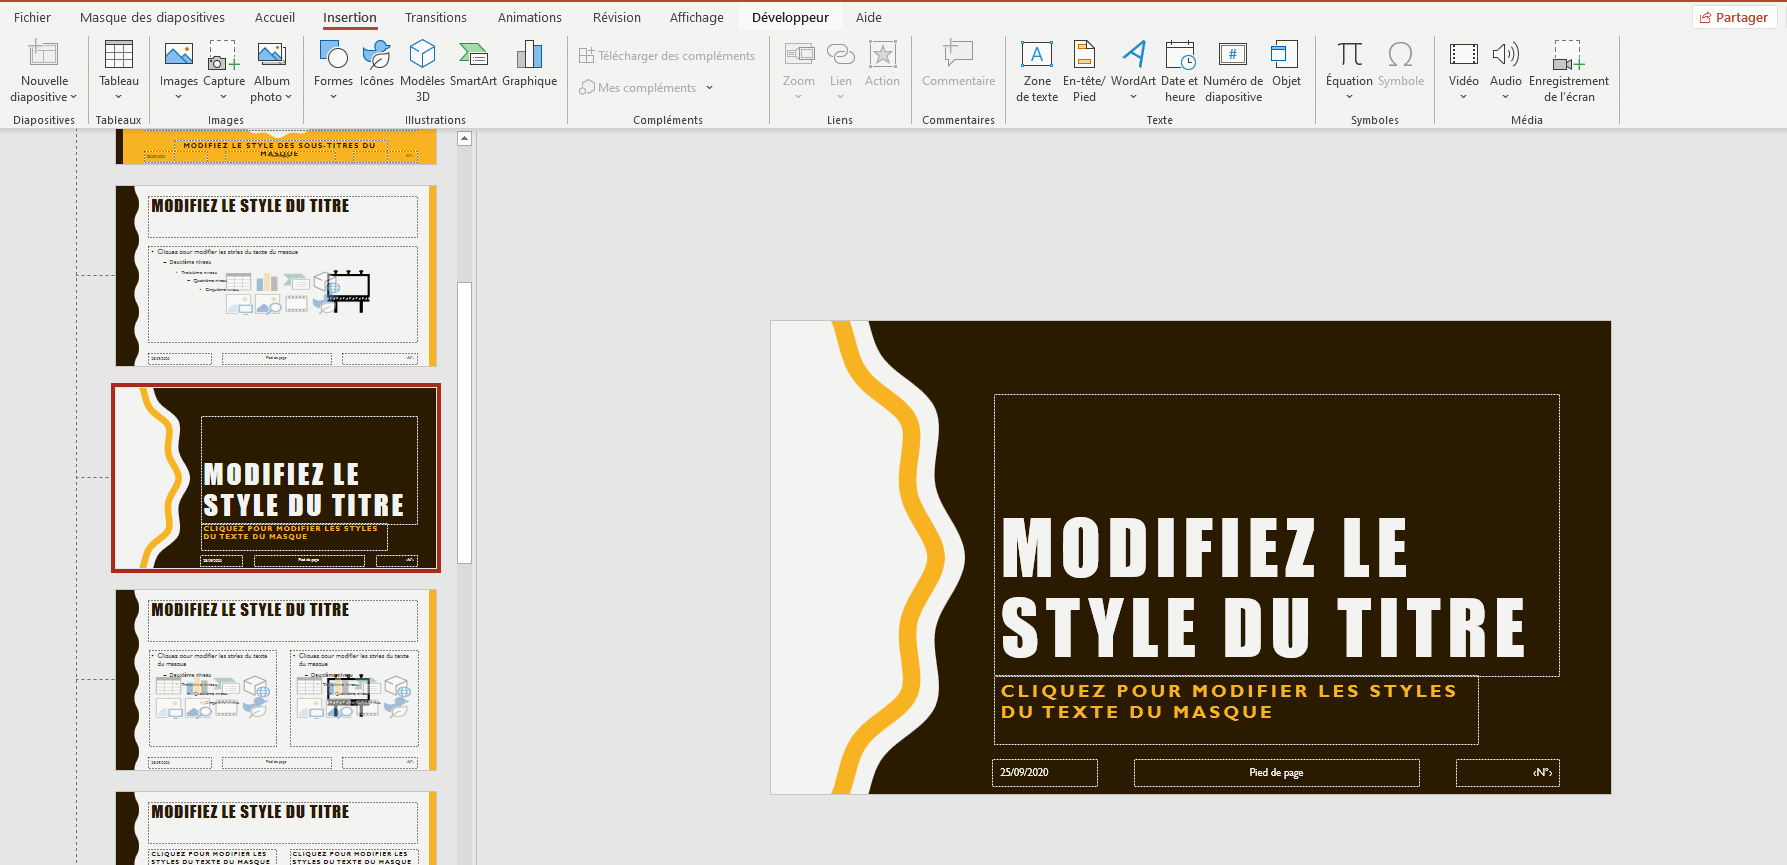
Shapes: Because Squares and Circles are Your Friends
Don't underestimate the power of a well-placed shape! Use shapes to create backgrounds, borders, or even just to add visual interest. "Insert" tab, "Shapes." Experiment with different shapes and colors to see what works best. You can even add text to shapes! It's like a PowerPoint inception! 🤯
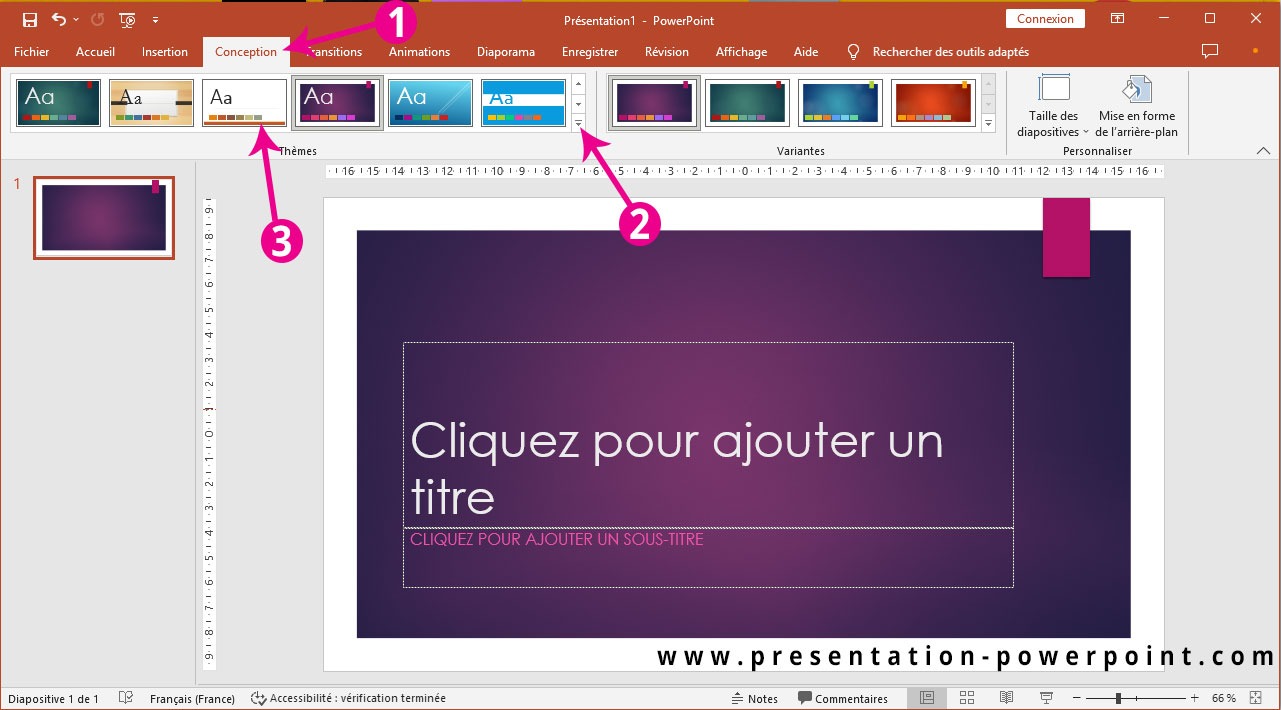
Formatting and Design
Okay, you've added your elements. Now it’s time to make them look amazing. PowerPoint has tons of formatting options – use them!
- Font Choices: Experiment with different fonts to find one that suits the tone of your presentation.
- Color Schemes: Choose a color scheme that is visually appealing and consistent throughout your presentation. Don't go overboard with too many colors. Think sophisticated, not rainbow vomit. 🌈🤢
- Animations: Use animations sparingly! A subtle fade-in or wipe can add a nice touch, but avoid anything too distracting. We want to impress, not induce seizures.
Remember: the goal is to create a cover page that is both visually appealing and informative. A great cover page makes a fantastic first impression.
So, there you have it! You're now equipped to create stunning PowerPoint cover pages that will wow your audience (and save you from my embarrassing default-slide fate). Now go forth and conquer the world of presentations!