Okay, so picture this: me, ten years old, armed with a crayon that's seen better days and a burning desire to draw the most majestic creature the world has ever known - an eagle! Spoiler alert: it looked less like a symbol of freedom and more like a confused chicken. Seriously, my art teacher probably still has nightmares. But hey, we all start somewhere, right?
And that, my friends, is why we're here today. We're tackling the seemingly impossible: how to draw a royal eagle (aigle royal) without needing a degree in ornithology or years of artistic training. Because let’s be honest, we all secretly want to be able to whip up a decent eagle drawing, whether it’s for a school project, a fun doodle, or just to impress your friends with your newfound artistic prowess. (I mean, who doesn't want to impress their friends with their eagle-drawing skills?!)
Pourquoi un Aigle? (Why an Eagle?)
Before we dive into the "how," let's address the "why." Eagles are just... cool. They embody strength, power, freedom, and all those other awesome qualities. They're basically the superheroes of the bird world. Plus, they look amazing soaring through the sky. Seriously, have you ever seen an eagle in real life? Breathtaking. Drawing one is a way to capture a bit of that majesty on paper. And let's not forget all the cultural significance! From ancient mythology to national emblems, eagles have been symbols of authority and power for centuries. You're not just drawing a bird, you're drawing a legend!
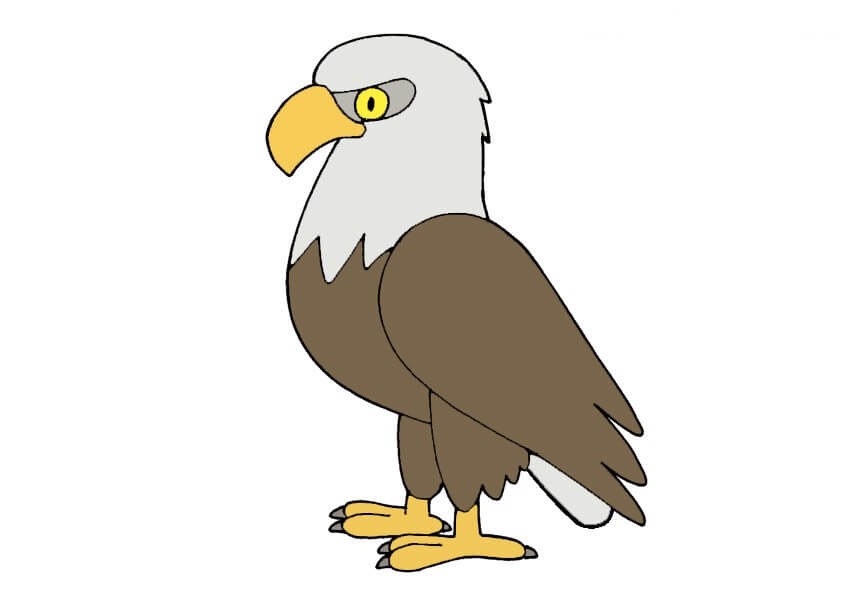
Dessin D'Aigle Royal Facile: The Breakdown
Alright, let's get down to business. We're going for "facile" here, meaning easy. We're not trying to create a photorealistic masterpiece (unless you are a professional artist, in which case, why are you reading this? Just kidding!). We're aiming for a recognizable and respectable eagle drawing that you can be proud of. Remember, the key is to break it down into simple shapes. Think of it like building with LEGOs. We start with the basic blocks and gradually add details.
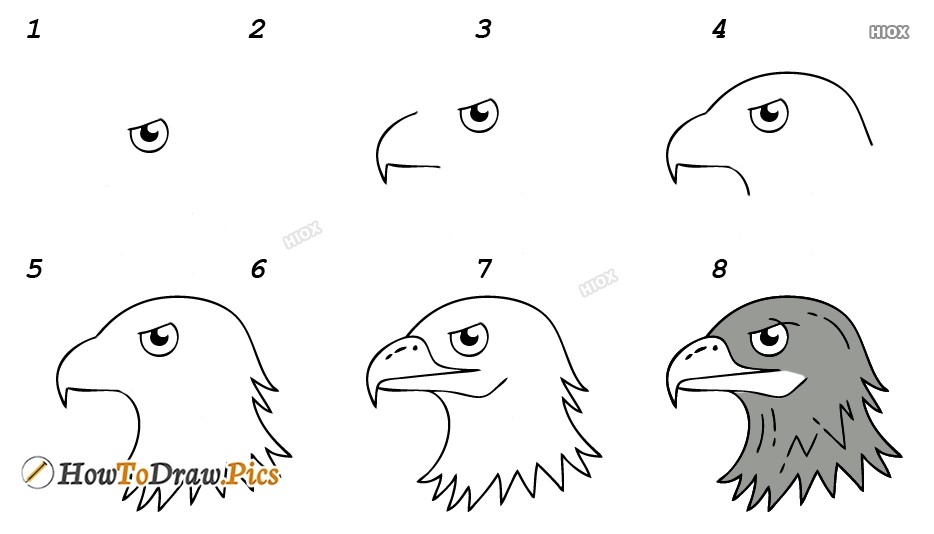
Étape 1: Les Formes de Base (Basic Shapes)
This is where we lay the foundation. Grab your pencil (or stylus, if you're going digital) and let's get started:
- Le Corps (The Body): Start with an oval. Not a perfect oval, mind you. A slightly elongated one, tilting upwards a bit. Think of it as the eagle's torso. (Imagine it wearing a tiny t-shirt!)
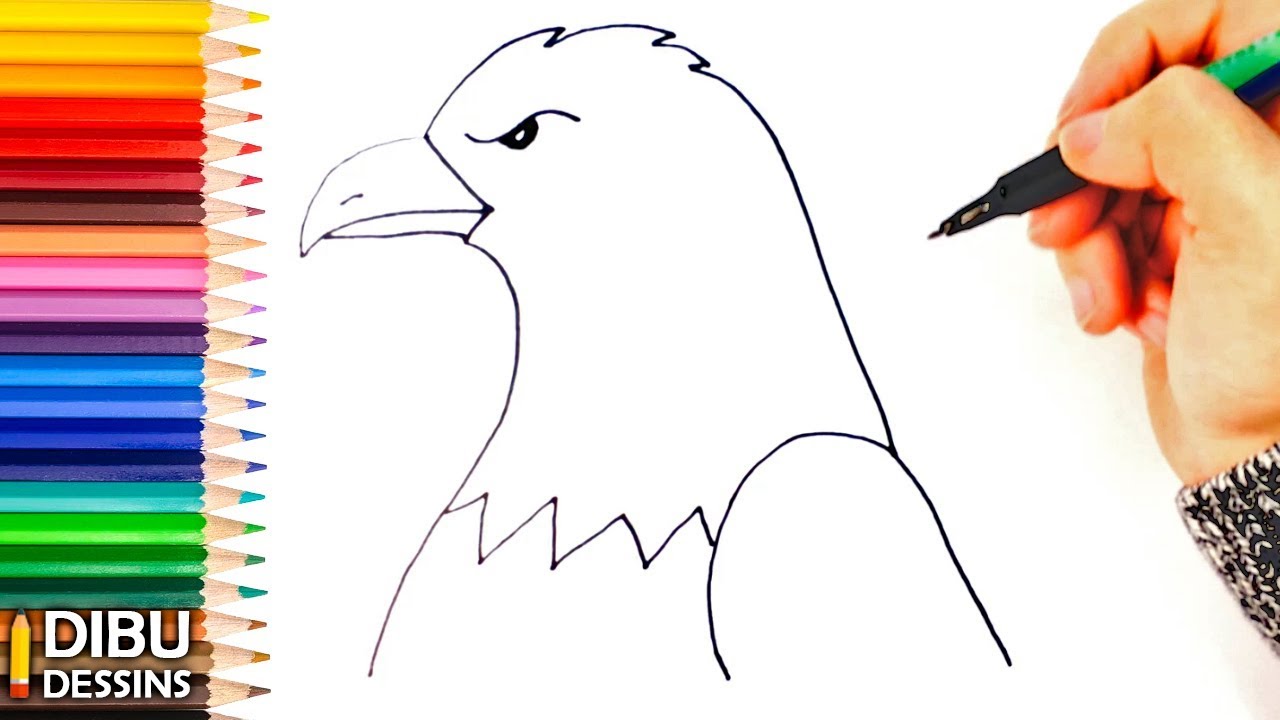
- La Tête (The Head): Add a smaller circle overlapping the top of the oval. This will be the eagle's head. Don't make it too big, or it'll look like it's been hitting the gym too hard.
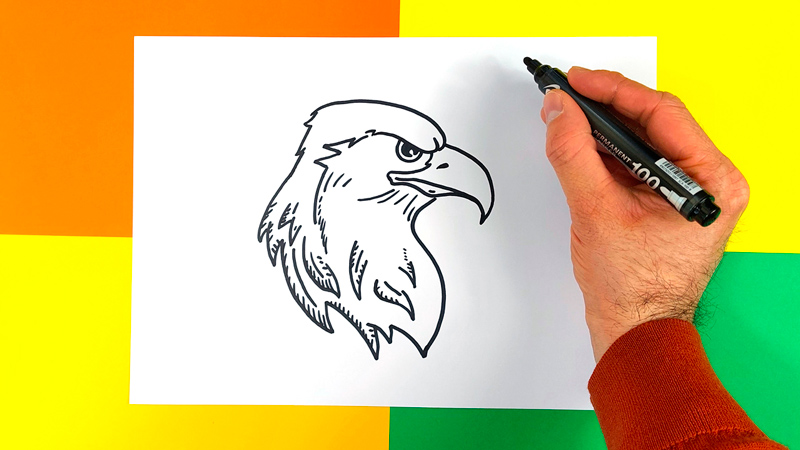
- Le Bec (The Beak): Now for the iconic beak! Attach a curved triangle to the front of the head circle. Remember, the beak is strong and slightly hooked. This is what gives the eagle that "don't mess with me" vibe.
- La Queue (The Tail): Draw a triangle extending from the back of the body oval. This will be the tail. Keep it relatively short and wide.
Don't worry if it looks a bit wonky at this stage. It's just the skeleton! We'll flesh it out later. (Pun intended? Maybe.)
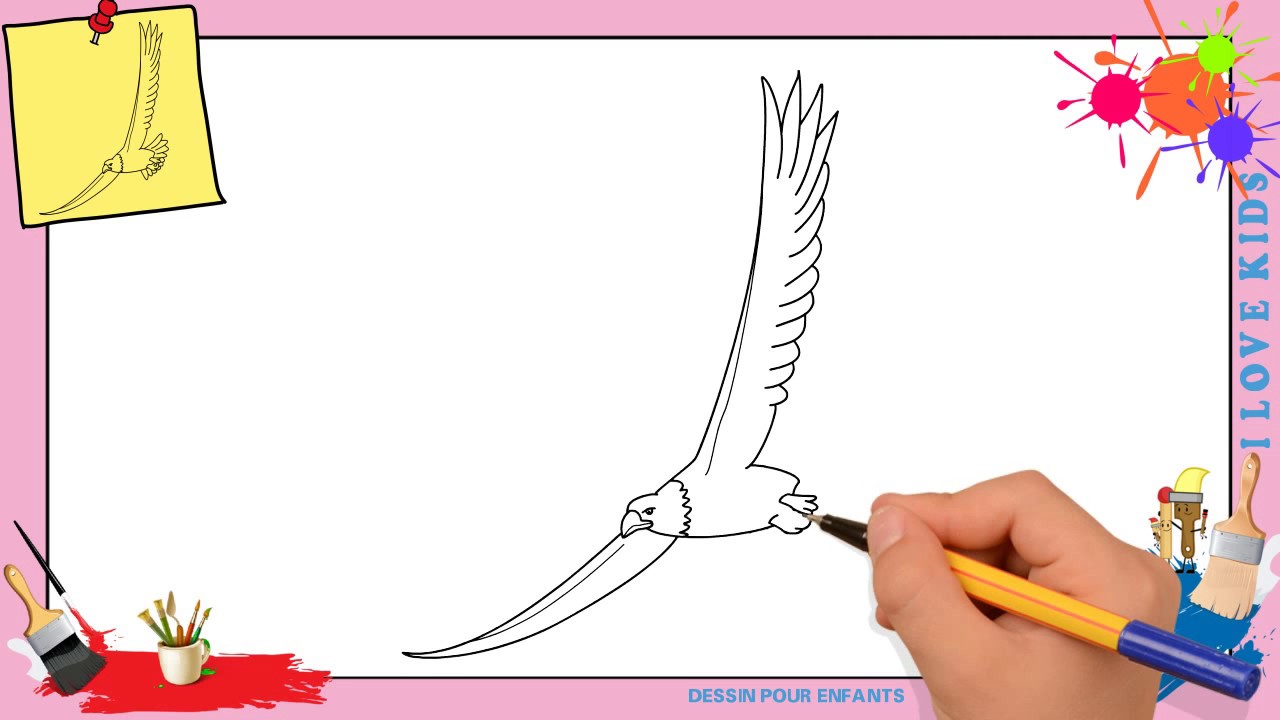
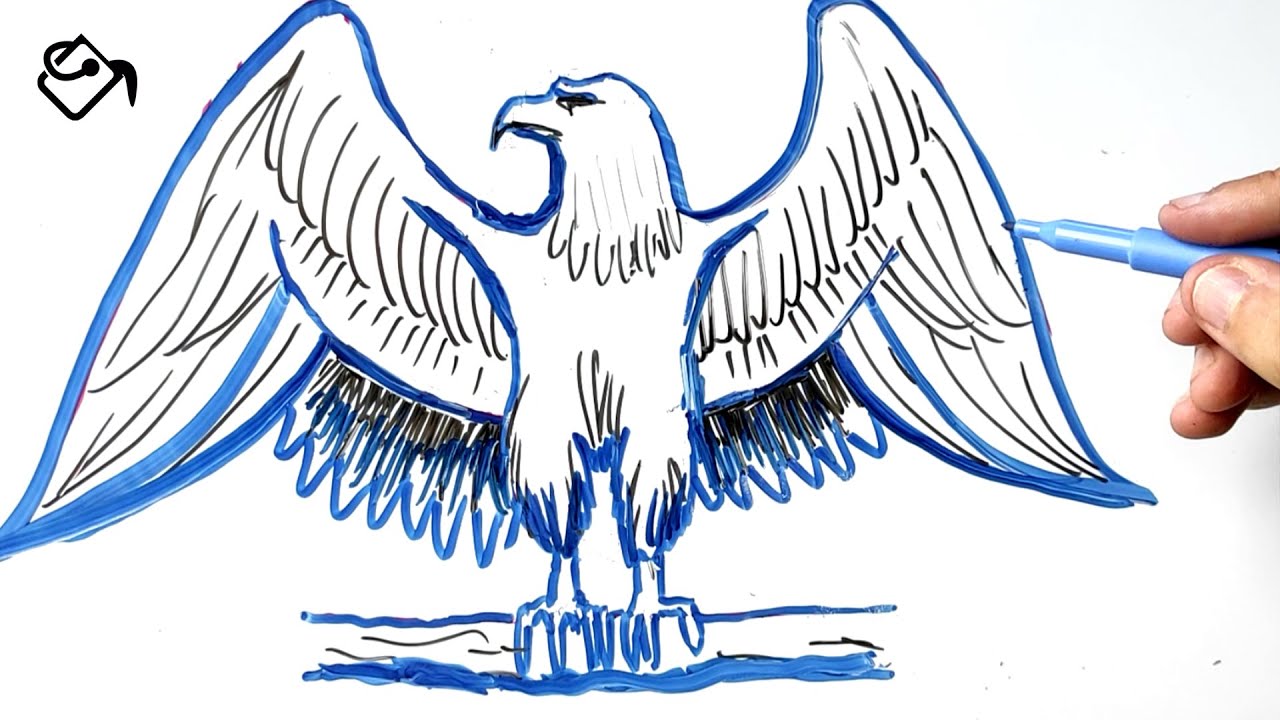
Étape 2: Les Ailes (The Wings)
Ah, the wings! The most majestic part of the eagle. Here's how to tackle them:
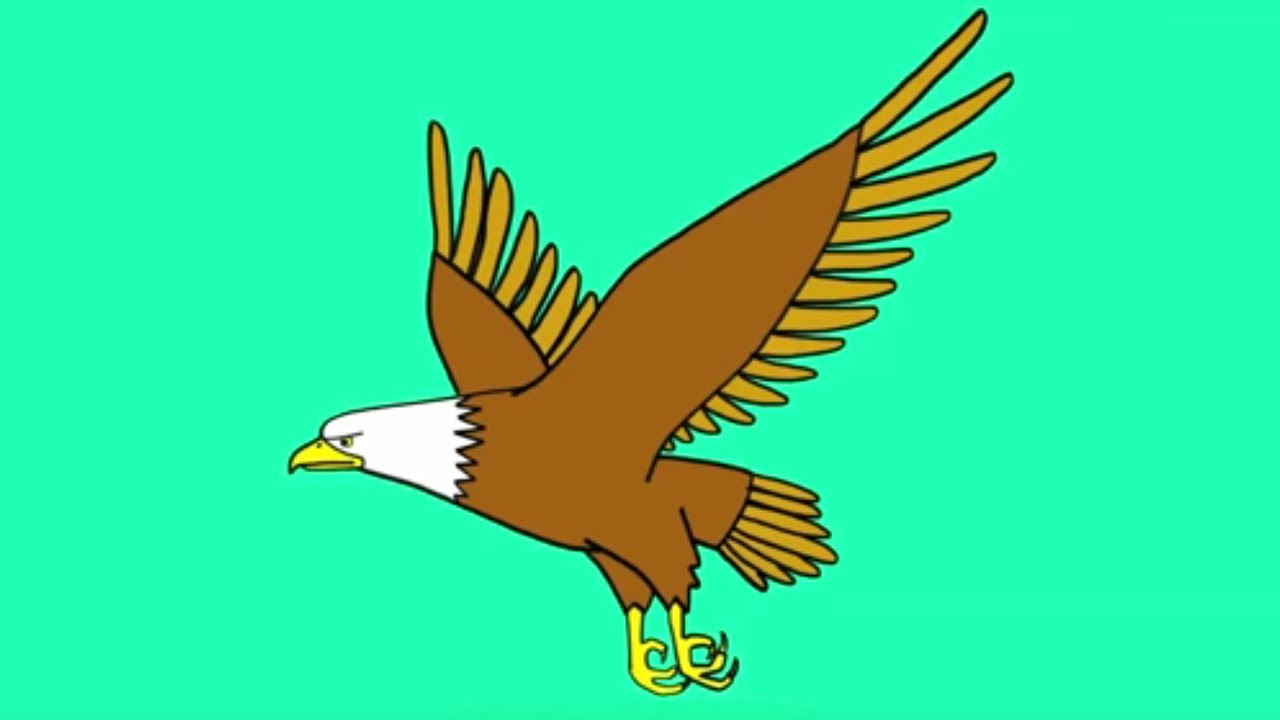
- Première Aile (First Wing): Draw a long, curved shape extending from the top of the body oval. Think of it as a comma, but stretched out and slightly angled upwards. Make sure it's proportional to the body. Too small, and the eagle won't be able to fly. Too big, and it'll look like it's trying to hug the entire world.
- Deuxième Aile (Second Wing): Draw a similar shape on the other side of the body, but slightly behind the first wing. This creates the illusion of depth. (We're going for 3D here, folks!)
- Plumes (Feathers): Add some simple lines to suggest feathers along the edges of the wings. Don't go overboard! A few well-placed lines will do the trick. We're not trying to count every single feather.
Tip: Imagine the eagle is soaring in the wind. The wings should have a sense of movement. (Okay, maybe not wind, but air at least!)

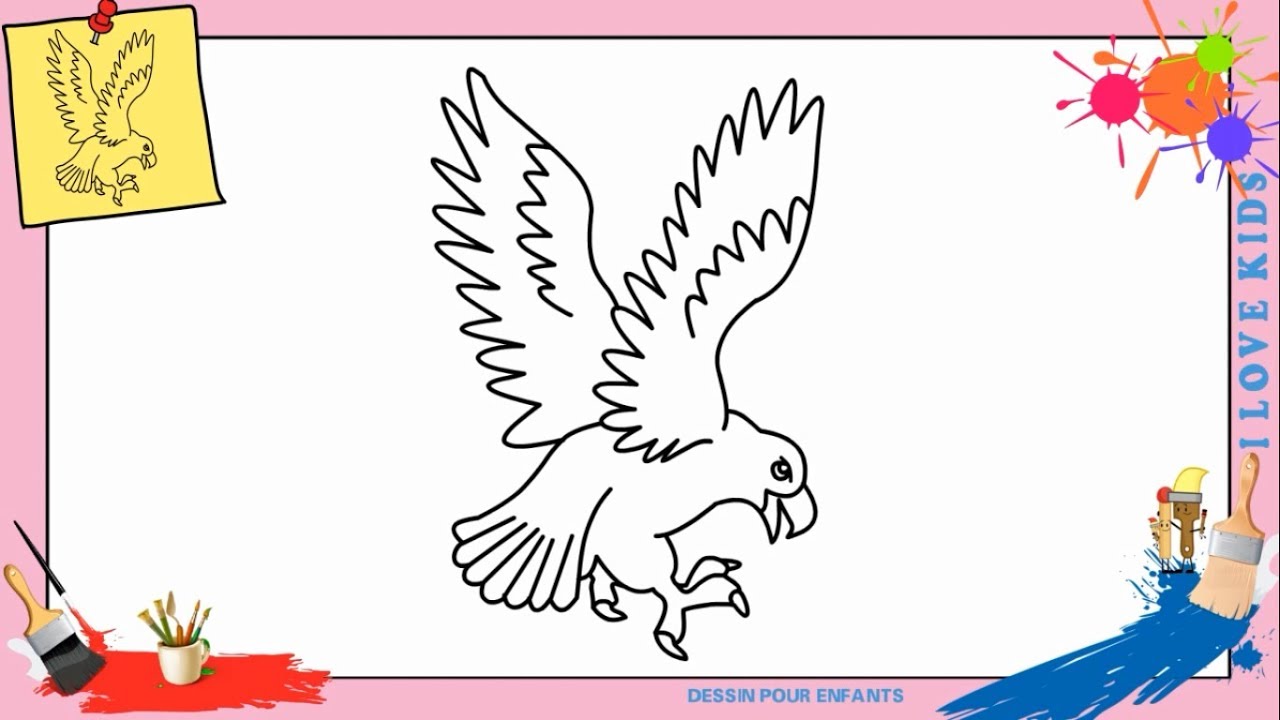
Étape 3: Les Détails (The Details)
Now it's time to add some personality! This is where your eagle starts to come alive.
- L'Oeil (The Eye): Draw a small, round eye on the head. Give it a slight glare to convey that eagle intensity. Remember, eagles have excellent vision! (They can spot a field mouse from miles away!)
- Les Plumes (More Feathers!): Add some more feather details to the body and tail. Use short, curved lines to suggest the texture of the feathers. Vary the length and direction of the lines to create a more realistic effect.
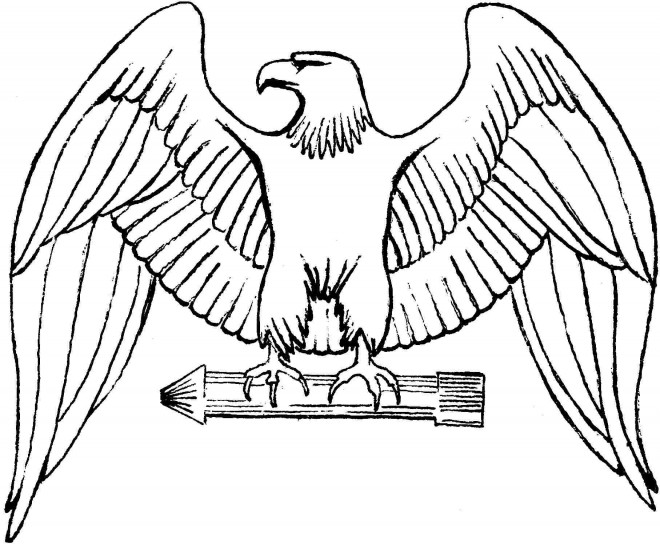
- Les Griffes (The Claws): Draw some sharp claws on the feet. These are essential for catching prey. Make them look powerful and intimidating. (Imagine what it would feel like to be caught in those claws!)
- Le Bec (The Beak - Refined): Refine the shape of the beak. Make sure it's sharp and hooked. Add a small nostril.
Remember, details are important, but don't overdo it! The goal is to enhance the drawing, not to clutter it. Less is often more.
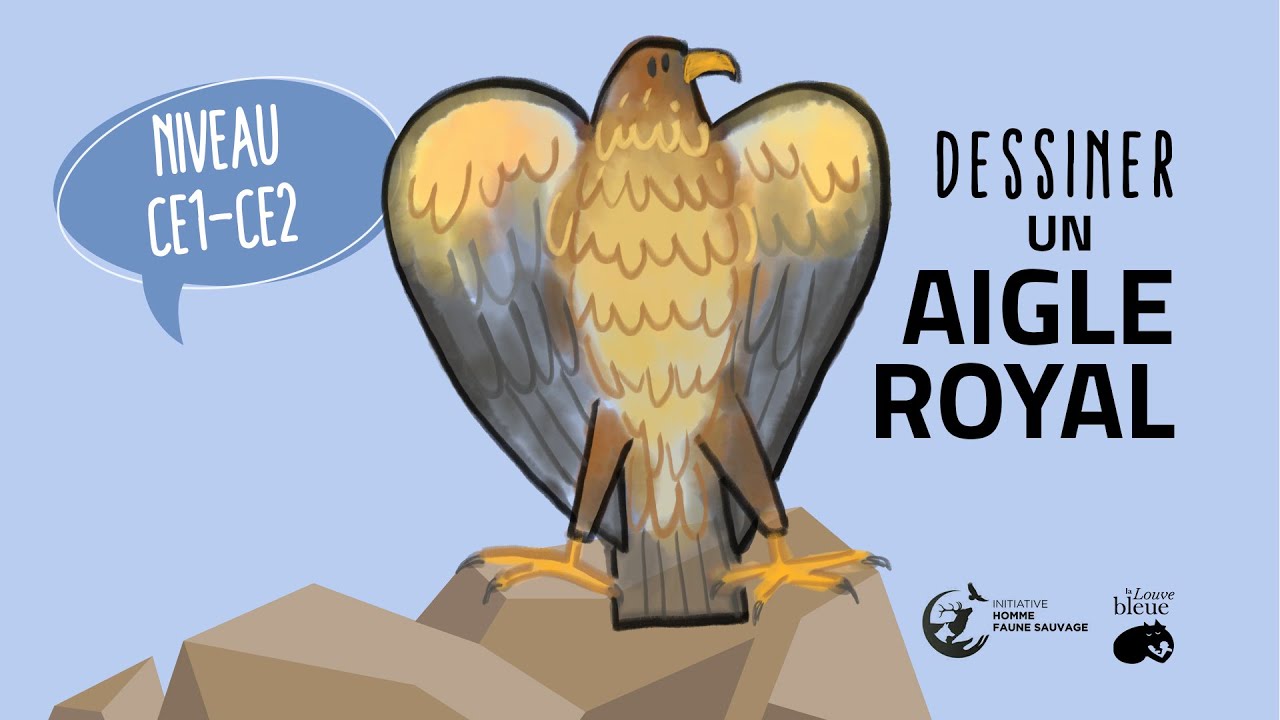
Étape 4: L'Ombrage (Shading)
Shading adds depth and dimension to your drawing. It makes the eagle look more realistic and less like a flat cartoon. (Although, a flat cartoon eagle can be pretty cool too!)

- Sources de Lumière (Light Source): Decide where the light is coming from. This will determine where the shadows fall.
- Ombres (Shadows): Add shadows to the areas that are furthest from the light source. Use a light pencil stroke and gradually build up the darkness.
- Estompage (Blending): Use a blending stump or your finger to blend the shadows and create smooth transitions. (Be careful not to smudge too much!)
Shading can be tricky, but don't be afraid to experiment! The more you practice, the better you'll get. (And remember, even if your shading is a bit off, it's still better than no shading at all!)
Étape 5: La Finition (Finishing Touches)
This is where you put the final touches on your masterpiece. Erase any unnecessary lines and refine the details. Step back and admire your work! (You deserve it!)
- Effacer (Erase): Erase any construction lines or guidelines that are still visible.
- Contourner (Outline): You can optionally outline the drawing with a darker pencil or pen to make it stand out more.
- Signer (Sign): Don't forget to sign your artwork! It's a testament to your creativity and hard work.
Congratulations! You've successfully drawn a royal eagle (aigle royal)! Now go forth and share your creation with the world! Or, you know, just stick it on your fridge. That's cool too.

Conseils Supplémentaires (Extra Tips)
Here are a few extra tips to help you on your eagle-drawing journey:
- Référence (Reference): Use reference images! Look at photos of real eagles to get a better understanding of their anatomy and proportions. (Google is your friend!)
- Pratique (Practice): Practice makes perfect! The more you draw, the better you'll get. Don't be discouraged if your first few attempts aren't perfect. Keep practicing, and you'll eventually create an eagle that you're proud of.
- Amusez-vous (Have Fun!): Drawing should be enjoyable! Don't put too much pressure on yourself. Relax, experiment, and have fun with it!
- Ne Comparez Pas (Don't Compare): Don't compare your work to others. Everyone starts somewhere. Focus on your own progress and celebrate your achievements. (You're awesome!)
And there you have it! A step-by-step guide to drawing a royal eagle. Remember, it's all about breaking it down into simple shapes and having fun. So grab your pencil, unleash your inner artist, and create an eagle that would make even Zeus jealous. Good luck, and happy drawing!
P.S. If you do create an amazing eagle drawing, feel free to share it with me! I'd love to see your creations. Maybe I can even learn a thing or two! 😉