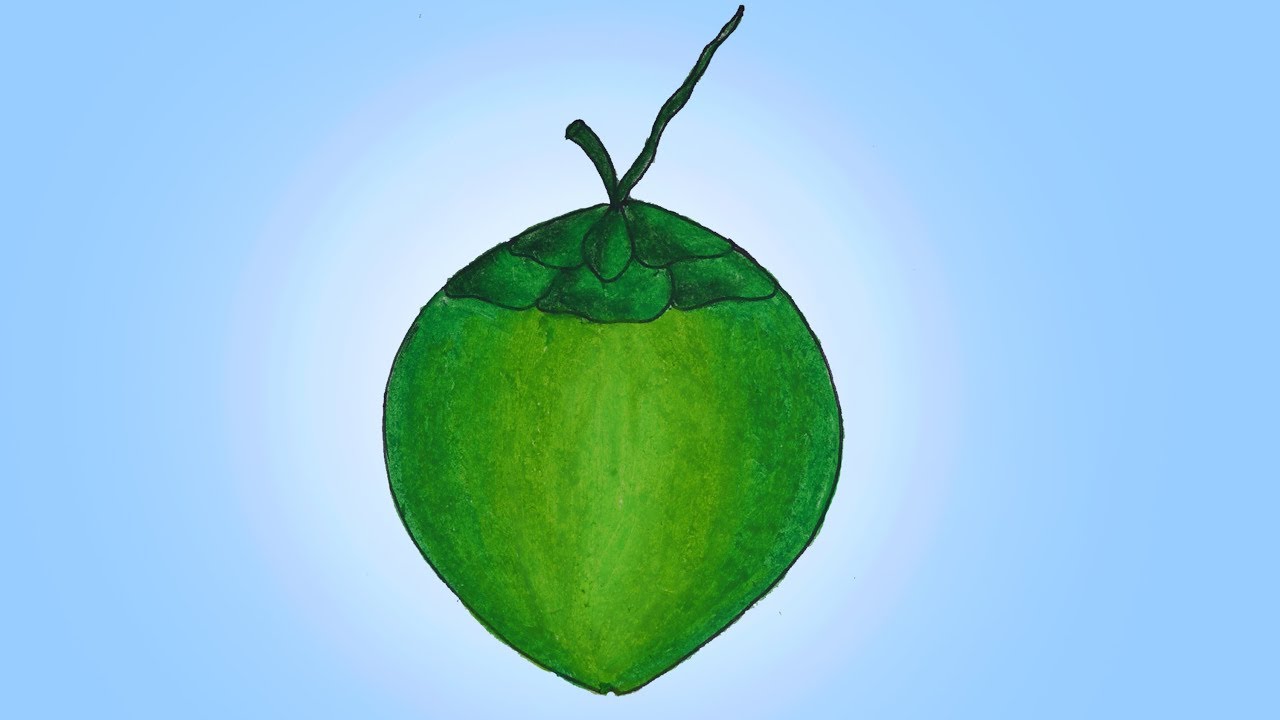
Okay, confession time. The other day, I was trying to impress my niece, Léa, by drawing her a tropical scene. Palm trees? Check. Sun? Easy peasy. Ocean? No problem. Then came the coconut. I stared at it, and Léa, bless her innocent heart, said, "It looks like a potato, Tante [Aunt]!". Potato, indeed! That’s when I realized I needed to seriously up my coconut-drawing game. So, join me, friends, on this artistic quest to conquer the dessin noix de coco facile!
Because let's be honest, who hasn't struggled with drawing a seemingly simple coconut? It's round-ish, brown-ish… but somehow, it always ends up looking like… well, a potato.
Why is the Coconut So Darn Tricky?
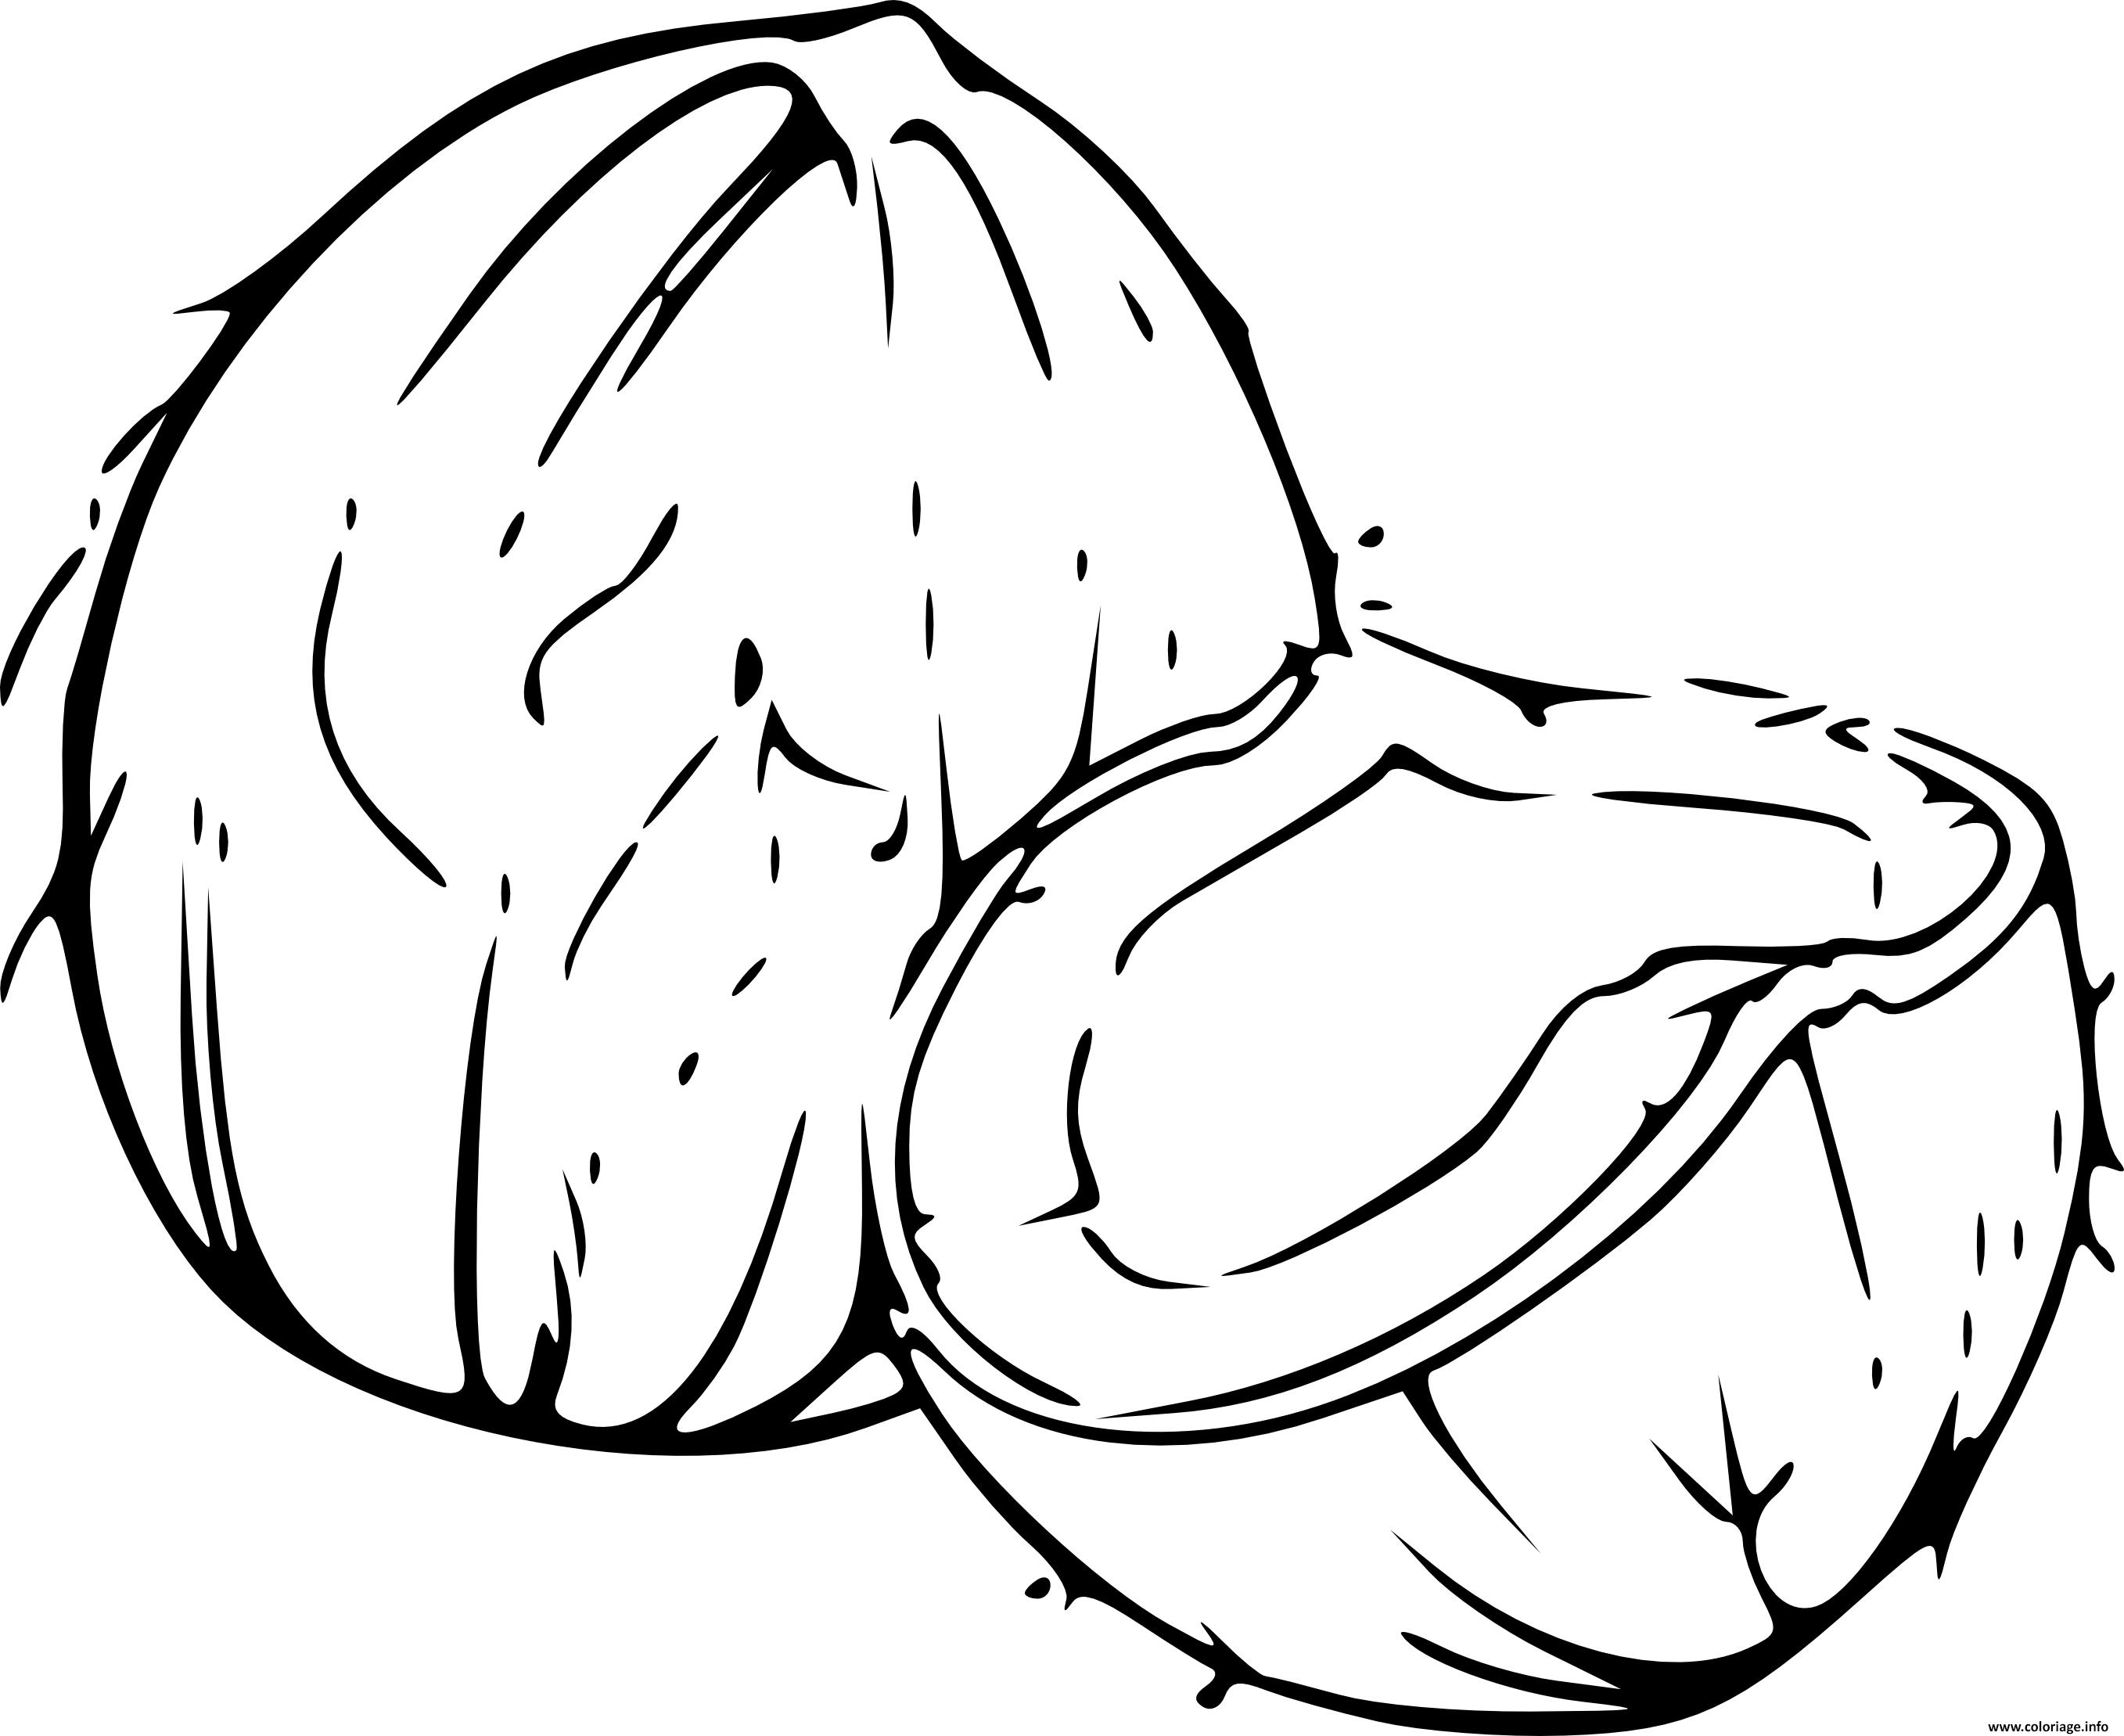
It’s all about the details, mes amis! A coconut isn’t just a brown blob. It's got texture, variations in color, and that little "face" thing going on with the three eyes (germ pores, technically, but let’s stick with “eyes” for now, okay?). Ignoring these little nuances is where most of us go wrong.
So, how do we avoid the potato-coconut disaster? Here’s the breakdown:
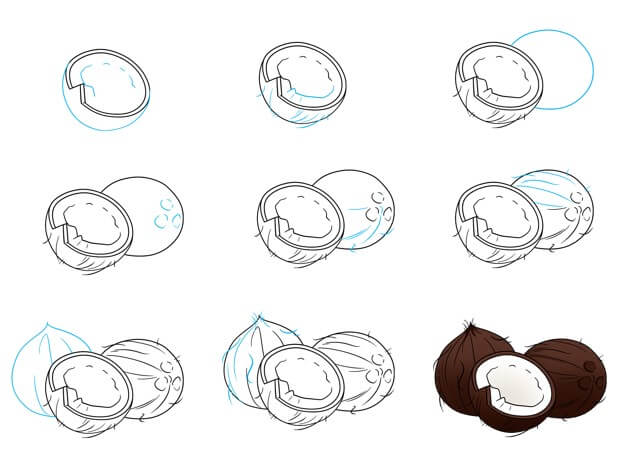
Step 1: The Basic Shape (No, it’s NOT a Perfect Circle!)
Forget the compass! A coconut is never a perfect circle. It’s more of an oval, slightly asymmetrical, and often a little lumpy. Think about a slightly squashed ball. That's your starting point.
- Start with a light sketch: Use a soft pencil (2B or softer) and draw lightly. You can always erase!
- Embrace asymmetry: Don't try to make it perfectly symmetrical. That's what makes it look realistic!
- Think about the light source: Imagine where the light is coming from. This will influence where you add shadows later.
Side note: if you really want to cheat, trace a… well, a potato. Then just adjust the shape slightly! (Don’t tell Léa I suggested that!).
Step 2: Adding the Texture (This is Where the Magic Happens)
This is crucial. A smooth coconut looks… fake. We need to convey that rough, fibrous husk. How? Through shading and careful line work.
- Short, irregular strokes: Use short, broken lines to suggest the texture. Vary the pressure on your pencil to create lighter and darker areas.
- Cross-hatching: Gently cross-hatch in areas that would be in shadow. This adds depth and dimension.
- Focus on the light: Leave some areas almost completely white to represent highlights.
Don't be afraid to experiment! Use different pencil grades (HB, 2B, 4B) to create varying levels of darkness. Think of it like sculpting with your pencil!
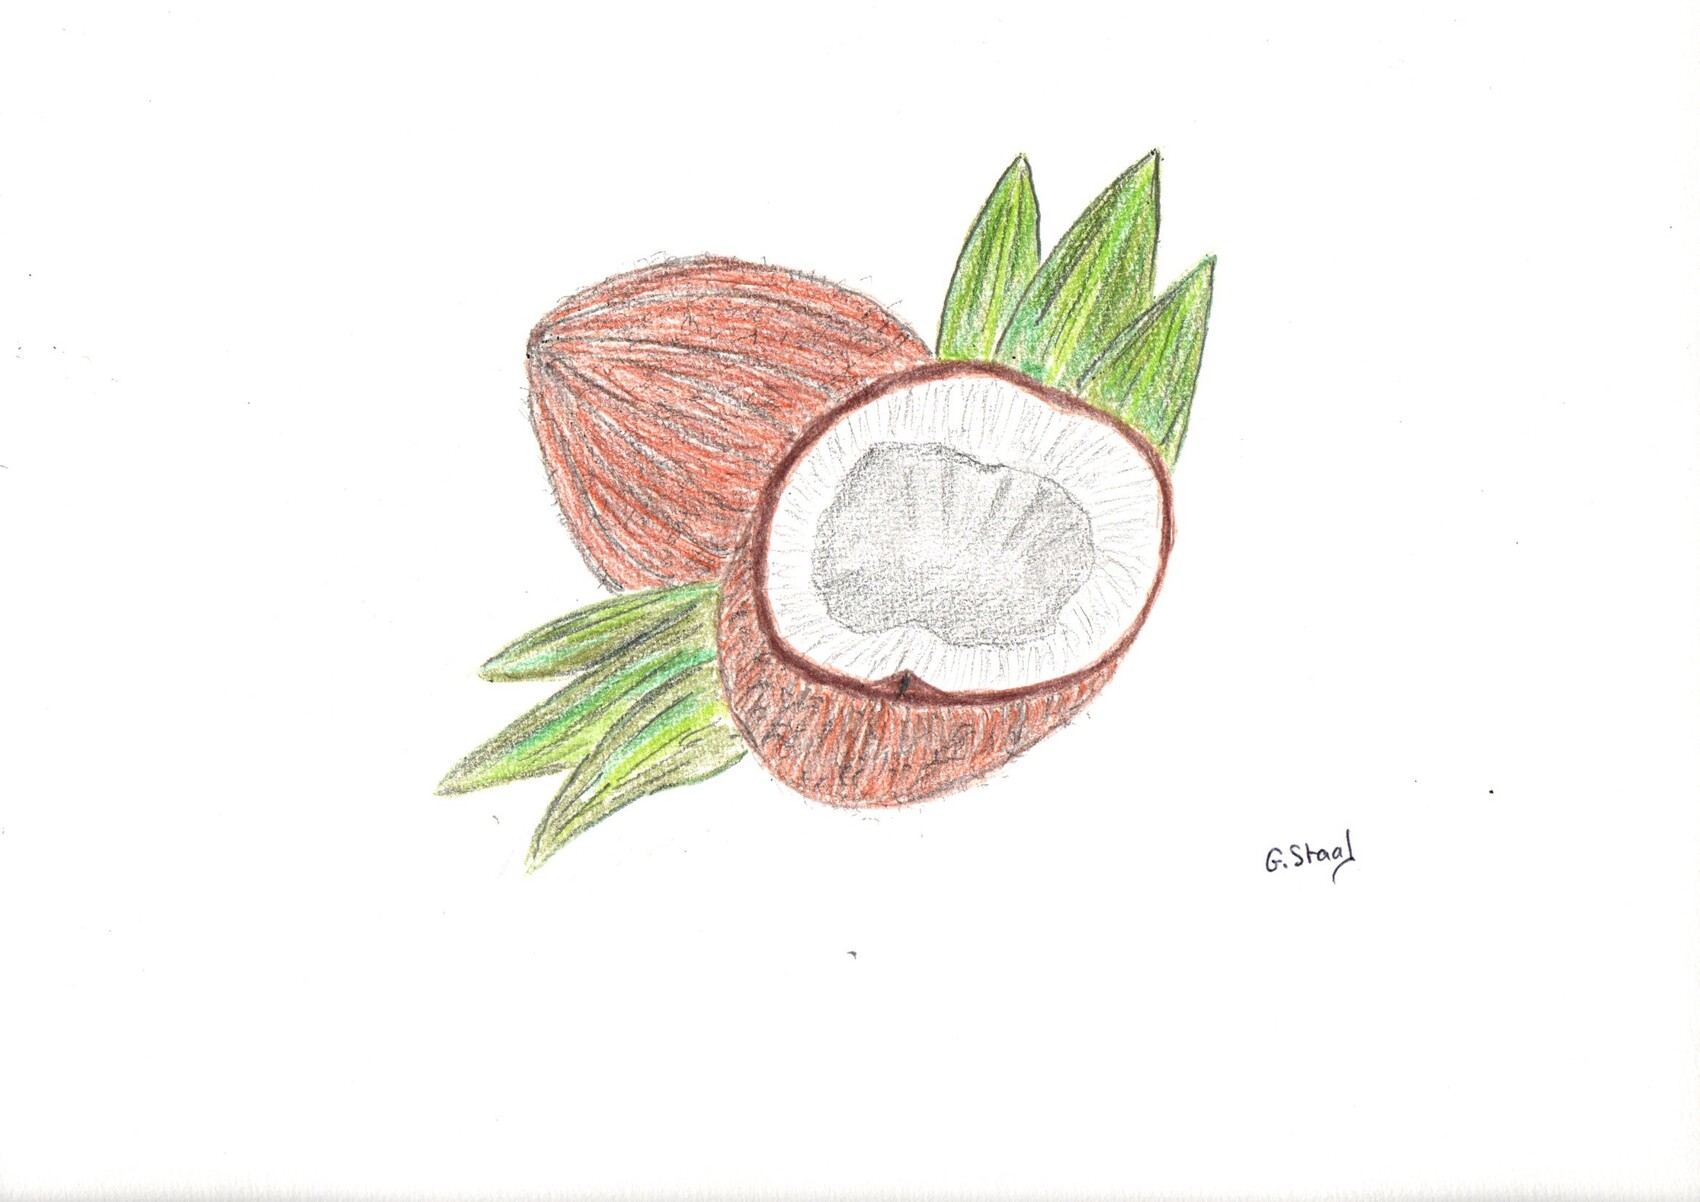
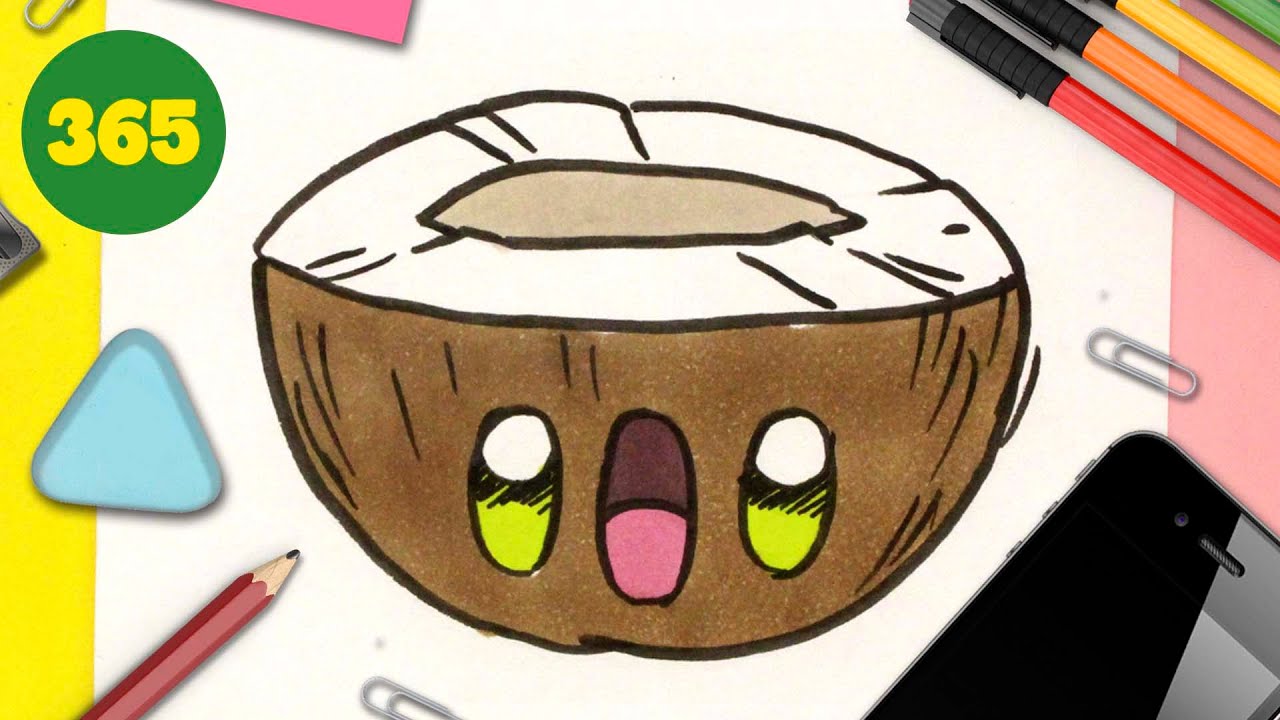
Step 3: Those All-Important "Eyes" (The Coconut’s Personality)
Okay, these are the three little indentations that make a coconut look like a coconut. They're not always perfectly symmetrical, and they're not always in a perfect triangle. Observation is key!

- Placement is key: Observe real coconuts (or pictures of them) to see how the "eyes" are positioned. They're usually clustered together, but the exact arrangement varies.
- Shading: Add a little shading around the "eyes" to make them look like indentations.
- Vary the size: Don't make them all the same size and shape. A little variation adds realism.
Pro tip: Don't make the "eyes" too perfect. Imperfection is your friend here!
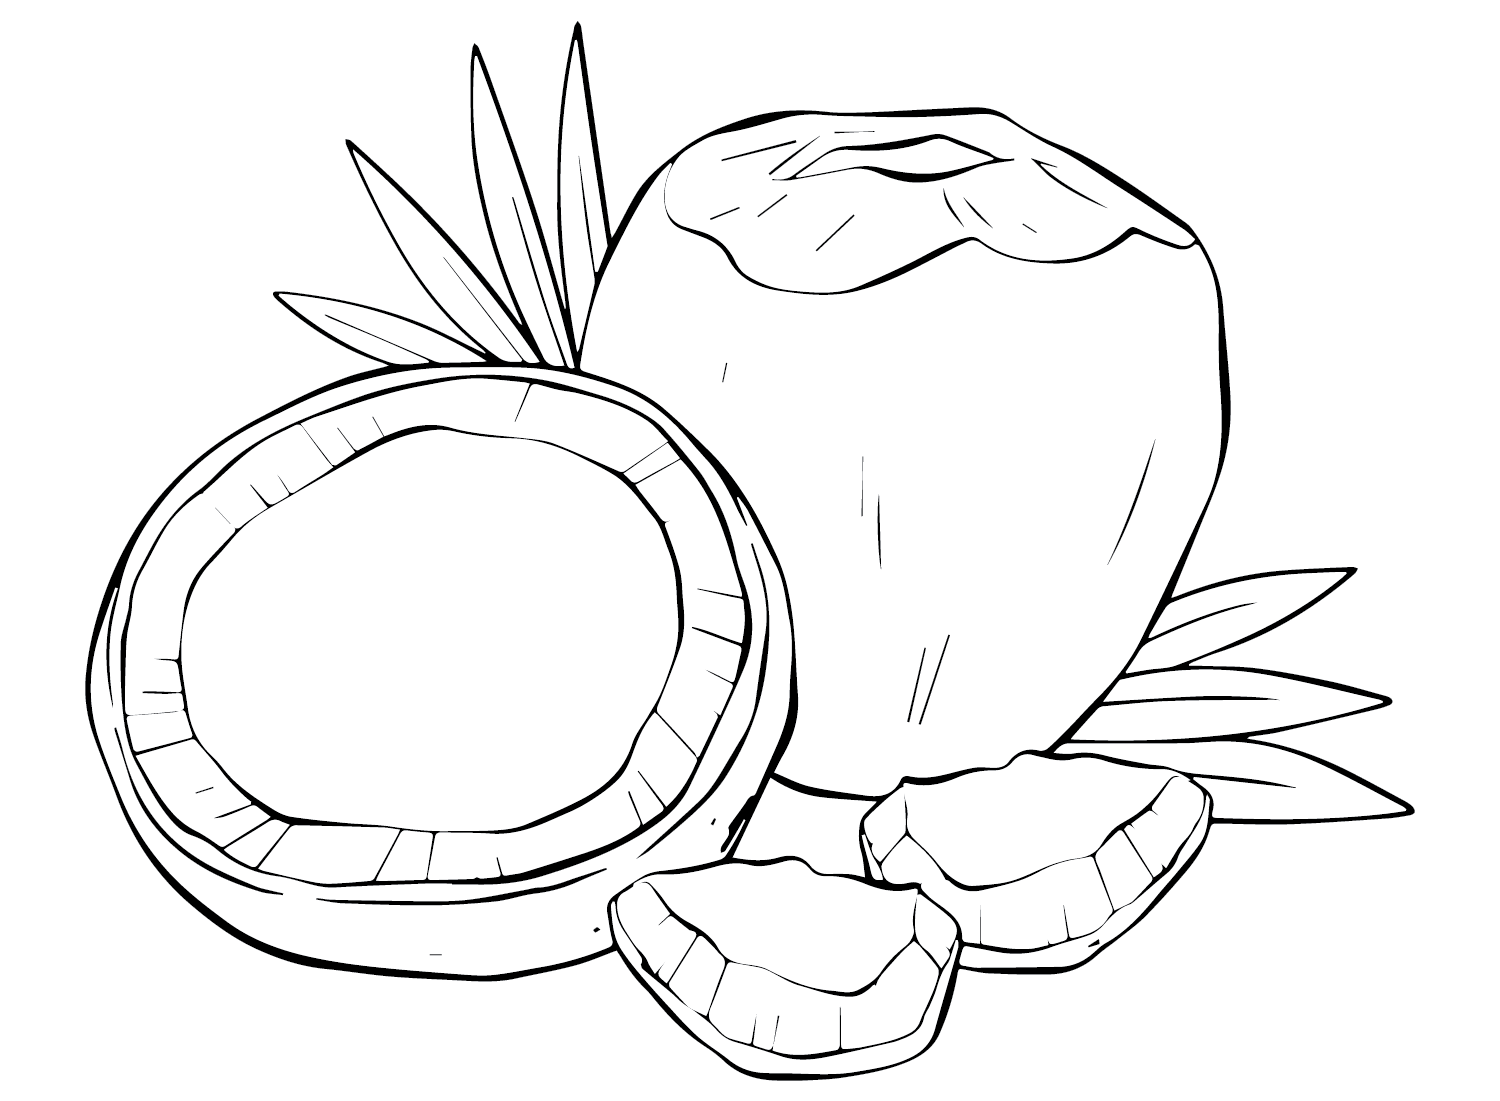
Step 4: Adding the Background (Setting the Scene!)
Now that you've got your basic coconut, let's put it in context! A lone coconut floating in white space is a bit sad, isn't it? Let's give it a home.
- Sand: A simple line of sand is a great starting point. Add some texture with short, dotted lines.
- Palm leaves: A few stylized palm leaves in the background can add a tropical feel.
- Ocean: A hint of blue (if you're using color) can suggest the ocean.
Remember, the background doesn't have to be super detailed. A few simple elements can go a long way.
Beyond the Basics: Elevating Your Coconut Game
So you’ve mastered the basic coconut. Félicitations! But why stop there? Here are a few ideas to take your coconut drawings to the next level:
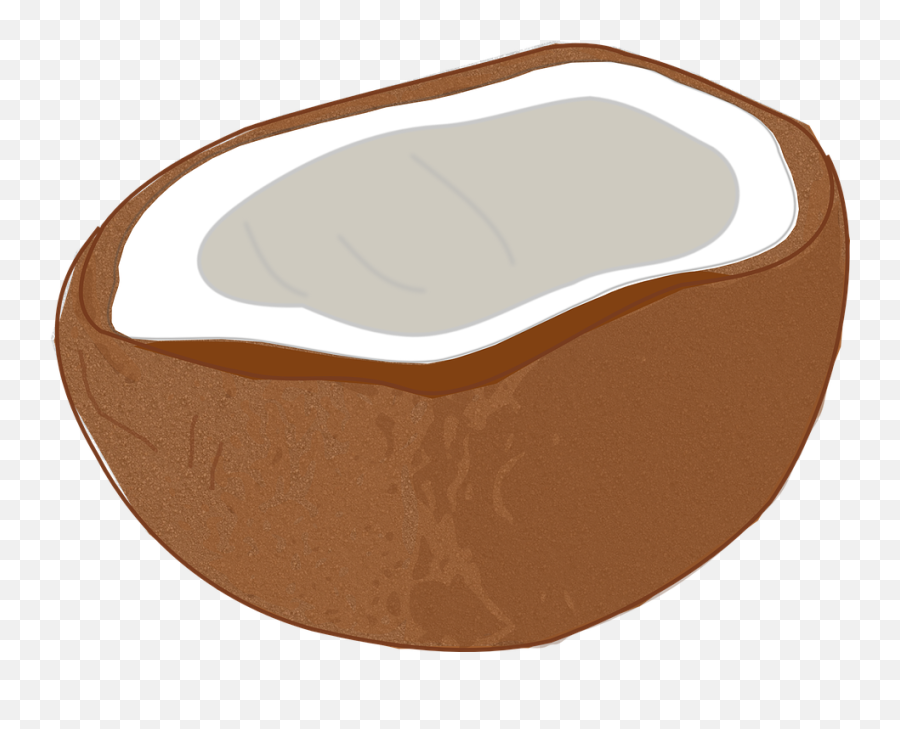
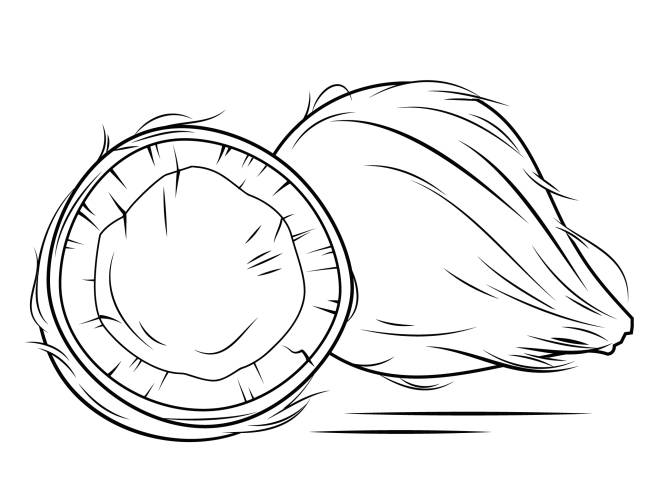
- Broken coconuts: Draw a coconut that's been cracked open to reveal the white flesh inside. This adds a whole new level of detail!
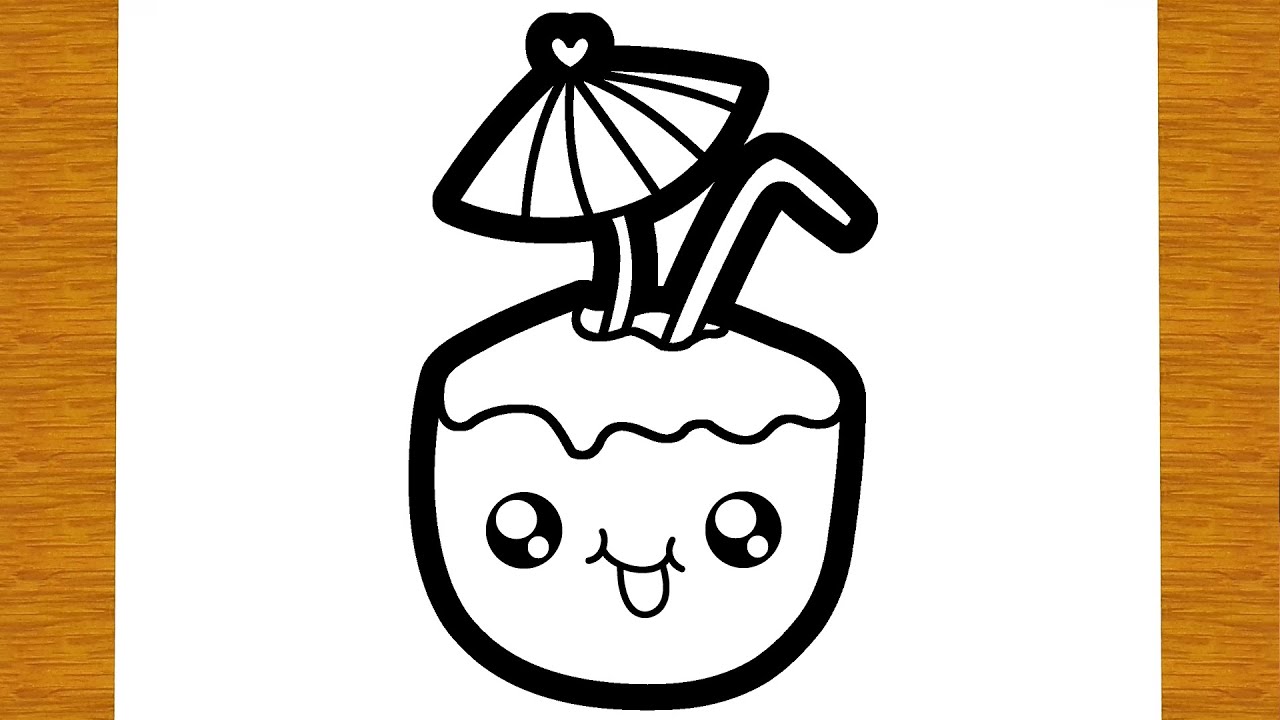
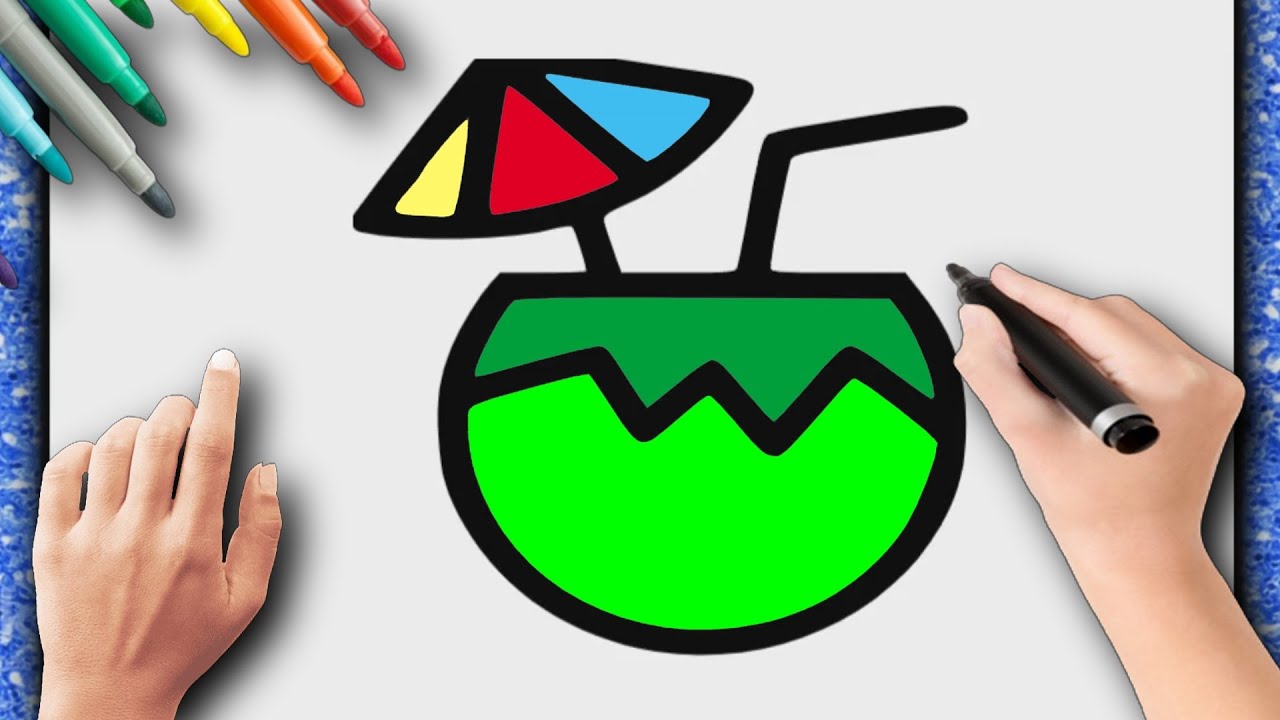
- Coconuts with straws: A fun, whimsical touch! Perfect for illustrating a tropical drink.
- Coconuts in different contexts: Draw a coconut falling from a palm tree, a coconut being used as a bowl, or even a coconut wearing a tiny hat (why not?).
The possibilities are endless! Let your imagination run wild! And don't be afraid to make mistakes. That's how you learn!
Tools of the Trade: What You'll Need
You don't need a fancy art studio to draw a decent coconut. Here's a basic list of supplies:
- Pencils: A range of pencil grades (HB, 2B, 4B) is helpful for creating different shades and textures.
- Eraser: A good eraser is essential for correcting mistakes.
- Paper: Any kind of paper will do, but smooth paper is generally better for pencil drawings.
- Reference images: Find some pictures of real coconuts to use as reference.
Optional extras: Tortillons (blending stumps) can be helpful for smoothing out your shading. Colored pencils or markers can add a pop of color. But really, all you need is a pencil, an eraser, and some paper.
Common Mistakes to Avoid (aka: Potato Prevention)
We’ve all been there. Here are some common pitfalls to watch out for:
- Making it too symmetrical: Remember, coconuts are imperfect!
- Ignoring the texture: Texture is key to making your coconut look realistic.
- Making the "eyes" too perfect: Again, embrace imperfection!
- Not using enough shading: Shading is what gives your coconut depth and dimension.
- Giving up too easily: Keep practicing! The more you draw, the better you'll get.
Don't be discouraged if your first few attempts don't look perfect. Keep practicing, and you'll be surprised at how quickly you improve.
Final Thoughts (And a Challenge!)
So, there you have it! A guide to drawing a coconut that doesn't look like a potato. It's all about observation, attention to detail, and a little bit of practice. And remember, have fun! Drawing should be enjoyable.
Now, for a challenge! I challenge you to draw a coconut today and share it with me! Tag me on [Social Media Platform of your choice] and use the hashtag #DessinNoixDeCocoFacile. I can’t wait to see your creations! And, who knows, maybe Léa will even be impressed!
Happy drawing, mes amis!