Okay, so picture this: my cousin, bless her heart, decided three weeks before her daughter’s baptism that she wanted EVERYTHING to be perfect. Pinterest boards were exploding, DIY tutorials were flying, and I, naturally, got drafted. The mission? A baptism scarf. Not just ANY scarf, mind you, but a handmade, utterly bespoke écharpe de baptême. I swear, I almost swallowed my coffee whole when she asked. But hey, family’s family, right? (And free cake afterwards is a good incentive, let’s be honest).
Turns out, making a baptism scarf yourself is totally doable. Even for someone like me, who's more comfortable ordering takeout than using a sewing machine. The key is to keep it simple and focus on the sentiment. Because, seriously, who's going to judge a slightly wonky stitch when your adorable niece/nephew/godchild is wearing it during such a special moment?
Why DIY a Baptism Scarf?
Beyond avoiding the last-minute panic of finding a store-bought one that's just right (or doesn't cost a fortune), there are a few really good reasons to make your own:
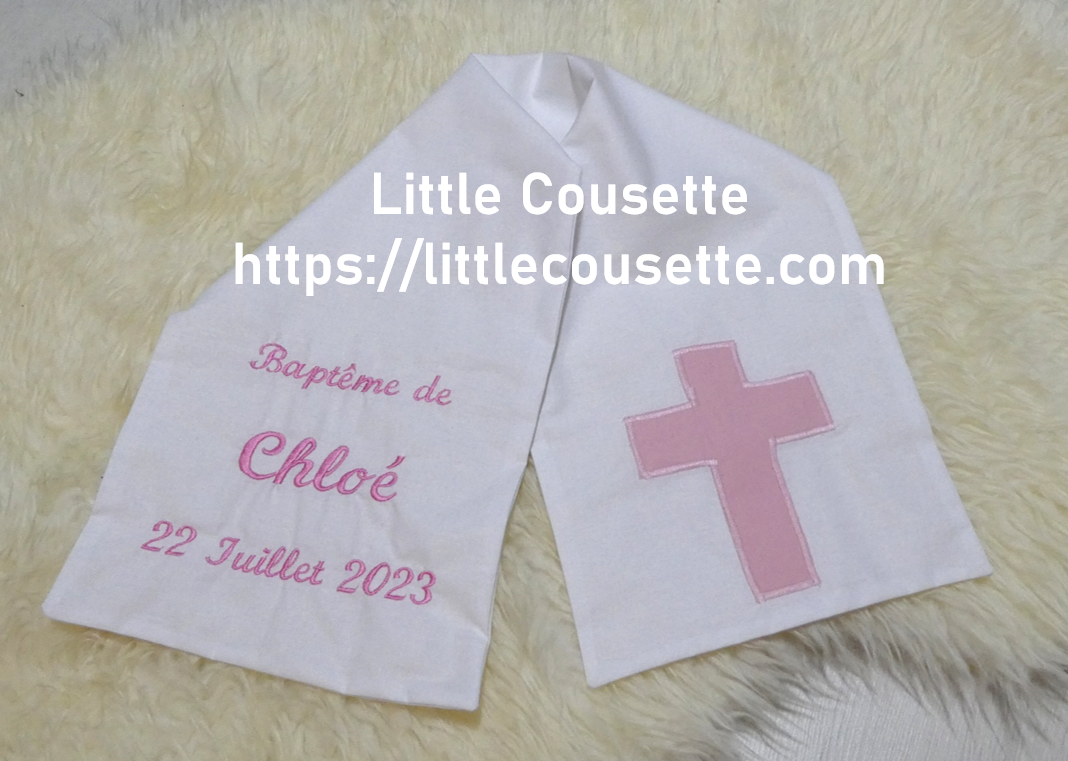
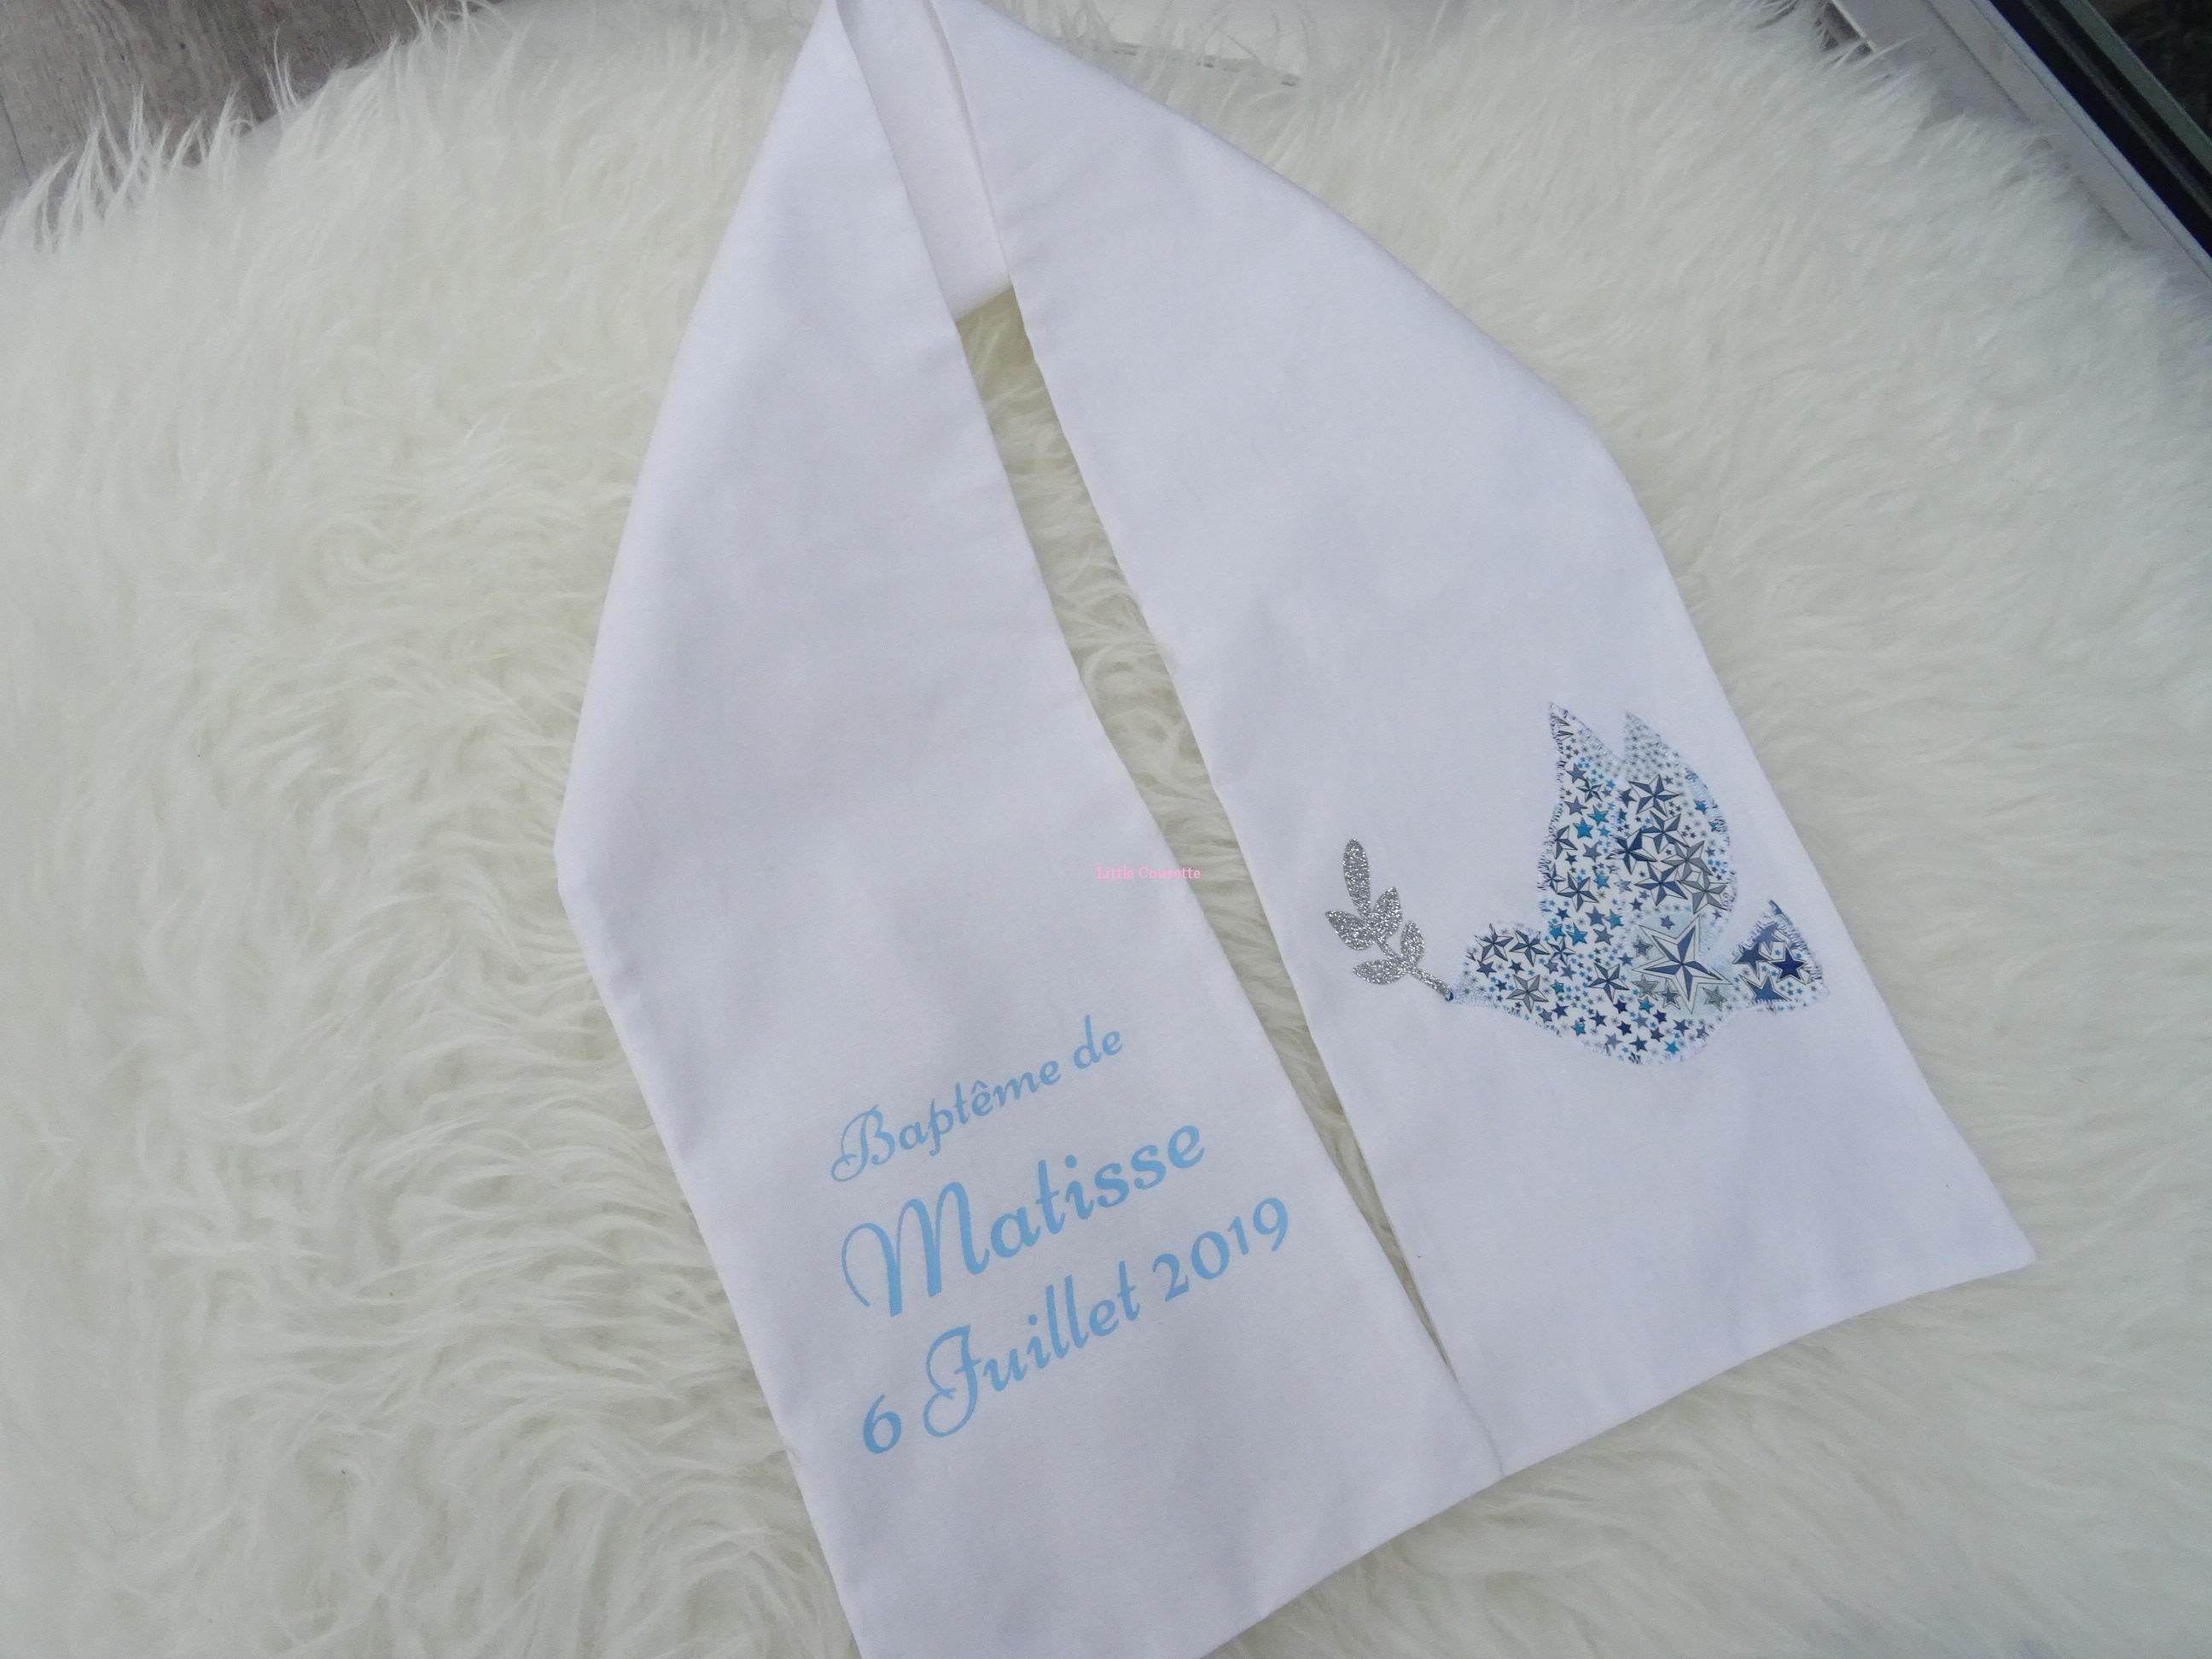
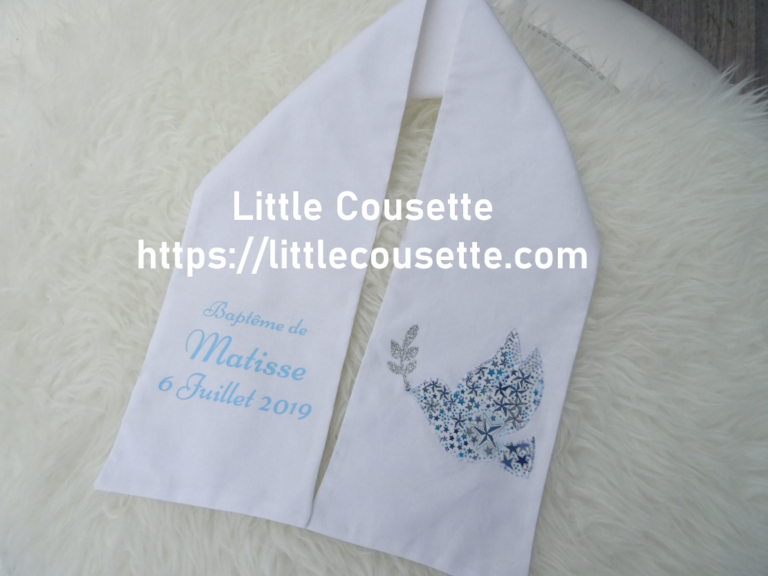
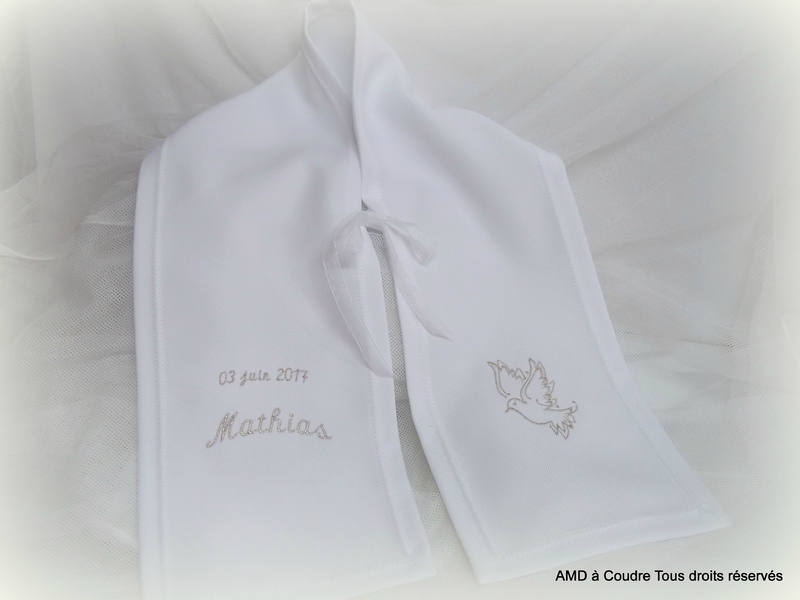
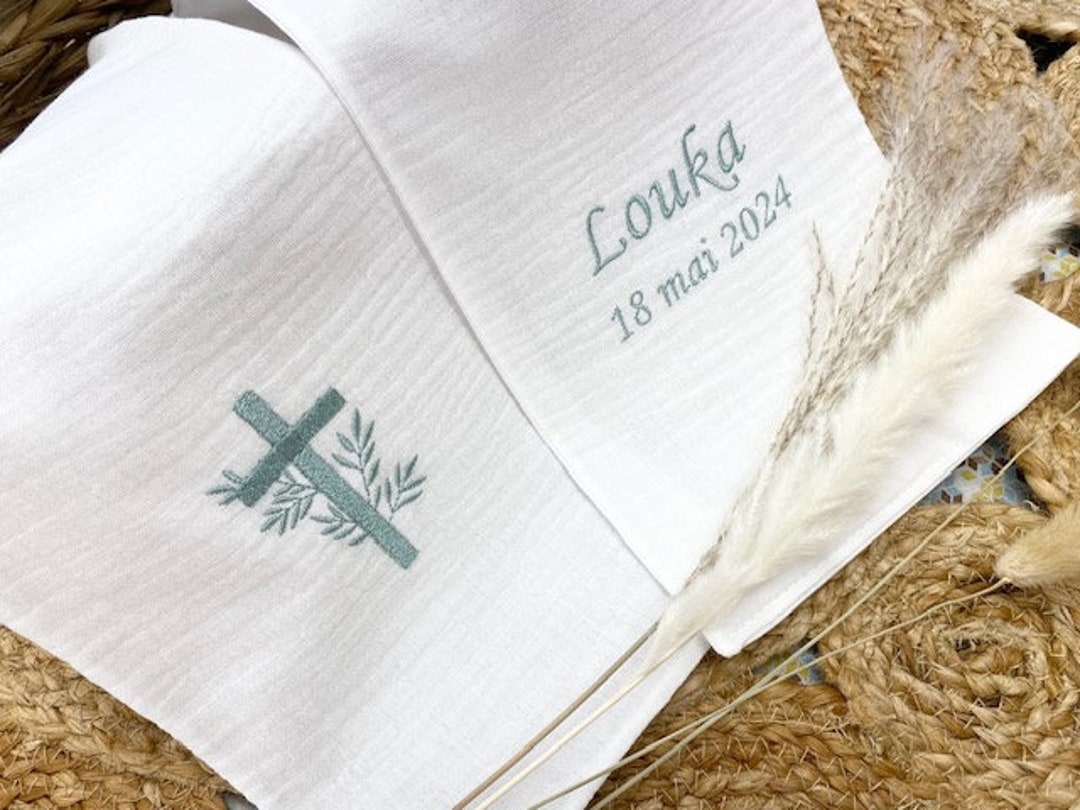
- Personalization: You get to choose the fabric, the embroidery, the details – everything! Think about incorporating elements that are meaningful to the family. Maybe a fabric scrap from the baby's christening gown, or embroidery representing their name.
- Sentimentality: Imagine passing down this scarf through generations. It becomes a family heirloom, filled with love and memories. (Okay, maybe I’m getting a little carried away, but still, pretty cool, right?)
- Budget-friendly: Let's face it, baptisms can be expensive. DIY-ing a scarf can save you some serious cash, leaving more room for… well, cake. (See, I told you it was a good incentive!)
Getting Started: Supplies & Simple Steps
Alright, so what do you actually need to make this happen? Don't worry, we're not talking about advanced tailoring skills here.
Essential Supplies:

- Fabric: Linen or cotton are popular choices. White or ivory is traditional, but feel free to experiment with subtle colors! Think about the baby's outfit when choosing the shade.
- Scissors & Measuring Tape: Obvious, but crucial.
- Sewing Machine (Optional): You can hand-sew, but a machine will make it faster and easier. Borrow one if you don't own one!
- Thread: Matching or contrasting, depending on your vision.
- Embroidery Supplies (Optional): Needle, embroidery floss, patterns.
- Iron & Ironing Board: For crisp edges and a professional finish.
Simple Steps:
- Cut the Fabric: Determine the desired length and width of the scarf. A typical baptism scarf is around 120-150cm long and 15-20cm wide. Remember to add extra for seam allowances!
- Hem the Edges: Fold the edges over twice and sew them down. This prevents fraying and gives a clean look.
- Add Embroidery (Optional): Embroider the baby's name, a religious symbol, or a special date. There are tons of free patterns online!
- Iron & Finish: Give the scarf a good ironing to remove any wrinkles. Add any final embellishments, like lace or ribbon.
So, there you have it! Making a baptism scarf isn't as scary as it seems. It's a chance to get creative, add a personal touch, and create a cherished keepsake. And hey, even if it's not perfect, it will be made with love, and that's what really matters. (Plus, you get to eat cake. Always a win-win.) Now, go forth and DIY!