Okay, picture this: it's Easter Sunday, you're super proud of the homemade chocolate eggs you slaved over (well, sort of slaved, but we'll get to that), and everyone's ooh-ing and aah-ing. Except...little Timmy, your nephew, bites into his and announces, rather loudly, "It tastes like...soap!" Turns out, you accidentally used the wrong bowl. (Don't judge me, it happens!) But, lesson learned: homemade Easter eggs are awesome, but precision is key. And that's where molds come in!
So, you wanna make your own chocolate eggs this Easter? Forget the store-bought, mass-produced stuff! It's time to embrace your inner chocolatier (even if your inner chocolatier is mostly just good at ordering pizza). Let's talk about making gorgeous, professional-looking chocolate eggs using molds. It's easier than you think!
Why Use Molds?
Seriously, why wouldn't you use molds? Think of the possibilities!
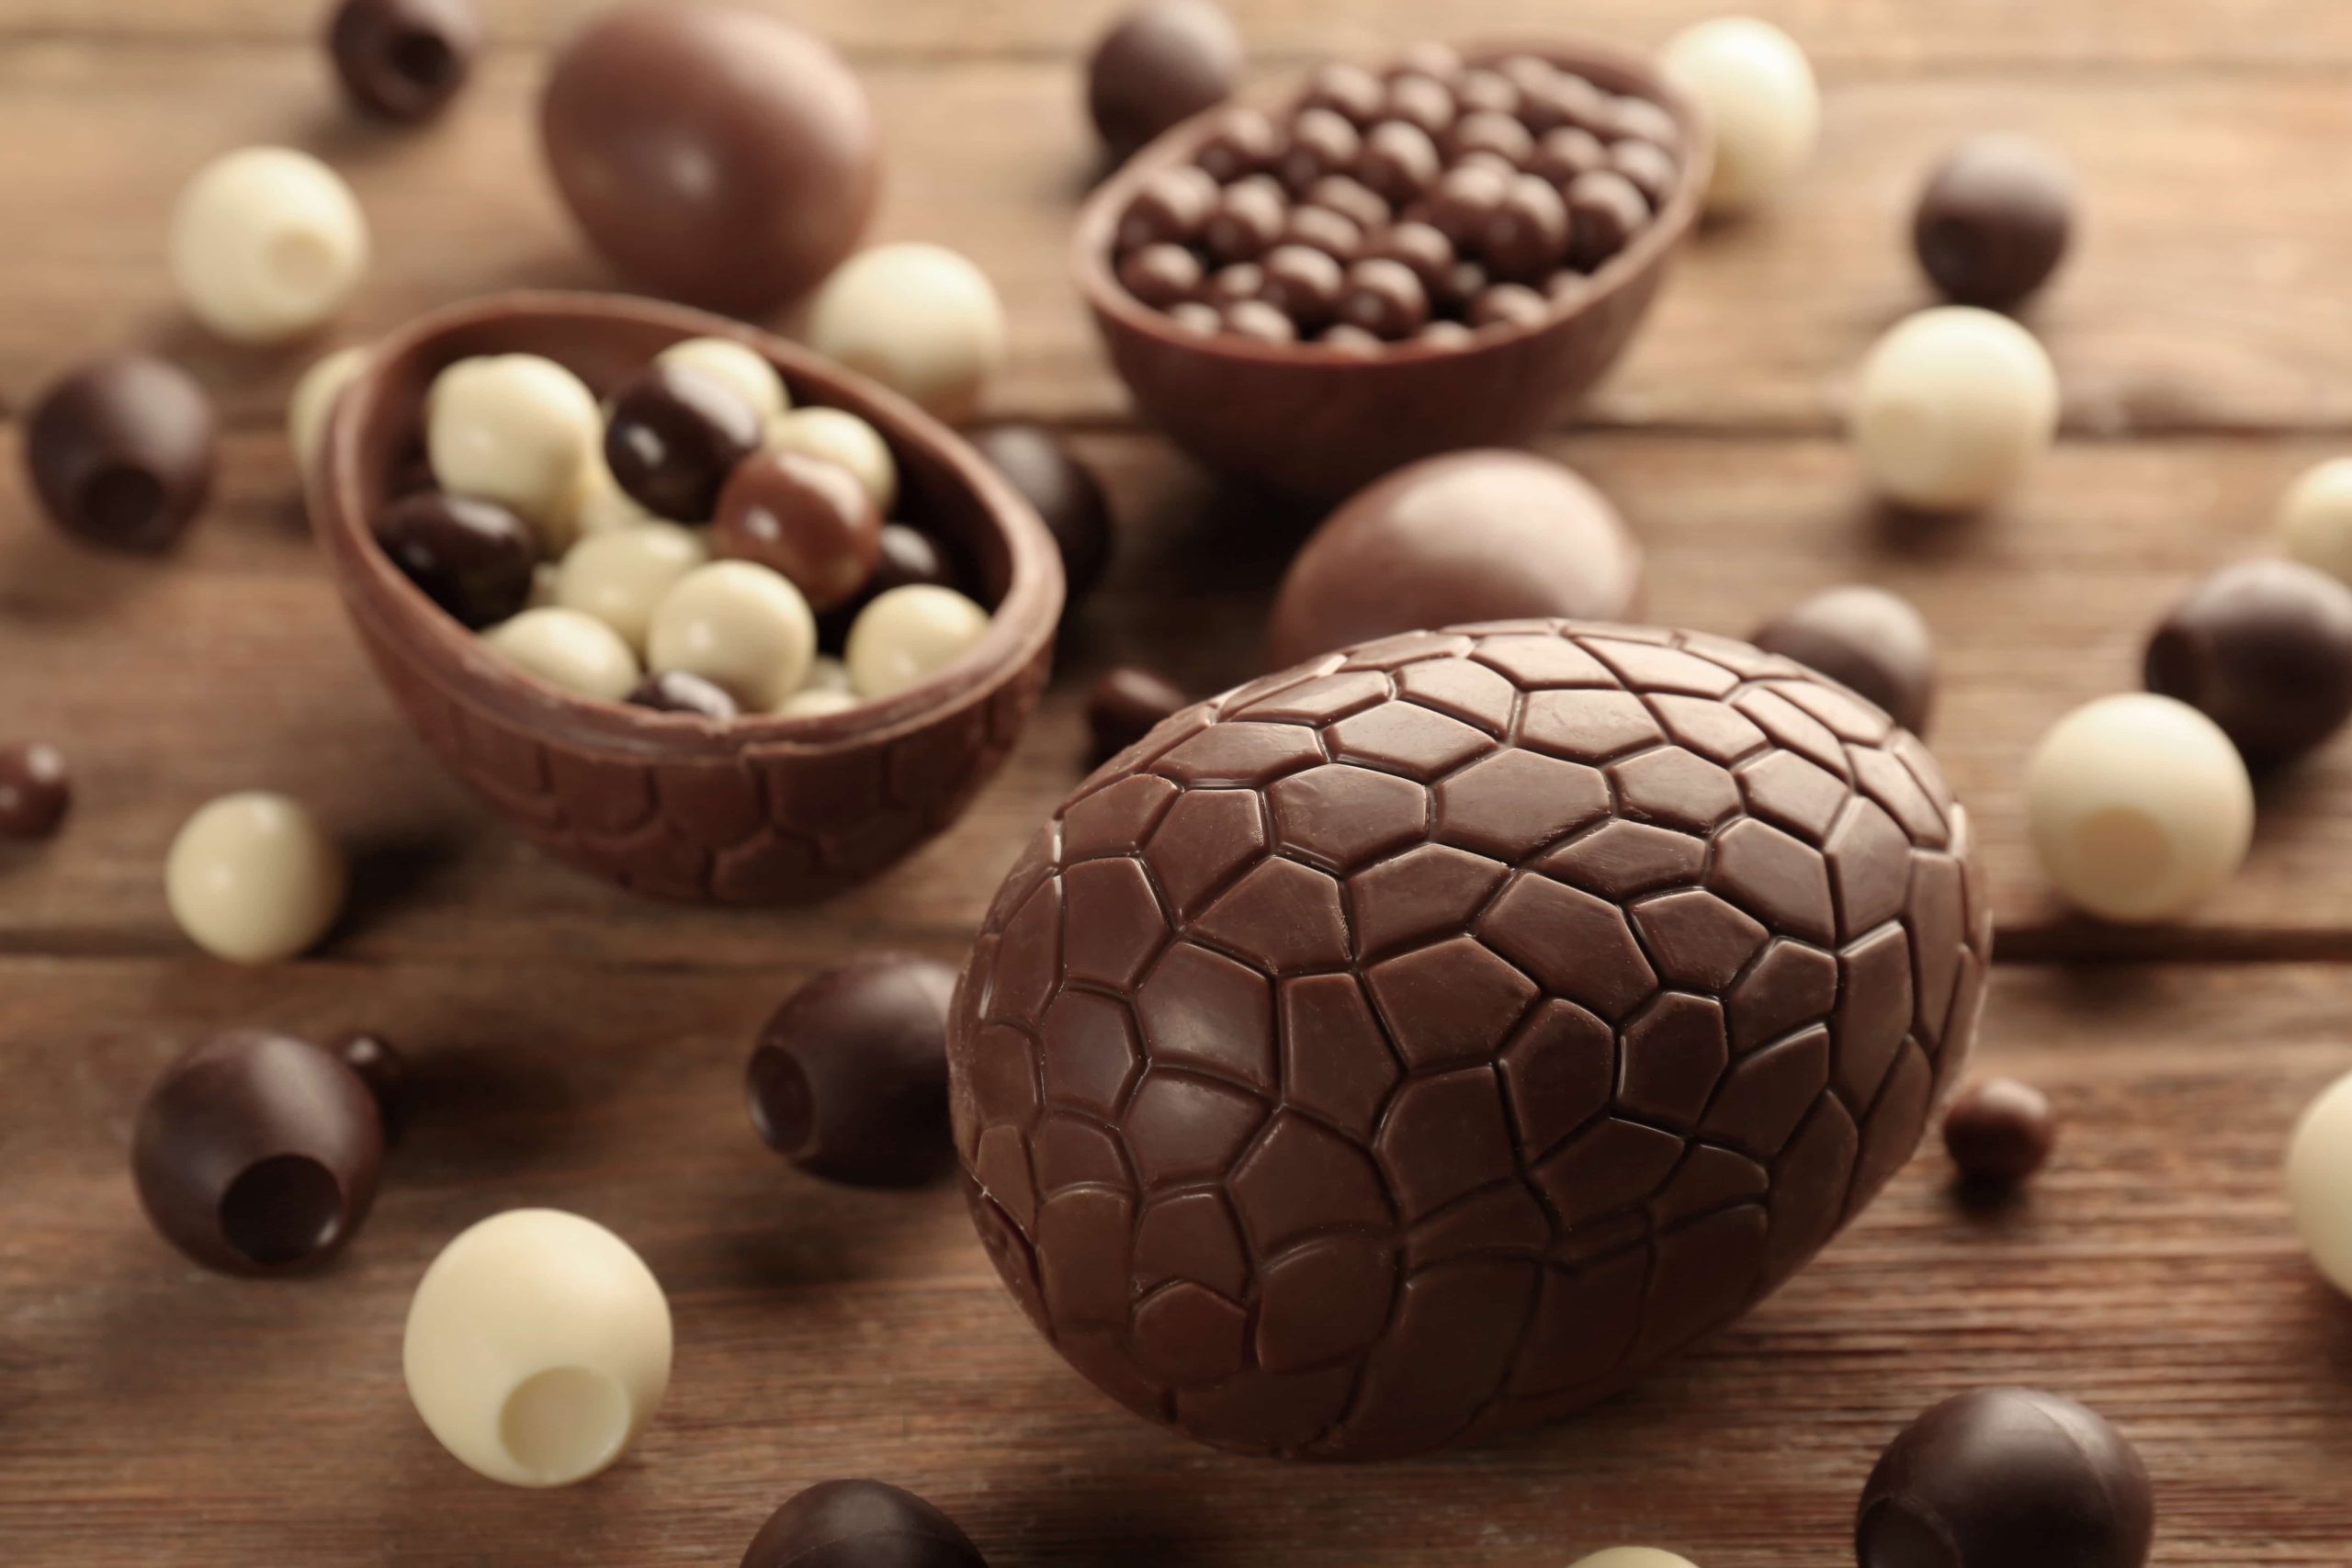
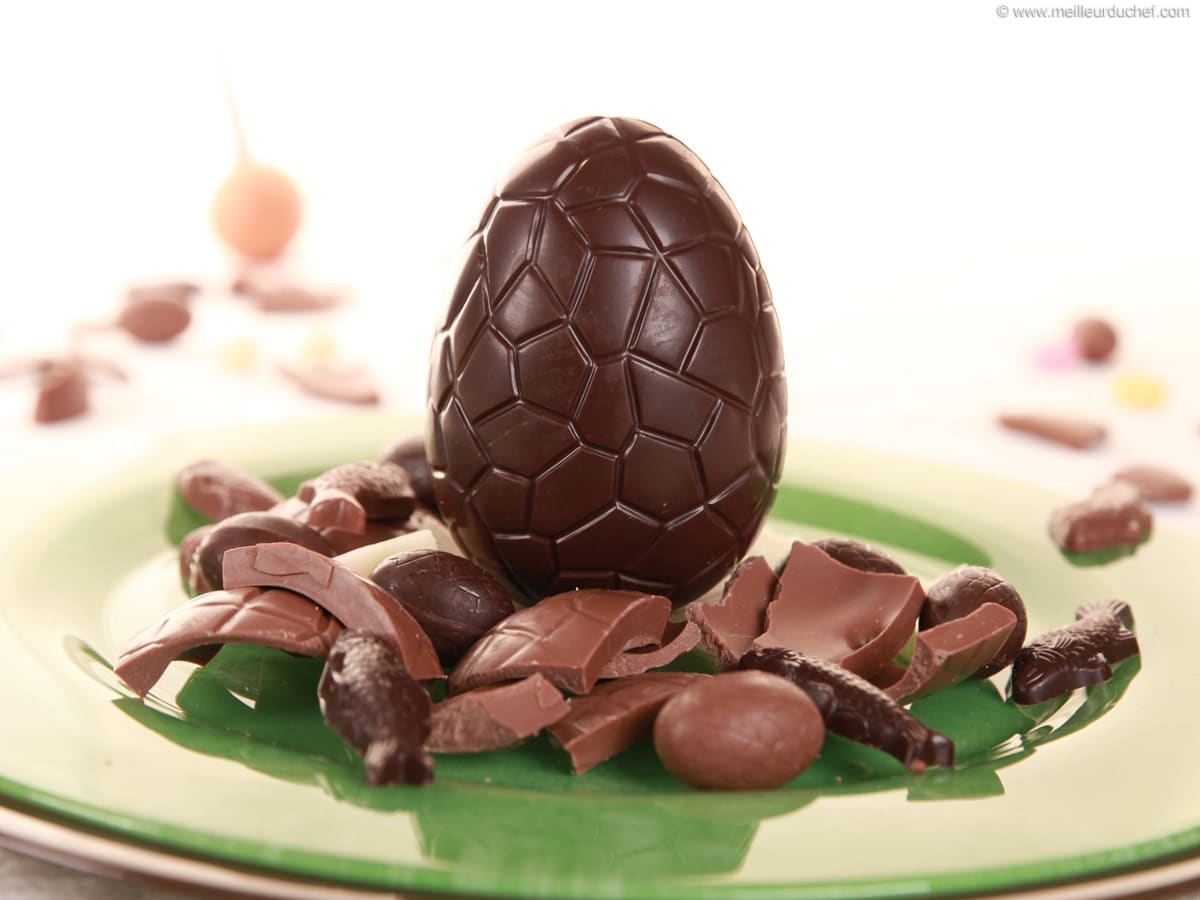
- Perfect Shape: No more lumpy, uneven eggs that look like they survived a meteor shower. We're talking pristine, smooth surfaces.
- Customization: Wanna add sprinkles? Nuts? Dried fruit? Go wild! Molds give you the freedom to create truly unique eggs. Plus, it's fun!
- Impress Your Friends (and Timmy!): Okay, maybe not Timmy, but you'll definitely get some "oohs" and "aahs" for your skills.
Choosing Your Mold
There's a whole world of chocolate egg molds out there!
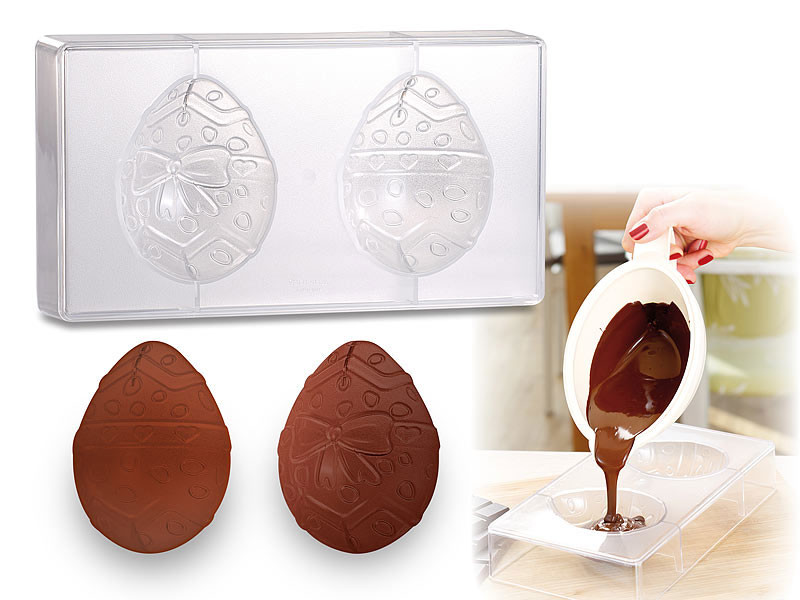
- Plastic Molds: These are generally the easiest to work with, especially for beginners. They're affordable and come in tons of shapes and sizes. Important tip: make sure they're food-grade plastic!
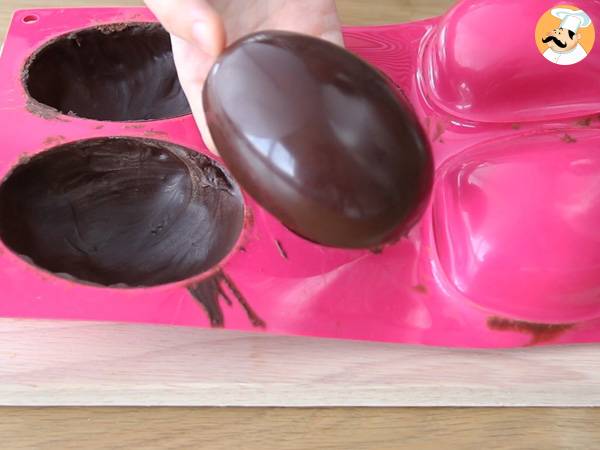
- Silicone Molds: Super flexible, which makes unmolding a breeze. They're also non-stick, so your eggs will pop out easily. A bit more pricey, but worth it if you're planning on making chocolate eggs regularly. (Are you? I hope so!)
- Polycarbonate Molds: These are the professional's choice. They're sturdy, give your chocolate a beautiful shine, and are super durable. But they can be a bit trickier to use. Maybe save these for when you're a chocolate egg pro.
The Chocolate: The Star of the Show
Listen, don't skimp on the chocolate. This is the most important part! Use good quality chocolate – it will make all the difference in taste and texture. Milk, dark, white – the choice is yours! Just make sure it's intended for melting. Those baking chips? Save those for cookies. (Sorry, not sorry.) Tip: Tempered chocolate is key for that perfect snap and shine. There are tons of tutorials online, so don't be intimidated! Or, you know, just use melting chocolate for an easier life.
Making Your Eggs: Step-by-Step
Okay, here's the basic process:
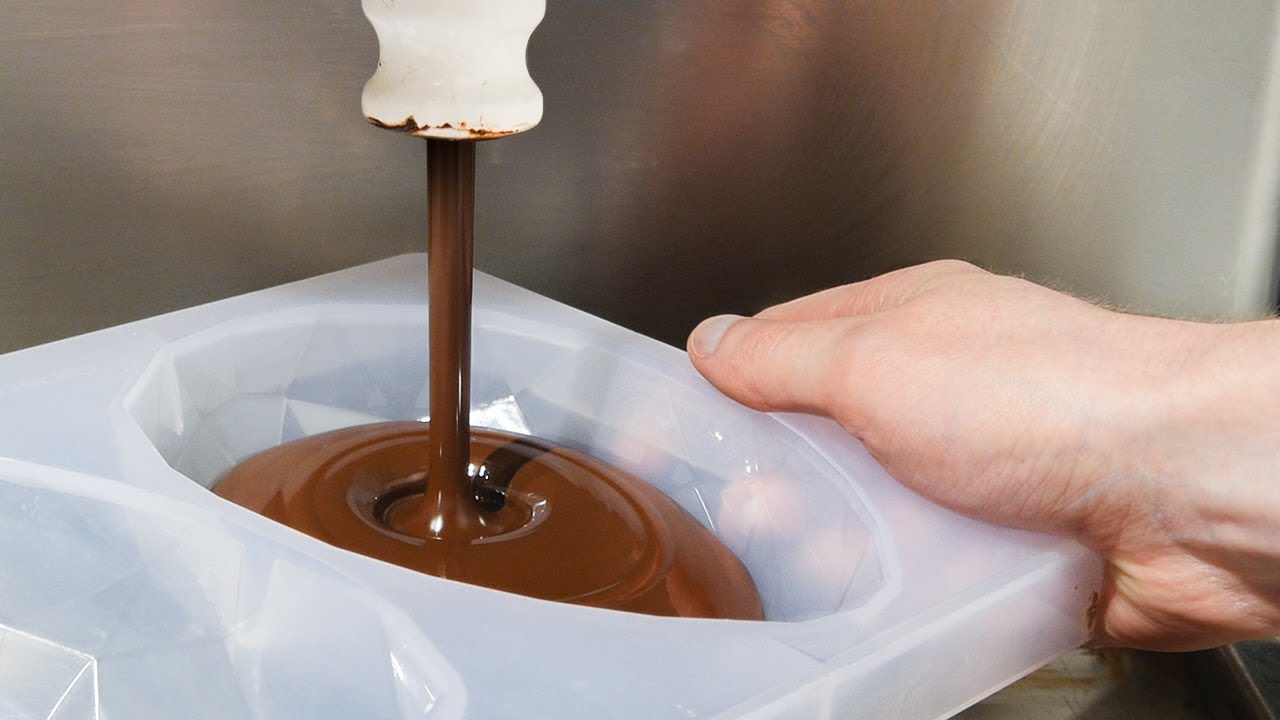
- Melt your chocolate: Use a double boiler or microwave (in short bursts, stirring frequently to avoid burning).
- Temper your chocolate (optional, but recommended).
- Pour the chocolate into the mold: Fill it completely.
- Tap the mold: This releases any air bubbles and ensures the chocolate gets into all the nooks and crannies.
- Invert the mold: Let the excess chocolate drip out (you can use this for something else!). This creates the hollow egg shell.
- Scrape the top: Use a spatula to remove any excess chocolate from the top of the mold.
- Chill in the fridge: For about 15-20 minutes, or until the chocolate is set.
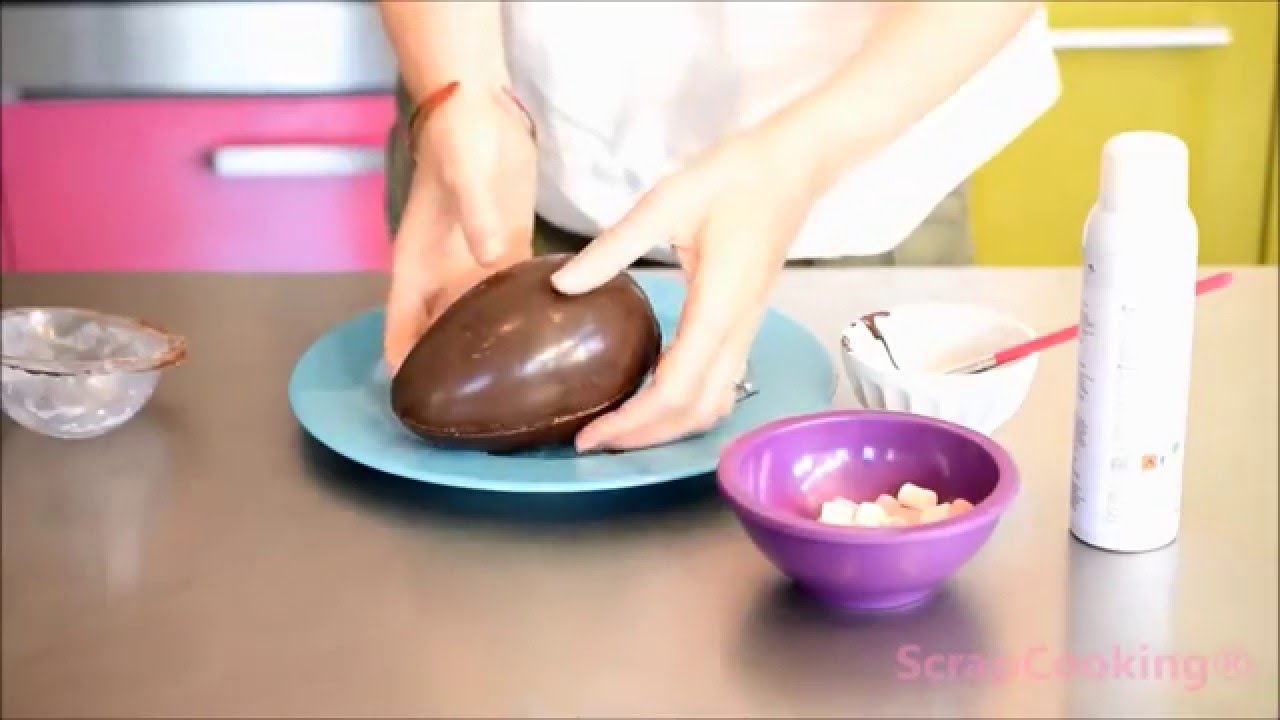
- Unmold: Gently flex the mold to release the egg.
Finally, decorate as you wish! Melt some white chocolate and drizzle it on top, add sprinkles, nuts, dried fruit...the possibilities are endless! Now go forth and make some amazing chocolate eggs. Just remember to use the right bowl this time!


:focal(545x362.5:555x352.5)/cloudfront-eu-central-1.images.arcpublishing.com/ipmgroup/TR6NG44VI5BHJH7CRFHDJDBRCQ.png)