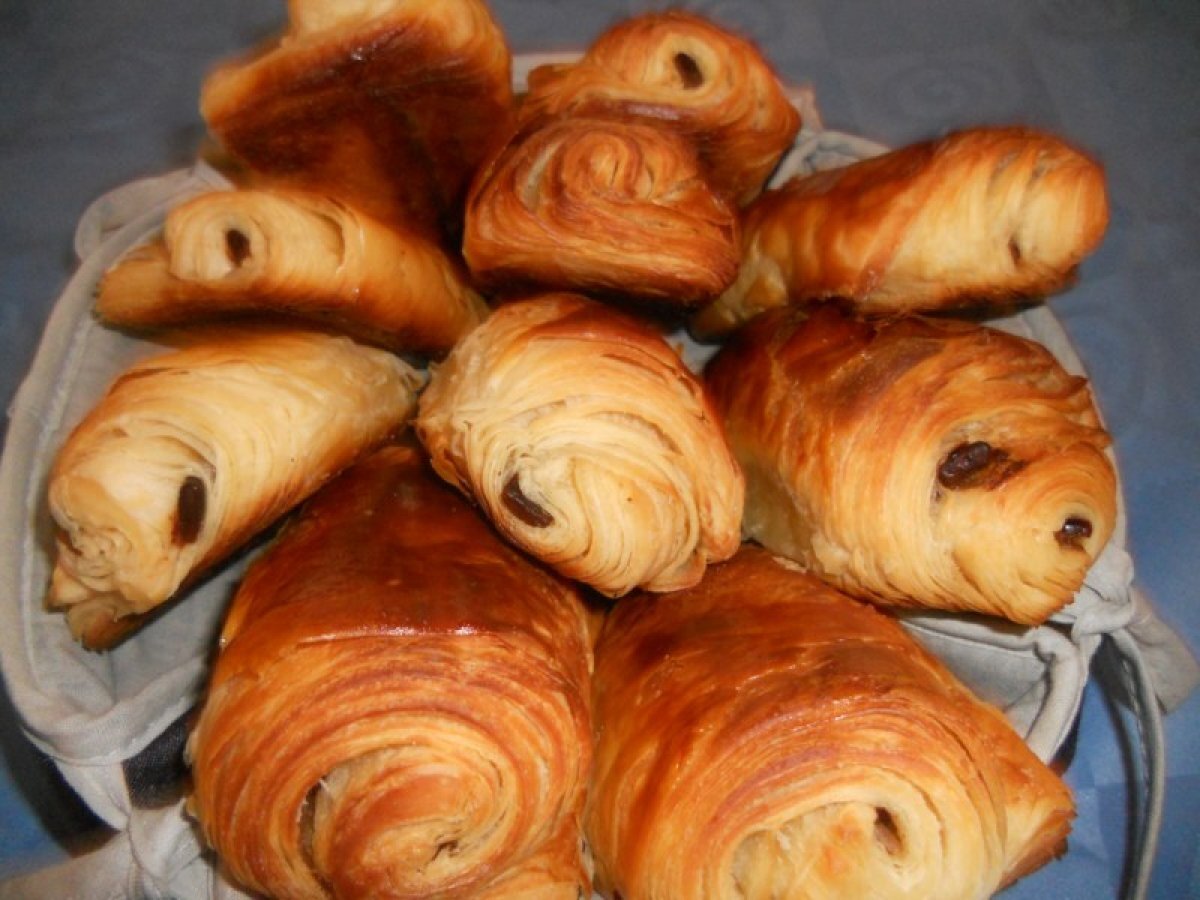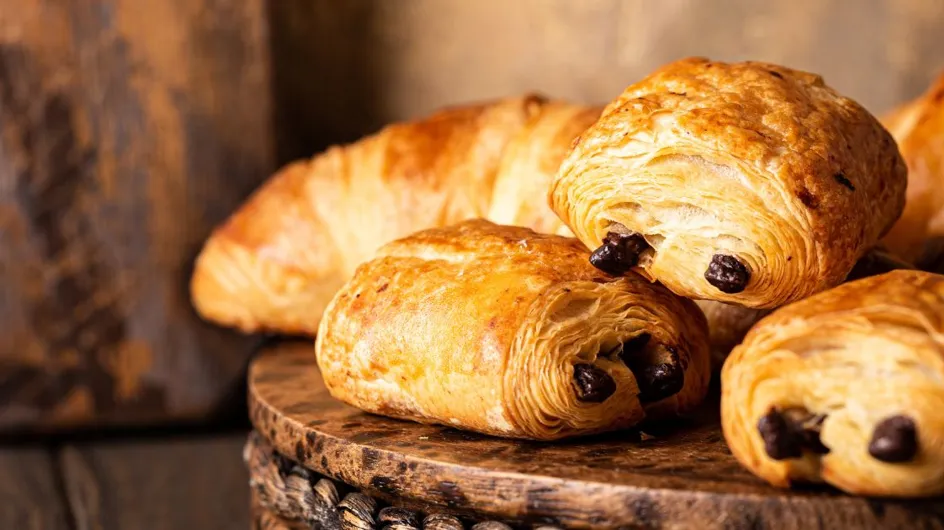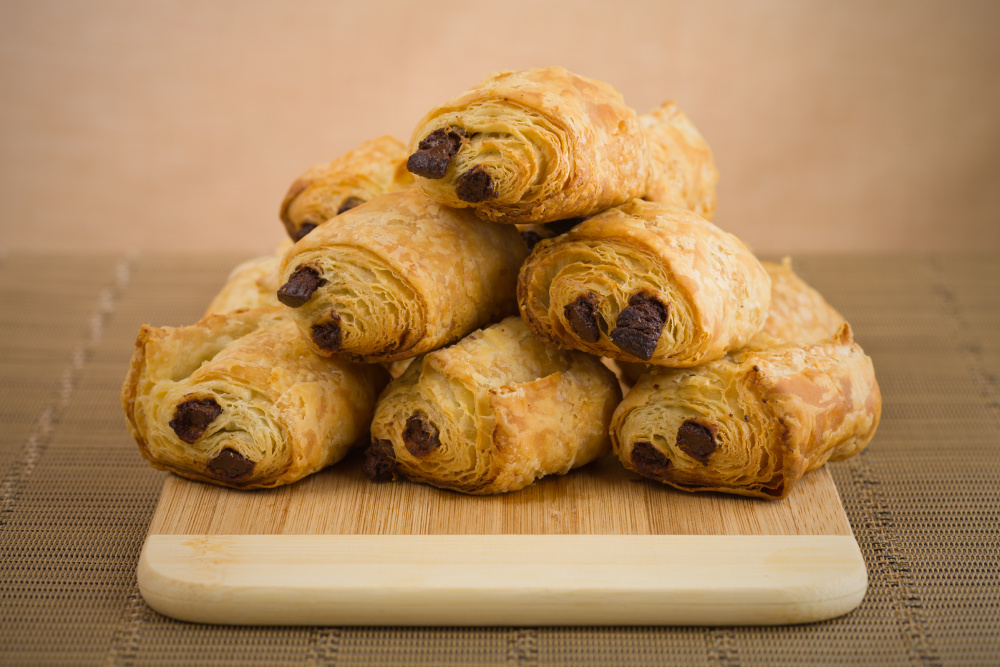
Okay, confession time. Last Sunday, I woke up craving that perfect pain au chocolat. You know the one – flaky, buttery, with just the right amount of dark chocolate melting in your mouth? So, I trudged to the nearest boulangerie, and…disappointment. It was…okay. Just okay. And that’s when it hit me: Why not just make them myself? "How hard could it be?" I naively thought. (Famous last words, right? 😉)
Turns out, it's not exactly a walk in the park. But hey, that's part of the fun, isn't it? And the reward? Oh, the reward is fresh, homemade pains au chocolat, tailored to your exact liking. So, ditch the mediocre bakery version and let's embark on this buttery adventure together! Here's the lowdown on tackling pains au chocolat maison:
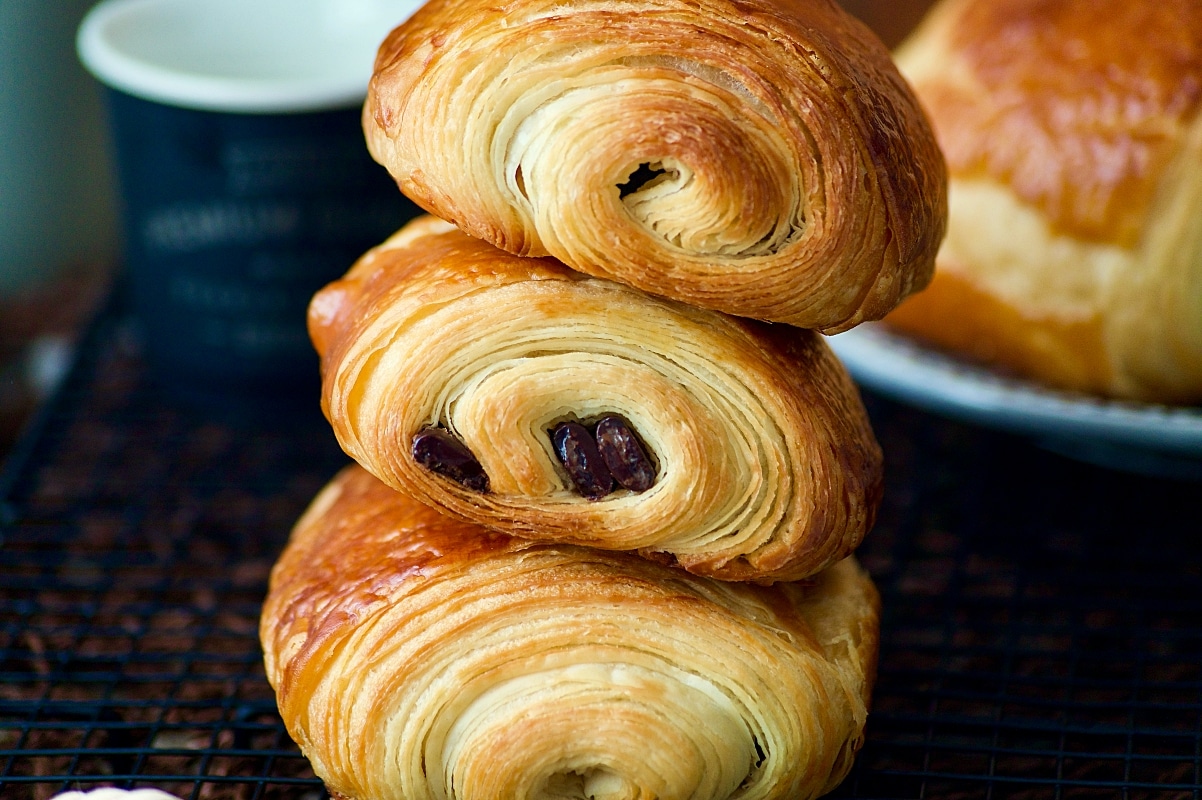
The Dough: It's All About the Layers (and Patience!)
First things first: the dough. We're talking about viennoiserie here, people. That means layers. And layers mean butter. Lots of butter.
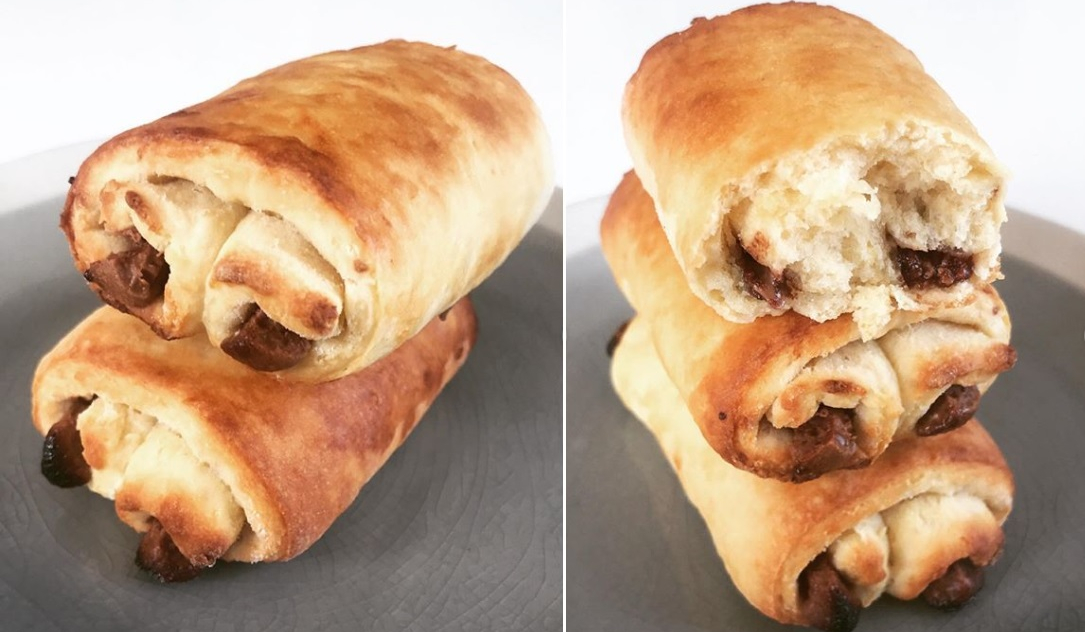
You can either go the "from scratch" route (which, let's be honest, requires dedication and a bit of baking wizardry), or you can cheat (a little!) and use puff pastry. I'm not judging. I’ve totally used store-bought puff pastry on more than one occasion. 🤫 If you choose this route, make sure it's a good quality one – all butter, preferably!
If you're feeling ambitious and want to make the dough from scratch, here's a quick rundown of the key steps:
- Make the dough: Flour, yeast, sugar, salt, milk/water, and butter. Knead that baby until it's smooth and elastic.
- The detrempe: This is your base dough. Wrap it up and chill it in the fridge.
- The beurrage: This is a block of butter, cold and ready to be enveloped by the dough. This part is crucial. Keep everything cold!
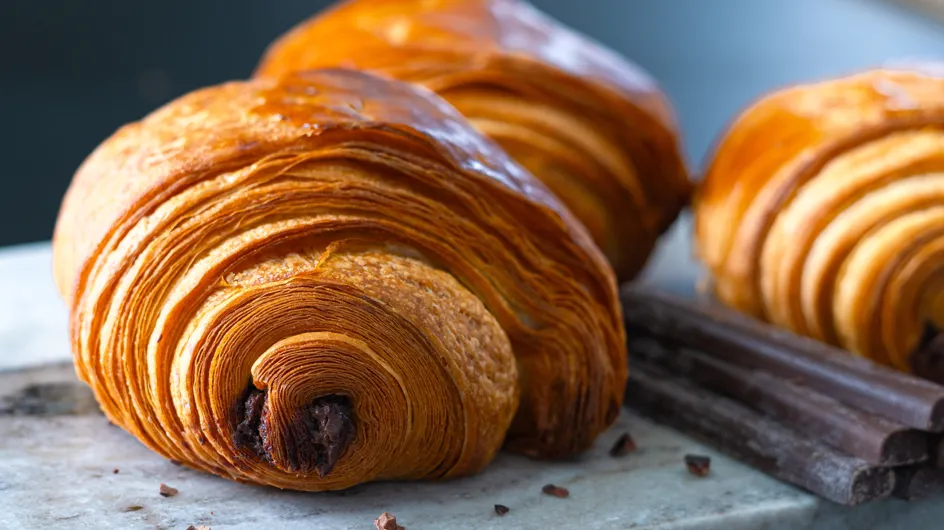
- Lamination: The magical folding process! You'll be rolling, folding, and chilling repeatedly to create those glorious layers. Don’t skip the chilling! Seriously.
Trust me, watching the dough puff up in the oven is so satisfying after all that work.
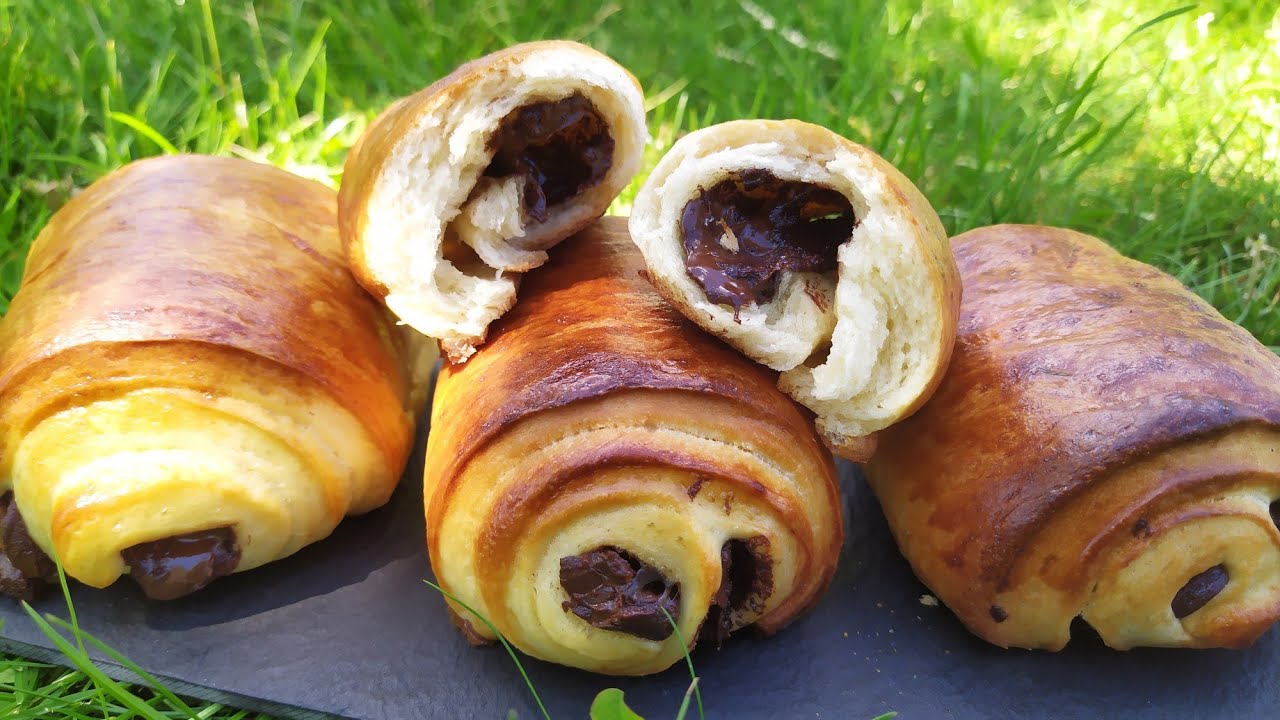
Chocolate: Choose Wisely!
Don't skimp on the chocolate! This is where you can really elevate your pain au chocolat. Think dark, rich, and slightly bitter. 70% cacao is a good starting point. And those special chocolate batons? You can absolutely use chocolate chips if you don’t have the batons. I’ve even used chopped chocolate bars in a pinch. It’s all good!
Assembly and Baking: The Final Stretch
Okay, dough is chilled, chocolate is ready. Time to roll, cut, and fill.
- Roll out the dough: Not too thin, not too thick. Aim for about 1/8 inch.
- Cut into rectangles: Size matters! Experiment to find what you like.
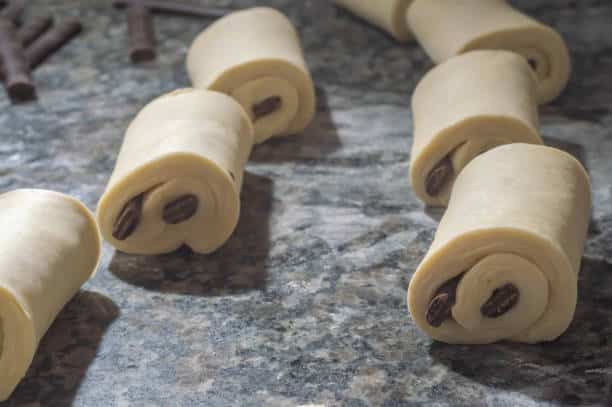
- Add the chocolate: Place a baton (or a line of chocolate chips!) near one edge, roll it up, and add another baton before finishing the roll.
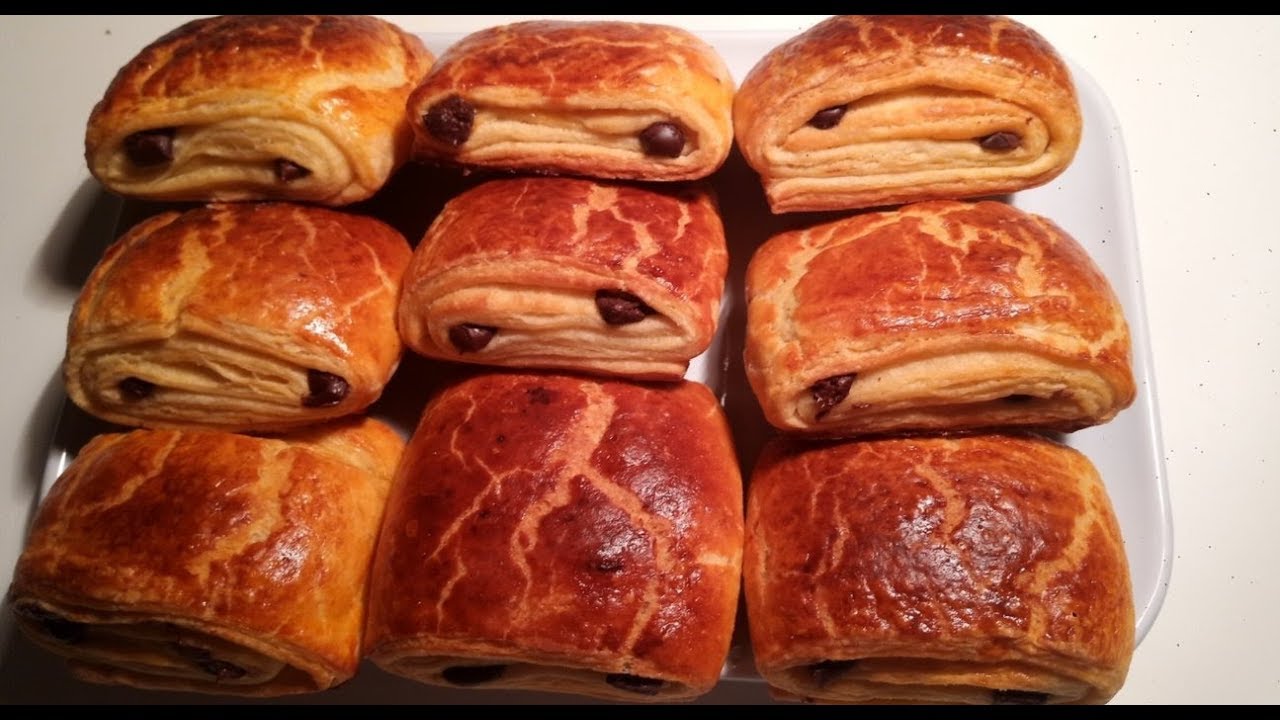
- Proofing: Let those babies rise! This is essential for a light and airy pain au chocolat.
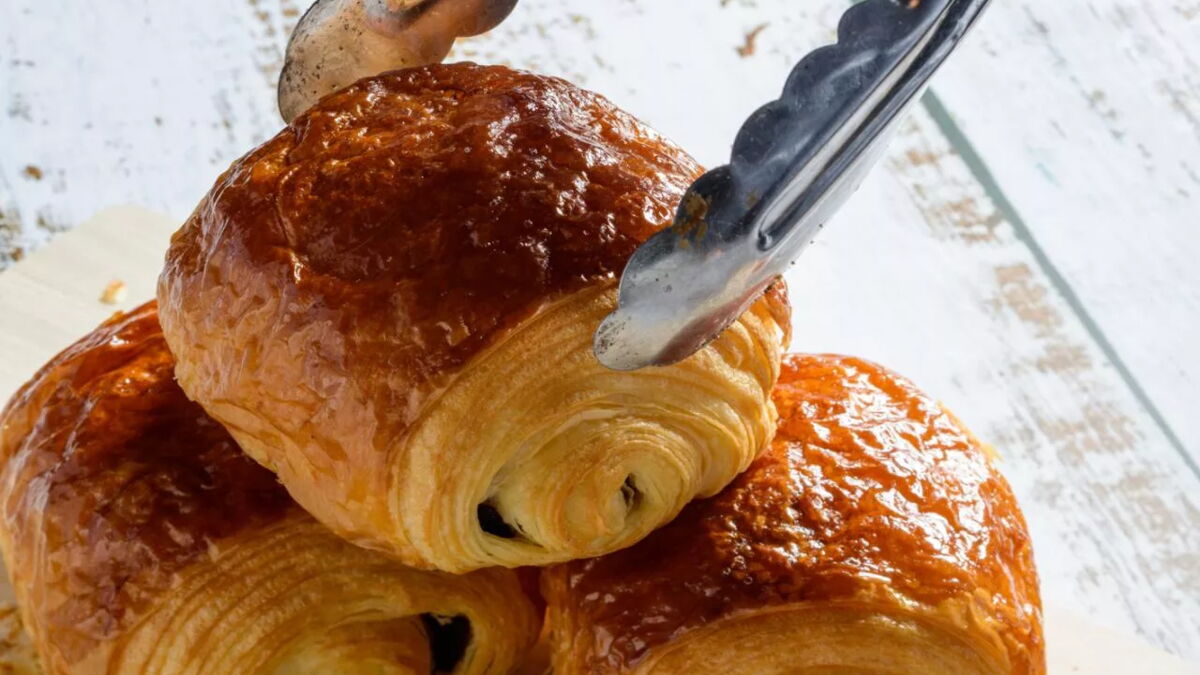
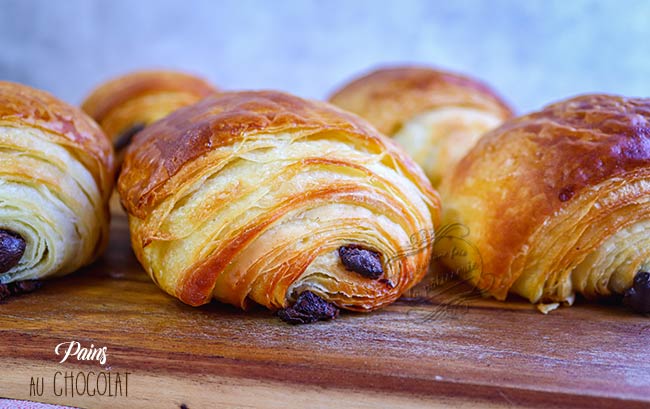
- Egg Wash: Gives them that beautiful golden sheen.
- Baking: Hot oven! You want a nice, crispy exterior.
Let them cool slightly before devouring (if you can resist that long!).
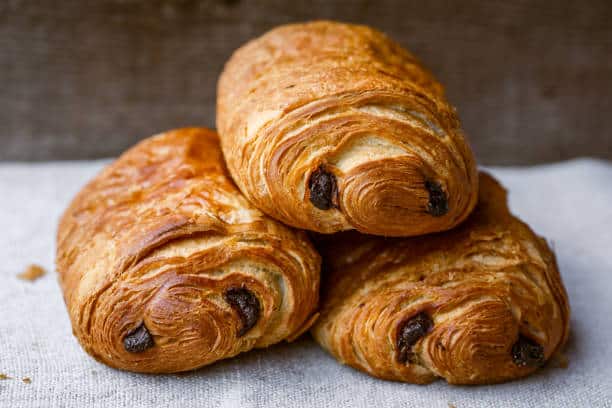
The Verdict?
Making pains au chocolat maison is a labor of love, no doubt. But the joy of biting into a warm, flaky, chocolate-filled pastry that you created? Priceless. It might not be perfect the first time (or even the second!), but keep practicing. Each batch will get better, and you'll be a pain au chocolat pro in no time. And hey, even if they're a little wonky, they're still homemade and delicious. So go forth and bake! Bon appétit!