Okay, confession time. Last week, I was at a farmer’s market, trying to look all sophisticated with my organic kale and artisanal cheese (you know, the usual). I saw this super cute tote bag with a simple, elegant design. I spent a good ten minutes trying to figure out what the heck it was! Turns out, it was a fleur de lys. Talk about feeling out of the loop, right?
And that got me thinking… the fleur de lys pops up everywhere! From fancy logos to medieval banners, it’s a symbol that has serious staying power. But what's the deal with it? And how can we, the artistically challenged (ahem, moi), actually draw one?
Fleur de Lys 101: A crash course
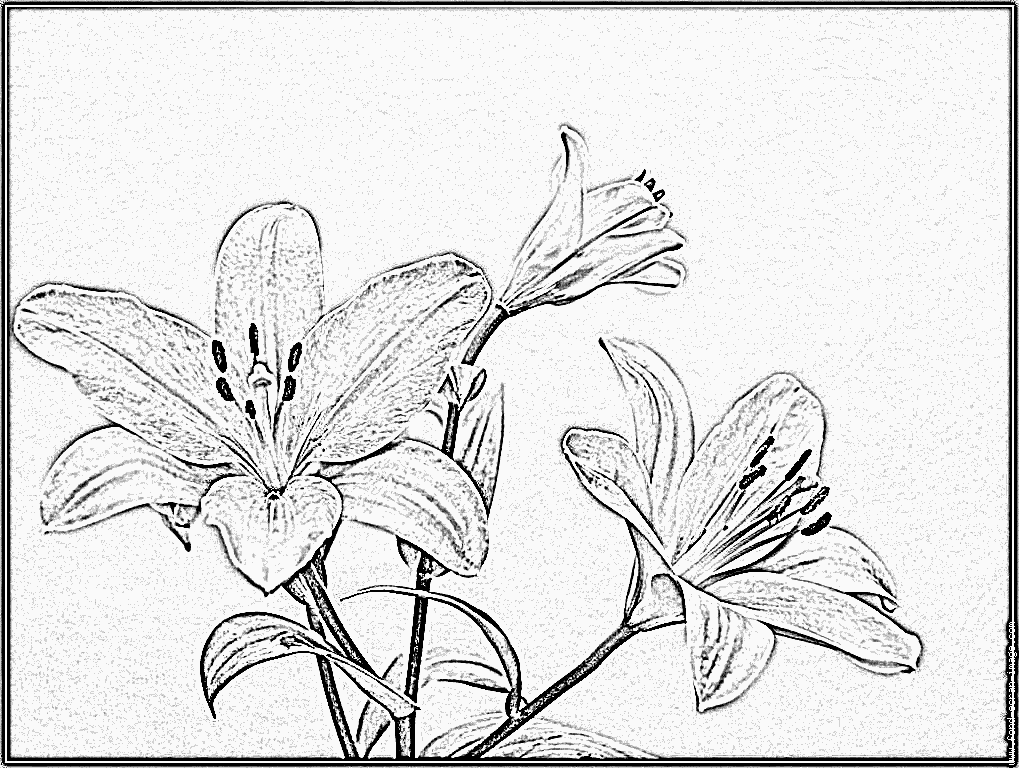
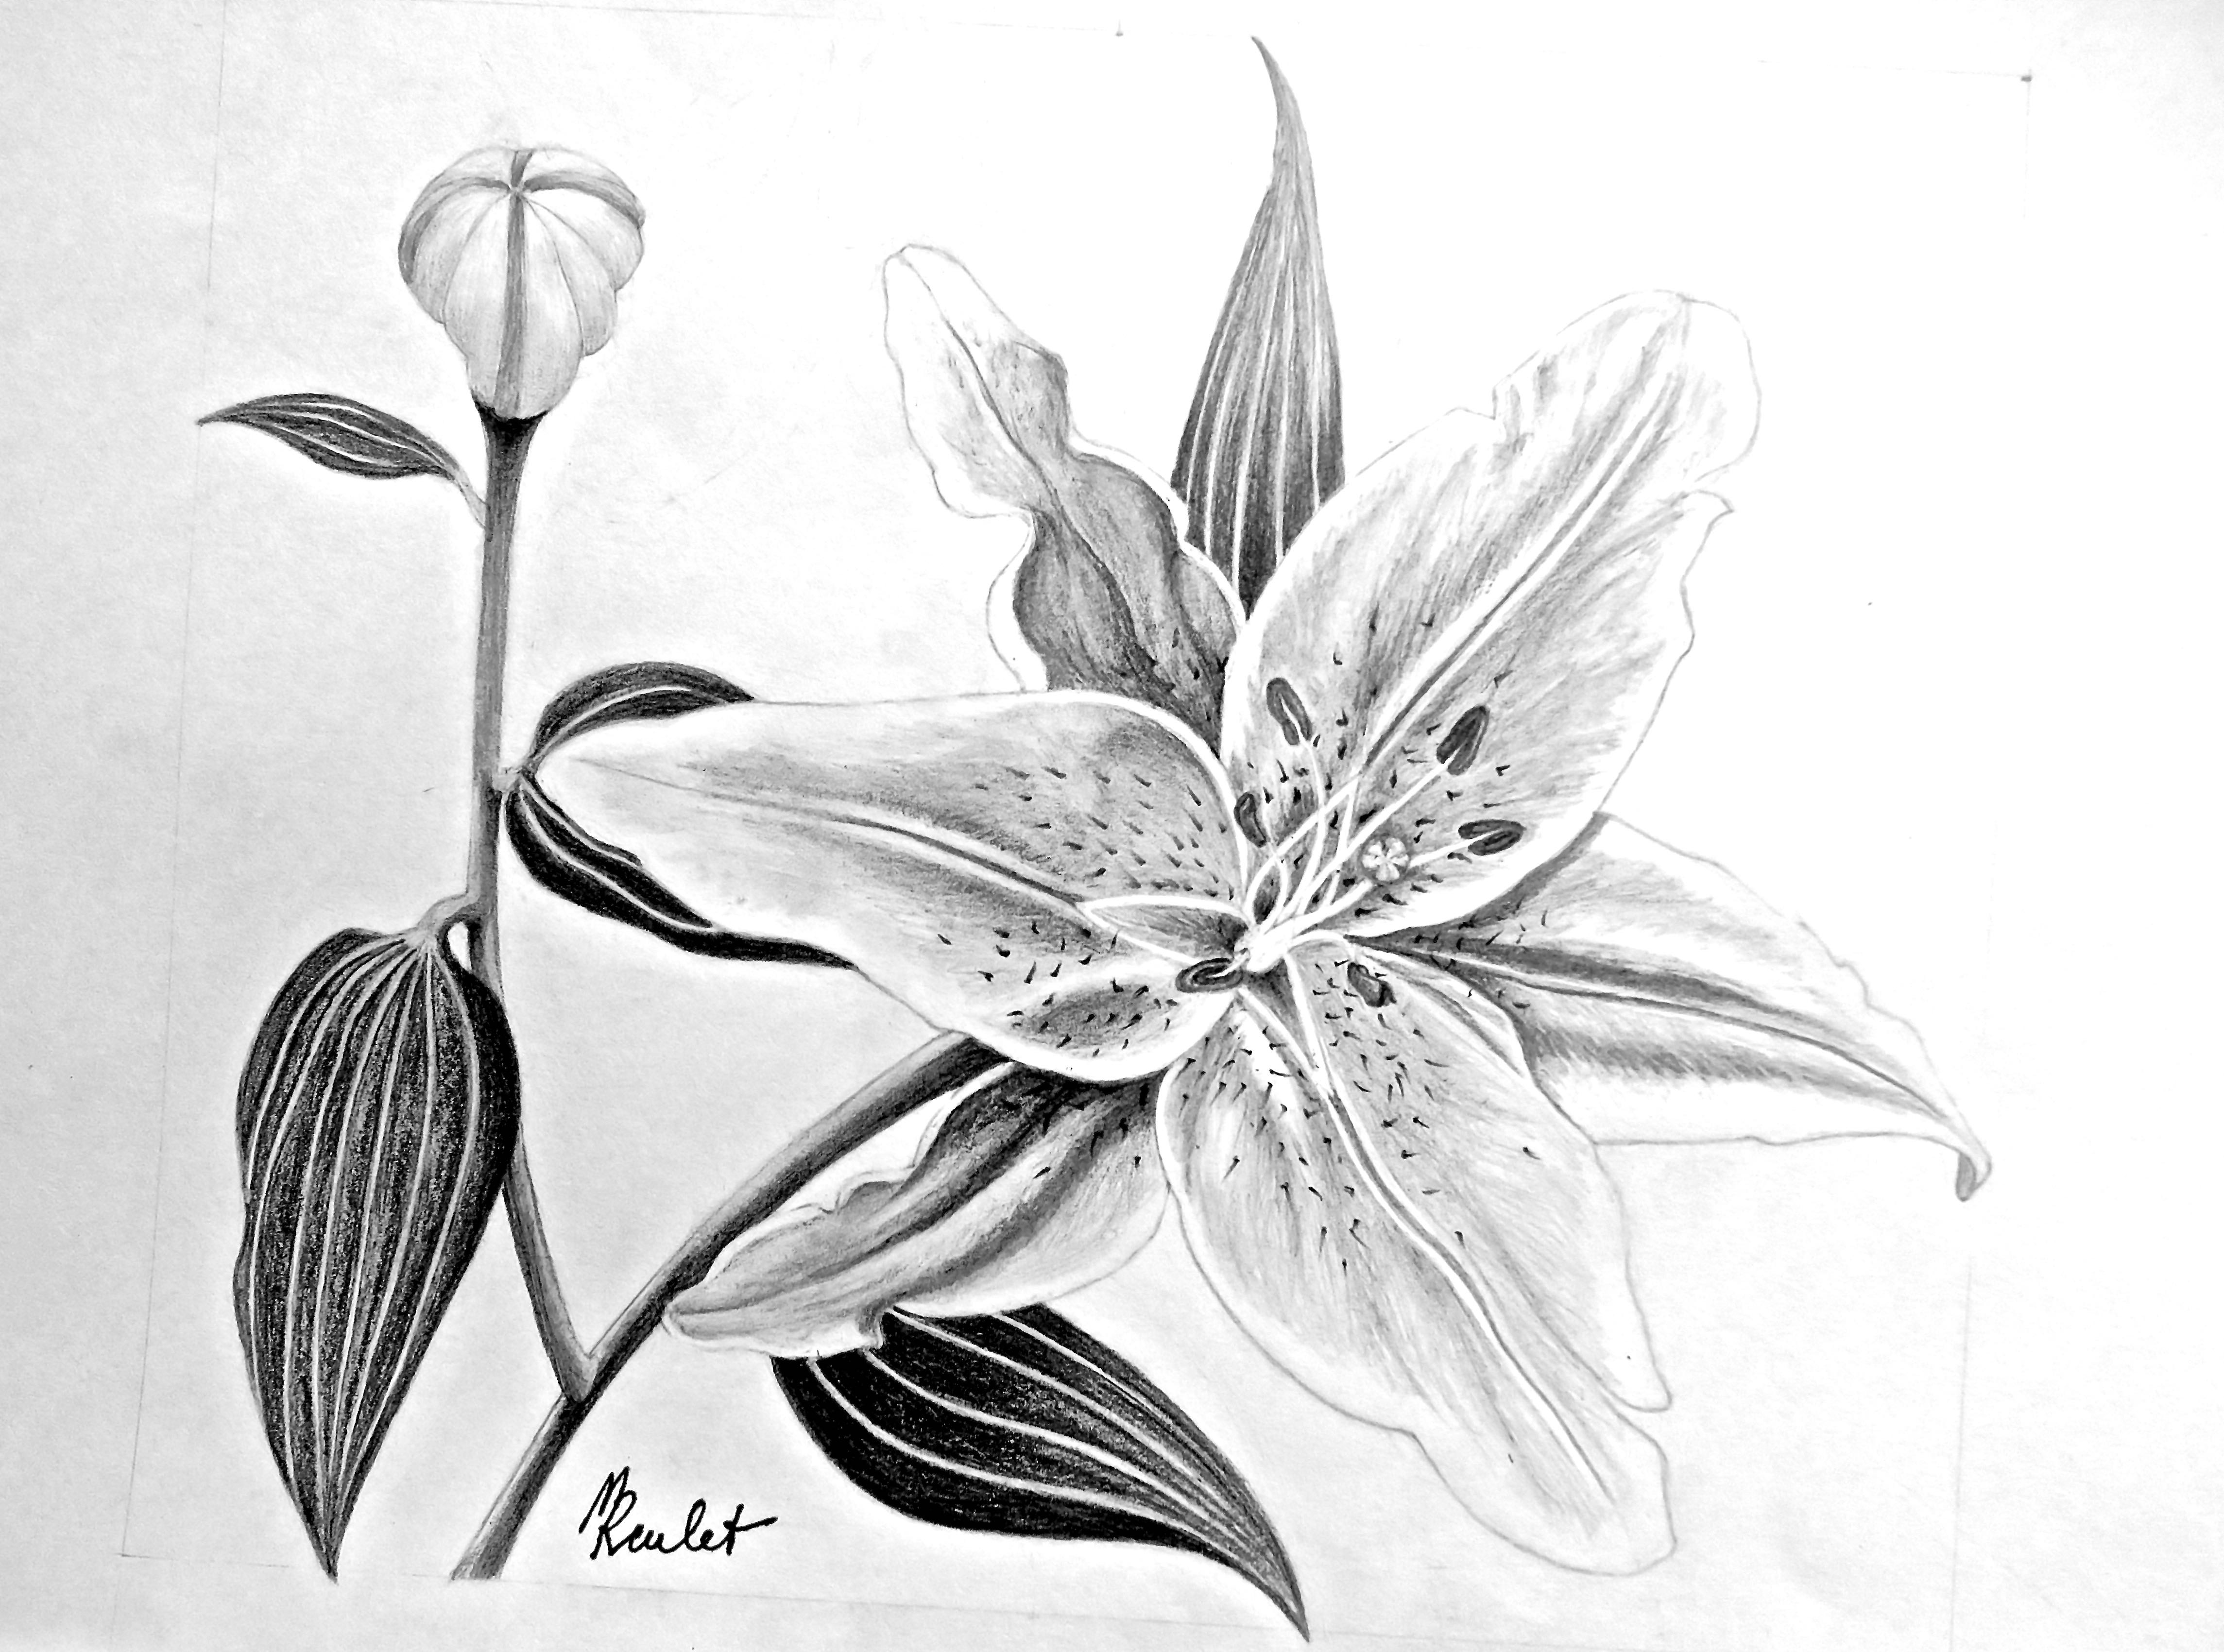
So, what is this fancy little flower-thing? Well, "fleur de lys" literally translates to "lily flower" in French. But here’s the kicker: it’s not actually a lily! Most historians believe it’s actually based on a stylized iris. (Mind. Blown.)
Historically, it's been linked to French royalty. Like, really linked. For centuries, it was a symbol of the French monarchy, representing power, sovereignty, and honour. Think kings and queens, castles and crowns – you get the picture.
But it’s not just about France! You’ll find it in all sorts of contexts, from religious symbolism (representing purity and the Trinity) to scouting (representing duty and honour, again!). It's a seriously versatile symbol.
Why is it so darn popular?
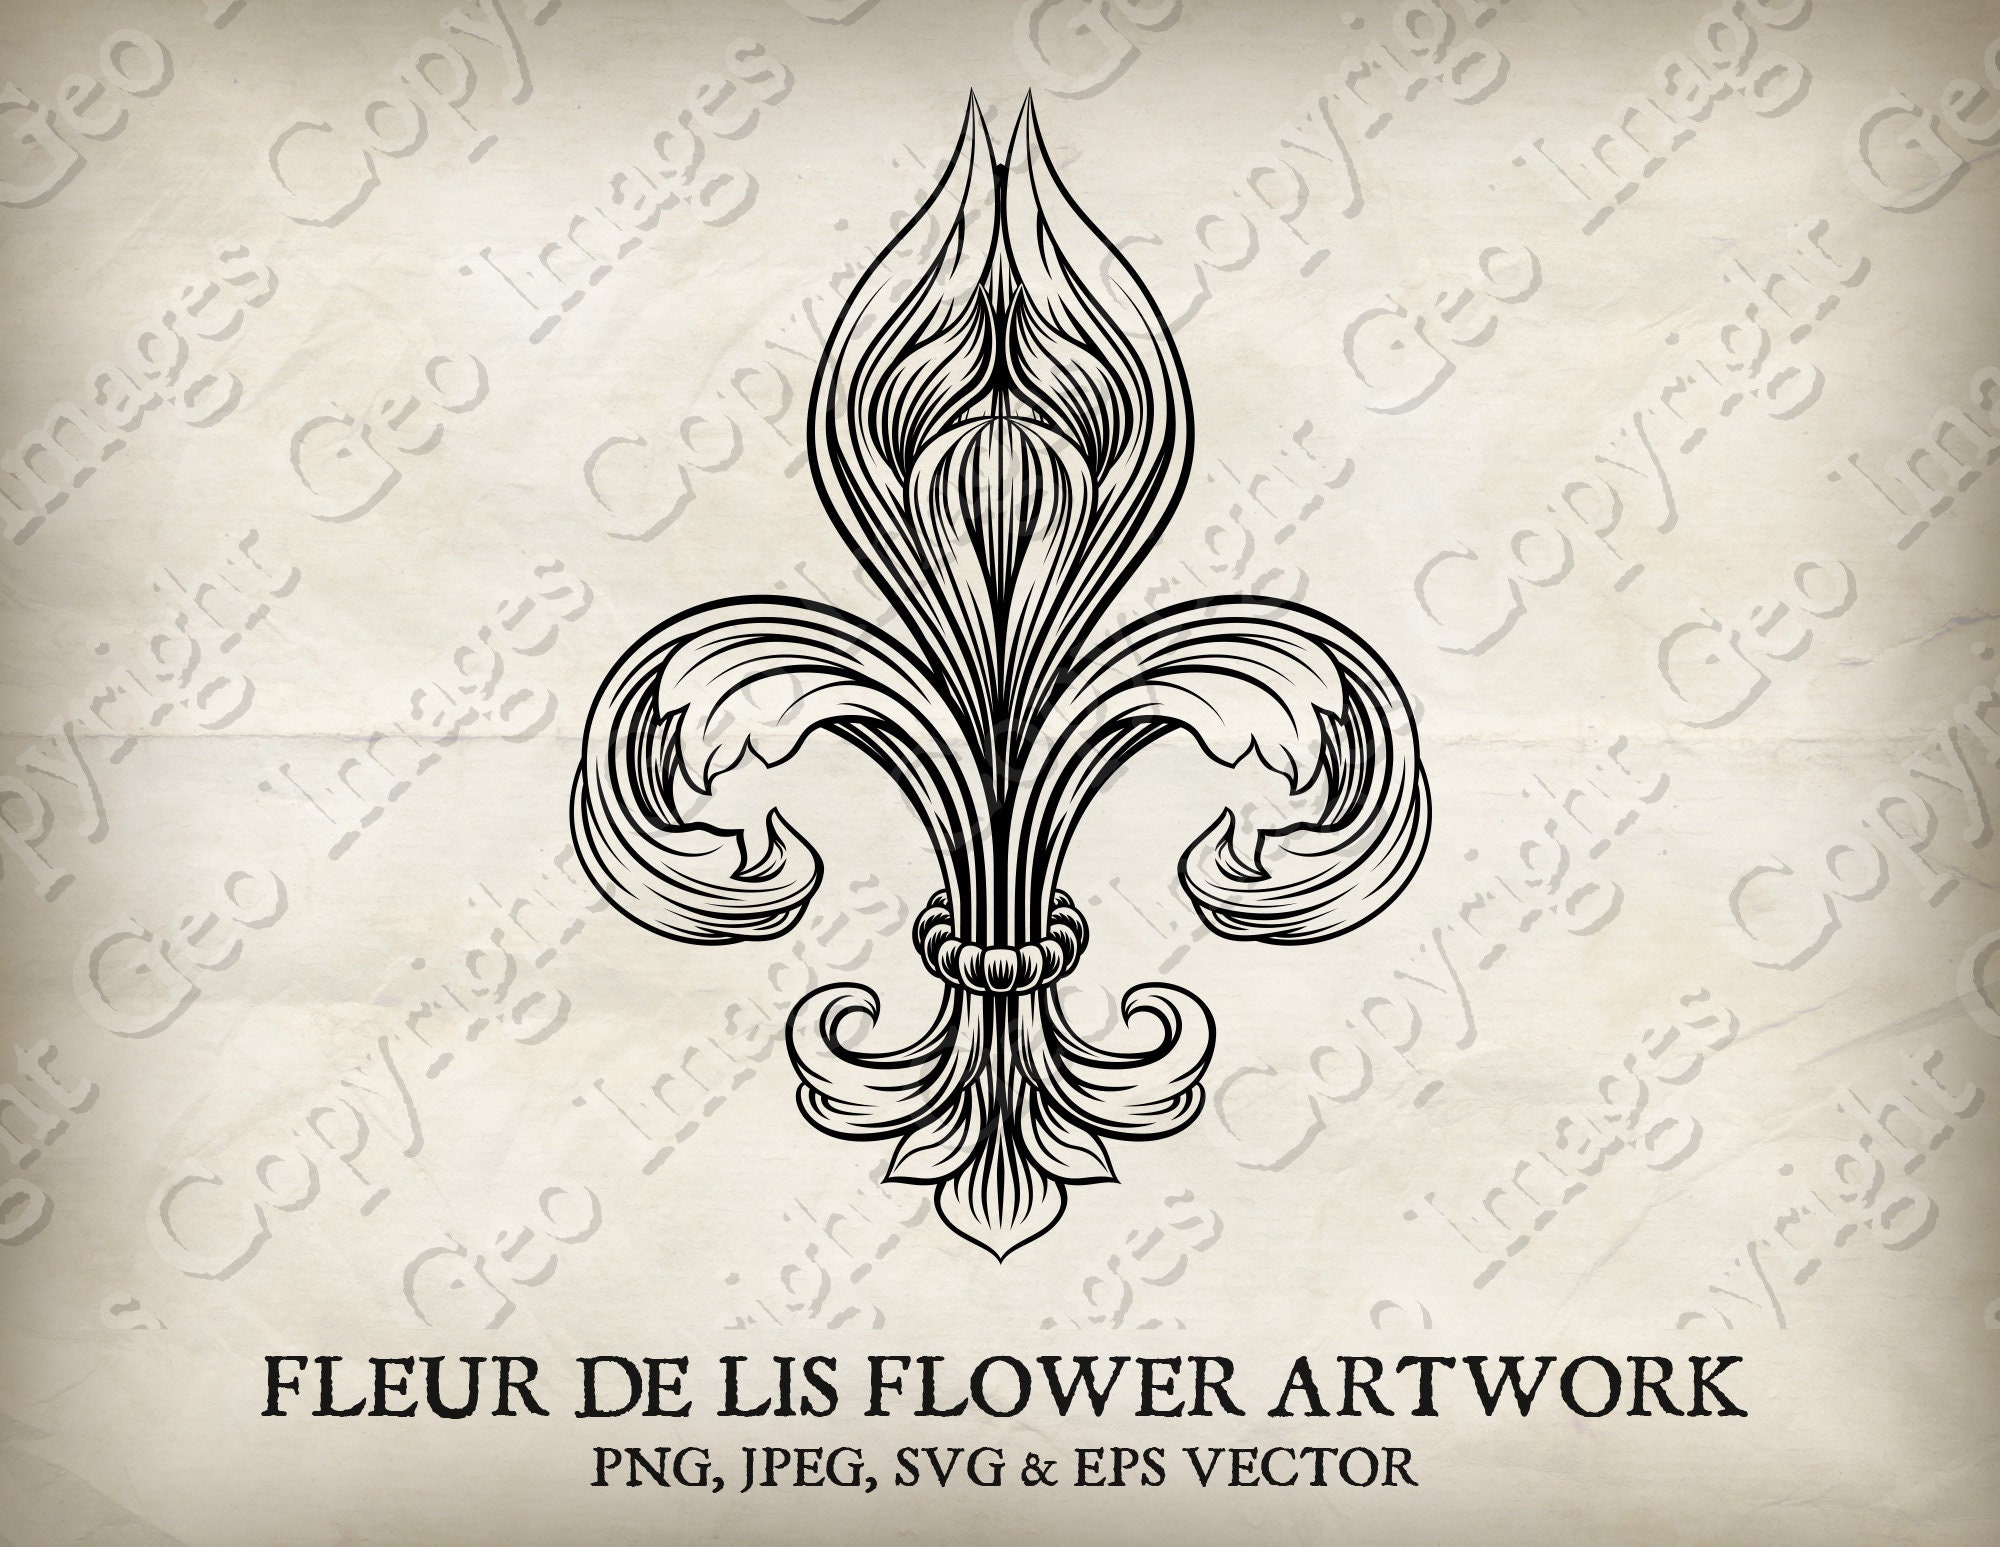
Good question! It's probably a mix of things. Firstly, it's visually appealing. The symmetrical design is pleasing to the eye, and it's simple enough to be easily recognizable. (More on that simplicity later, because that’s our drawing key!)

Secondly, its historical significance gives it weight. It carries a certain gravitas, a sense of history and tradition. People are drawn to symbols with meaning, aren't they? Even if they don't know the exact meaning, there's a feeling of significance there. Plus, admit it, it just looks classy. (Okay, I admit it!)
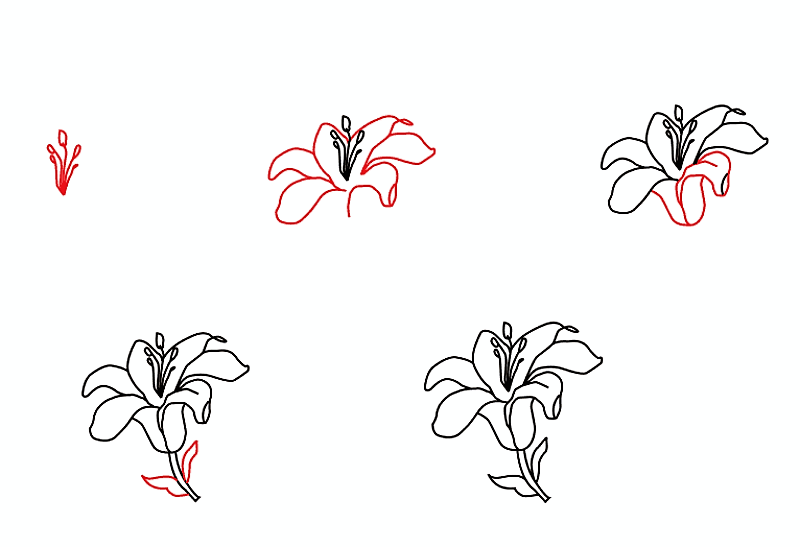
Let's Draw a Fleur de Lys: The Simple Way!
Alright, time for the fun part! Don’t worry; we're not aiming for Louvre-worthy masterpieces here. We're going for simple, recognizable, and, dare I say, cute.
Step 1: The central spike
Start with a vertical line. This is your guideline for the central "petal" (or "sepal," if we're being botanically accurate, which we're probably not). Make it roughly the height you want your whole fleur de lys to be. Think of it as the backbone of your design.

Step 2: The Main Petals
Now, add two curved lines on either side of the central line, starting from the top and curving outwards and downwards. These form the main, prominent petals of the fleur de lys. Imagine you're drawing a slightly elongated heart shape, but with a sharper point at the bottom.
Tip: Try to make these curves symmetrical. Symmetry is key to the overall look of the fleur de lys. But don't stress too much if they're not perfect. Handmade charm is always good!
Step 3: The Smaller Petals (or "stamens"?)
Next, draw two smaller curved lines inside the larger petals, mirroring their shape. These add depth and detail to the design. Think of them as echo versions of the main petals.
Side Note: Okay, I'm officially coining them "echo petals." It sounds much cooler than "stamens," which they probably aren't anyway. Feel free to use that term in your own artistic endeavors!
Step 4: The Base
Now for the base. This is where things can get a little tricky, but we're keeping it simple, remember? Draw a small horizontal line connecting the bottoms of the two larger petals. From the center of this line, draw a short, downward-pointing triangle. This forms the "point" at the bottom of the fleur de lys.
Pro-Tip: You can round off the bottom of the triangle slightly for a softer look. Experiment and see what you like best!
Step 5: The Final Touches
Erase any stray lines or guidelines. You can also add some subtle details, like thickening the lines of the main petals or adding a small curve to the base. The beauty of a simple design is that you can customize it to your heart's content!

Variations and Embellishments: Let’s Get Creative!
Once you've mastered the basic shape, the possibilities are endless! Here are a few ideas to get your creative juices flowing:
- Rounded edges: Instead of sharp points, try rounding off the petals for a softer, more organic look.
- Different base designs: Experiment with different shapes for the base. A more elaborate base can add a touch of elegance. Think scrolls or even tiny crowns (if you're feeling ambitious!).
- Adding texture: Use different line weights or add shading to create depth and texture. Hatching or stippling can add a cool, hand-drawn feel.
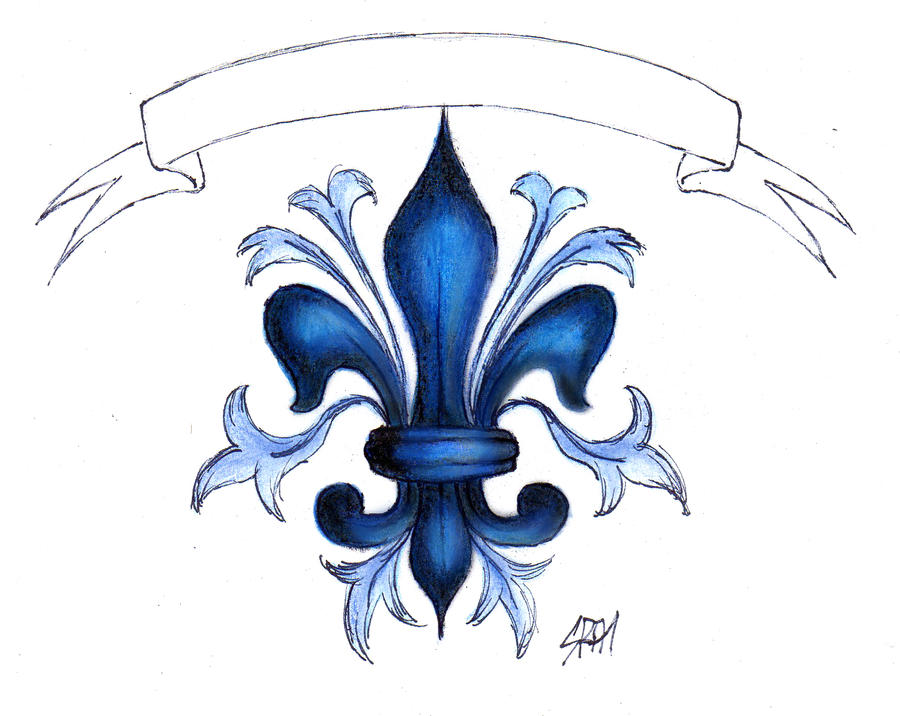
- Incorporating color: Obviously! But think about color combinations. Classic gold and white? Bold primary colors? The choice is yours!
- Repetition: Create patterns by repeating the fleur de lys. Think wallpaper, fabric designs, or even a cool background for your digital art.
Why Bother Drawing a Fleur de Lys?
Okay, fair question. Why spend time drawing a stylized flower that's been around for centuries? Well, for starters, it’s a fun and accessible way to practice your drawing skills. The simple shape makes it a great project for beginners.
But more than that, it's a way to connect with history and culture. When you draw a fleur de lys, you're engaging with a symbol that has resonated with people for generations. You're participating in a visual conversation that spans centuries. Plus, it’s just a cool looking symbol!
Final Thought: So, next time you see a fleur de lys, you’ll know a little bit more about its history and significance. And maybe, just maybe, you’ll be inspired to grab a pencil and draw one yourself. You might surprise yourself with what you can create! And hey, even if it looks a little wonky, it's still a fleur de lys. And that's pretty darn cool, right?