Okay, picture this: me, stressed out of my mind the night before a thesis defense. My beautiful, meticulously crafted LaTeX document… was refusing to cooperate. Specifically, the cover page. I wanted an image, a simple image, to subtly represent my years of research. And LaTeX, in its infinite wisdom, was treating me like I'd asked it to build a rocket ship. Sigh. Does this sound familiar to anyone? Let's be honest, we've all been there, wrestling with LaTeX when all we want is for it to just… work.
So, that frustrating evening got me thinking: how can we make adding an image to a LaTeX cover page less of a Herculean task? Let's dive in, shall we?
L'Art Subtil de l'Image sur la Page de Garde
Adding an image to your LaTeX cover page isn't rocket science, per se. But it does require a dash of finesse. The key is understanding the basic structure and then tweaking it to your needs. Think of it as crafting the perfect espresso: the ingredients are simple, but the execution is everything!
Here's the breakdown:
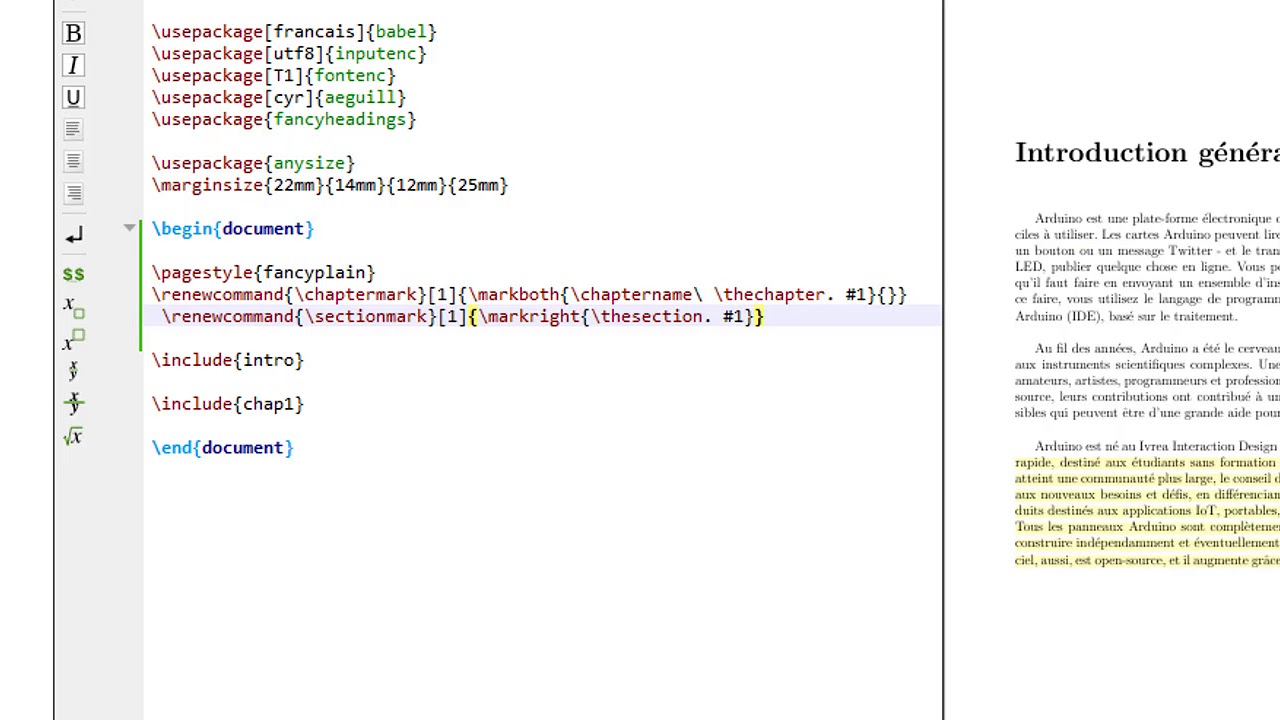
- Packages: First things first, you'll need the right tools. The
graphicxpackage is your best friend here. Add\usepackage{graphicx}to your preamble. (Yep, the bit at the very beginning of your document.) - Environment: The
titlepageenvironment is typically used for, you guessed it, the title page! Anything you put inside this environment will appear on its own page. - The
\includegraphicsCommand: This is where the magic happens.\includegraphics[options]{path/to/your/image.jpg}is the command you'll use. The[options]part is crucial for controlling the size and positioning of your image. More on that in a sec.
Positioning and Sizing: Le Diable est dans les Détails
Alright, you've got your image included. But it's probably either huge, tiny, or awkwardly placed. Time to refine! The [options] in the \includegraphics command are your allies. Here are a few handy ones:
widthandheight: Use these to specify the desired width and height of your image. For example,\includegraphics[width=0.5\textwidth]{...}will make the image half the width of the text area. (\textwidthis a handy LaTeX command, just saying).scale: This scales the image proportionally.\includegraphics[scale=0.7]{...}reduces the image to 70% of its original size.- Vertical Positioning: LaTeX loves to center things vertically. If you want more control, you can use
\vspaceto add vertical space before or after the image. (Warning: this might require some trial and error. Don't be afraid to experiment!)
Pro Tip: Don't forget about relative paths! Make sure LaTeX can actually find your image file. If it's in the same directory as your .tex file, you can just use the filename. Otherwise, provide the full path or a relative path from the .tex file.
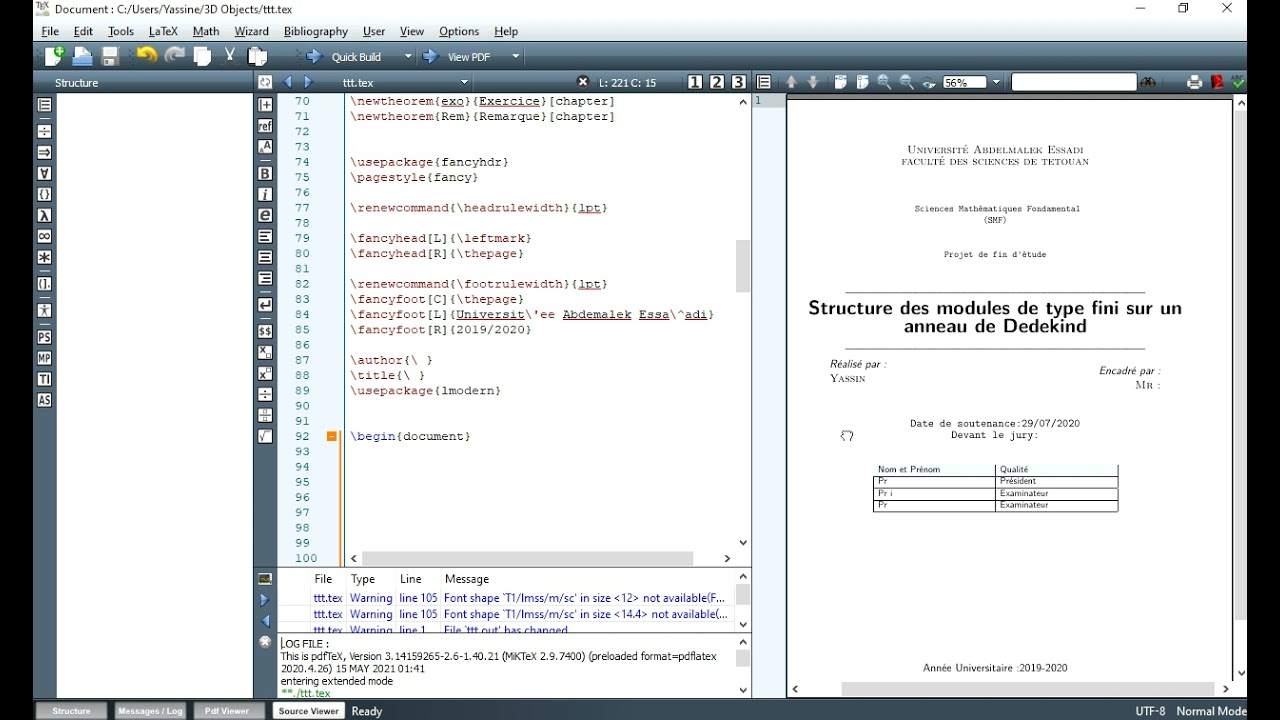
Un Exemple Concret
Let's say you want a small logo at the top of your cover page. Here's what the code might look like:

\begin{titlepage}
  \centering
  \includegraphics[width=0.3\textwidth]{logo.png}
  \vspace{1cm} % Add some space below the logo
  {\Large Your Title Here\par}
  \vspace{0.5cm}
  {\large Your Name\par}
  \vspace{0.5cm}
  {\it Your Institution\par}
  \vspace{2cm}
  {\large Date\par}
\end{titlepage}
Of course, you can customize this to your heart's content. Add more elements, change the spacing, use different fonts… the possibilities are endless! Remember, LaTeX is all about control, so embrace it!
So, there you have it! Adding an image to your LaTeX cover page doesn't have to be a nightmare. With a little understanding and some careful tweaking, you can create a professional-looking and visually appealing document. And hey, if all else fails, there's always Stack Overflow… but hopefully, this helps you avoid that particular rabbit hole!
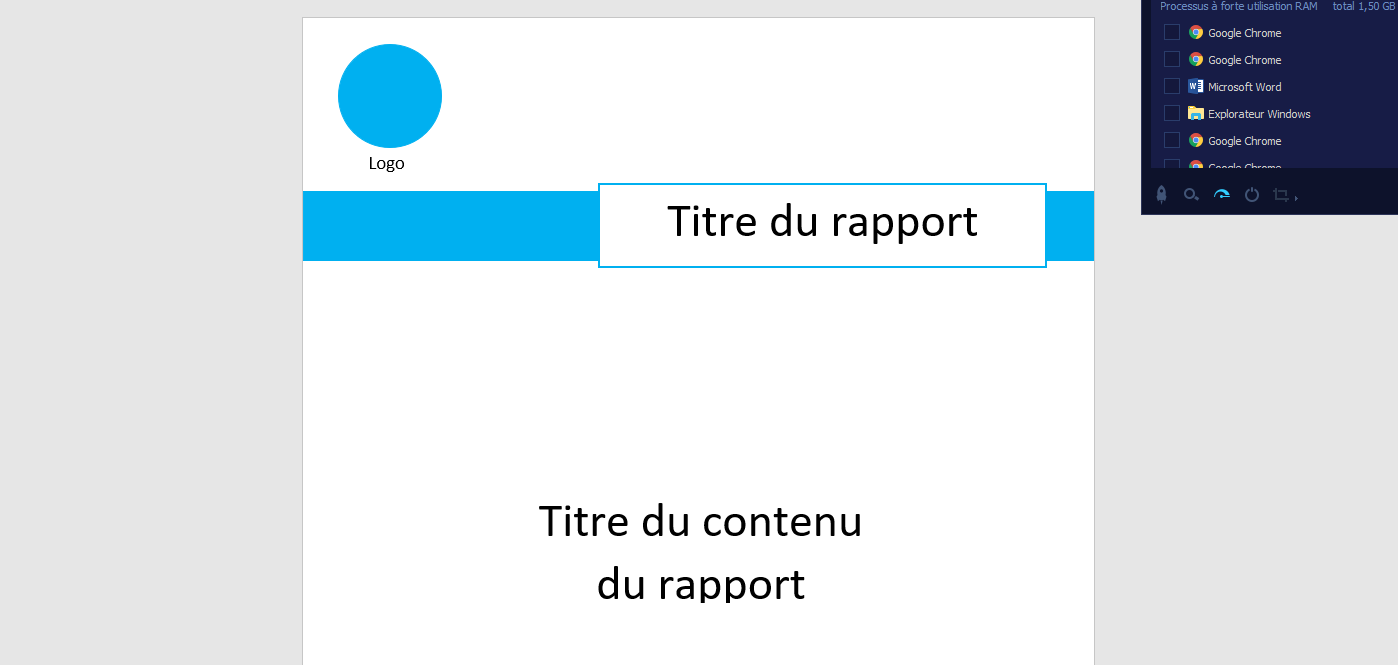


![[Latex ]Exemeple de Page de garde rapport de PFE Latex | Essay cover](https://i.pinimg.com/originals/21/65/0b/21650b51df6956cd078586c44beb8bbc.png)

![[DOC] Exemple page de garde word pour un rapport PFE](https://3.bp.blogspot.com/-h_lQMTlvjg4/VU37ec0T8GI/AAAAAAAACkQ/AdJo-OlWKrM/s1600/page%2Bde%2Bgarde%2Bword%2Bde%2Bpfe%2Bmodele%2Bpage%2Bde%2Bgarde%2Bformat%2Bword%2B2015.png)