Okay, so picture this: last night, 3 AM, deadline looming. I’m frantically trying to finalize this presentation, right? Everything's perfect, except... the page numbers. They’re starting on the cover page. THE COVER PAGE! Who wants a page number on their cover page? Not me, that's for sure. It looked so unprofessional! I thought, “There HAS to be a way to fix this in Word 2016!" And guess what? There is. Keep reading to learn how to banish those pesky numbers from your cover pages! I promise, this is easier than staying awake until 3 AM wrestling with Word.
So, how do we get Word to cooperate? Well, it’s all about understanding section breaks. Think of them as little dividers that tell Word, "Hey, this is a new part of the document, treat it differently!"
Using Section Breaks to Your Advantage
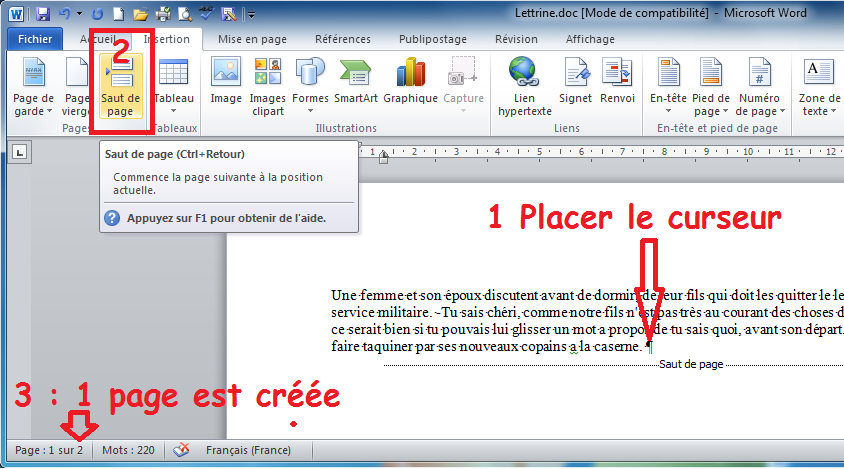
First things first, you need to insert a section break between your cover page and the rest of your document. Here’s how:
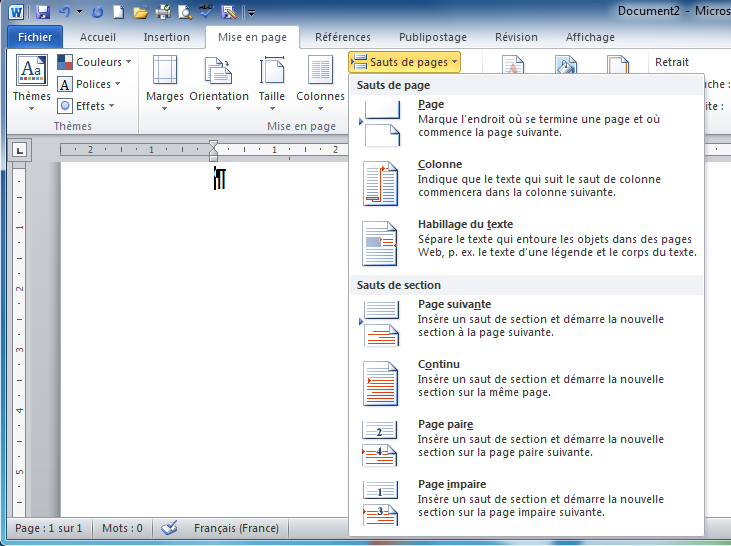
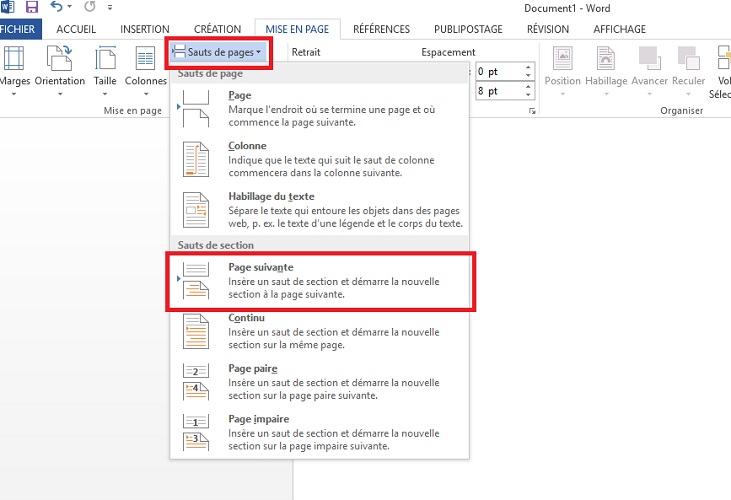
- Go to the "Layout" tab (it might also be called "Page Layout" depending on your Word version, don't panic!).
- Click on "Breaks".
- Choose "Next Page" under the "Section Breaks" section. This will create a new section starting on the next page. Congratulations, you've now separated your cover page!
Now, for the magic trick! We’re going to tell Word to start the page numbering in the second section.
Starting the Page Numbers Where They Belong
Follow these steps carefully, and you'll be sipping coffee (or whatever keeps you going) instead of tearing your hair out:
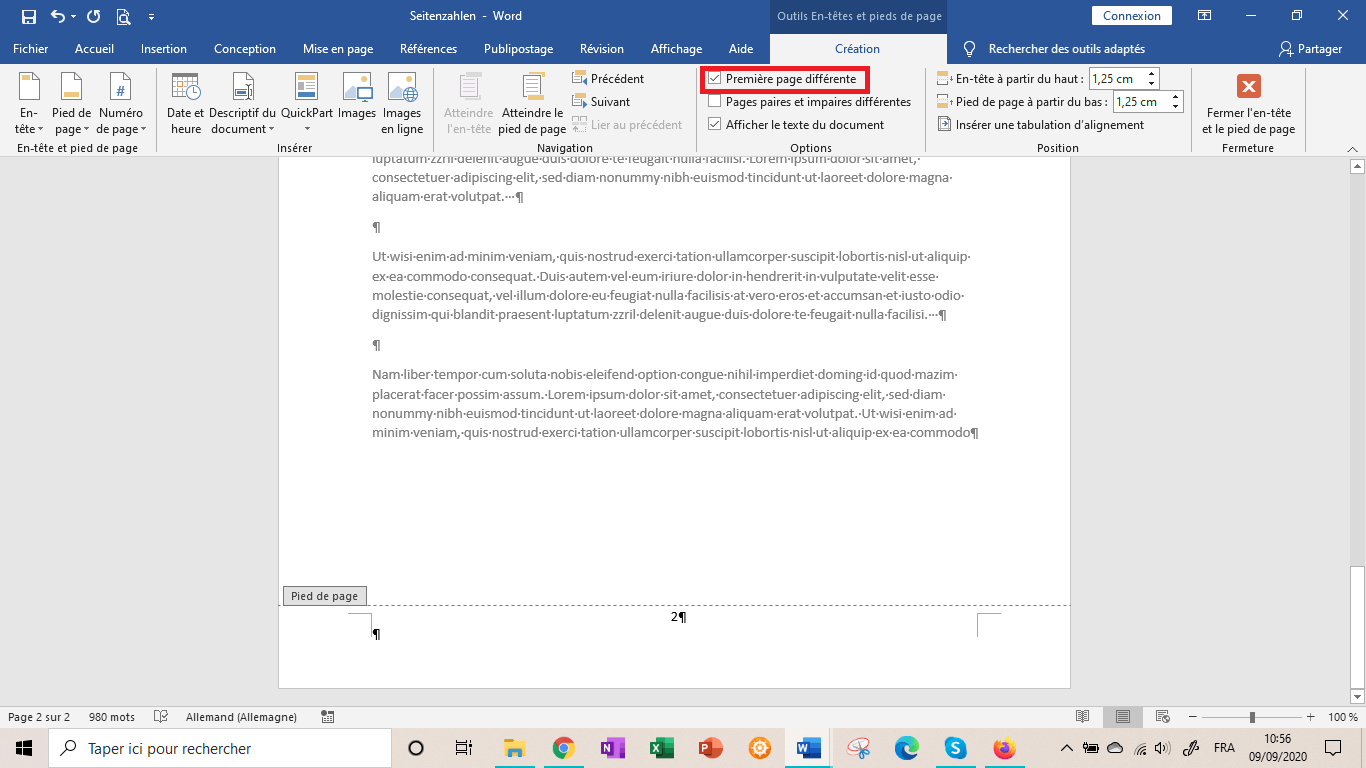
- Double-click in the footer (or header, if that's where your page numbers are) of the second page (the page after your cover page). This will open the header/footer tools.
- Look for a box that says "Link to Previous". This is the key! If it's highlighted, click it to unhighlight it. You’re essentially telling Word, "This section's header/footer is NOT connected to the previous one!".
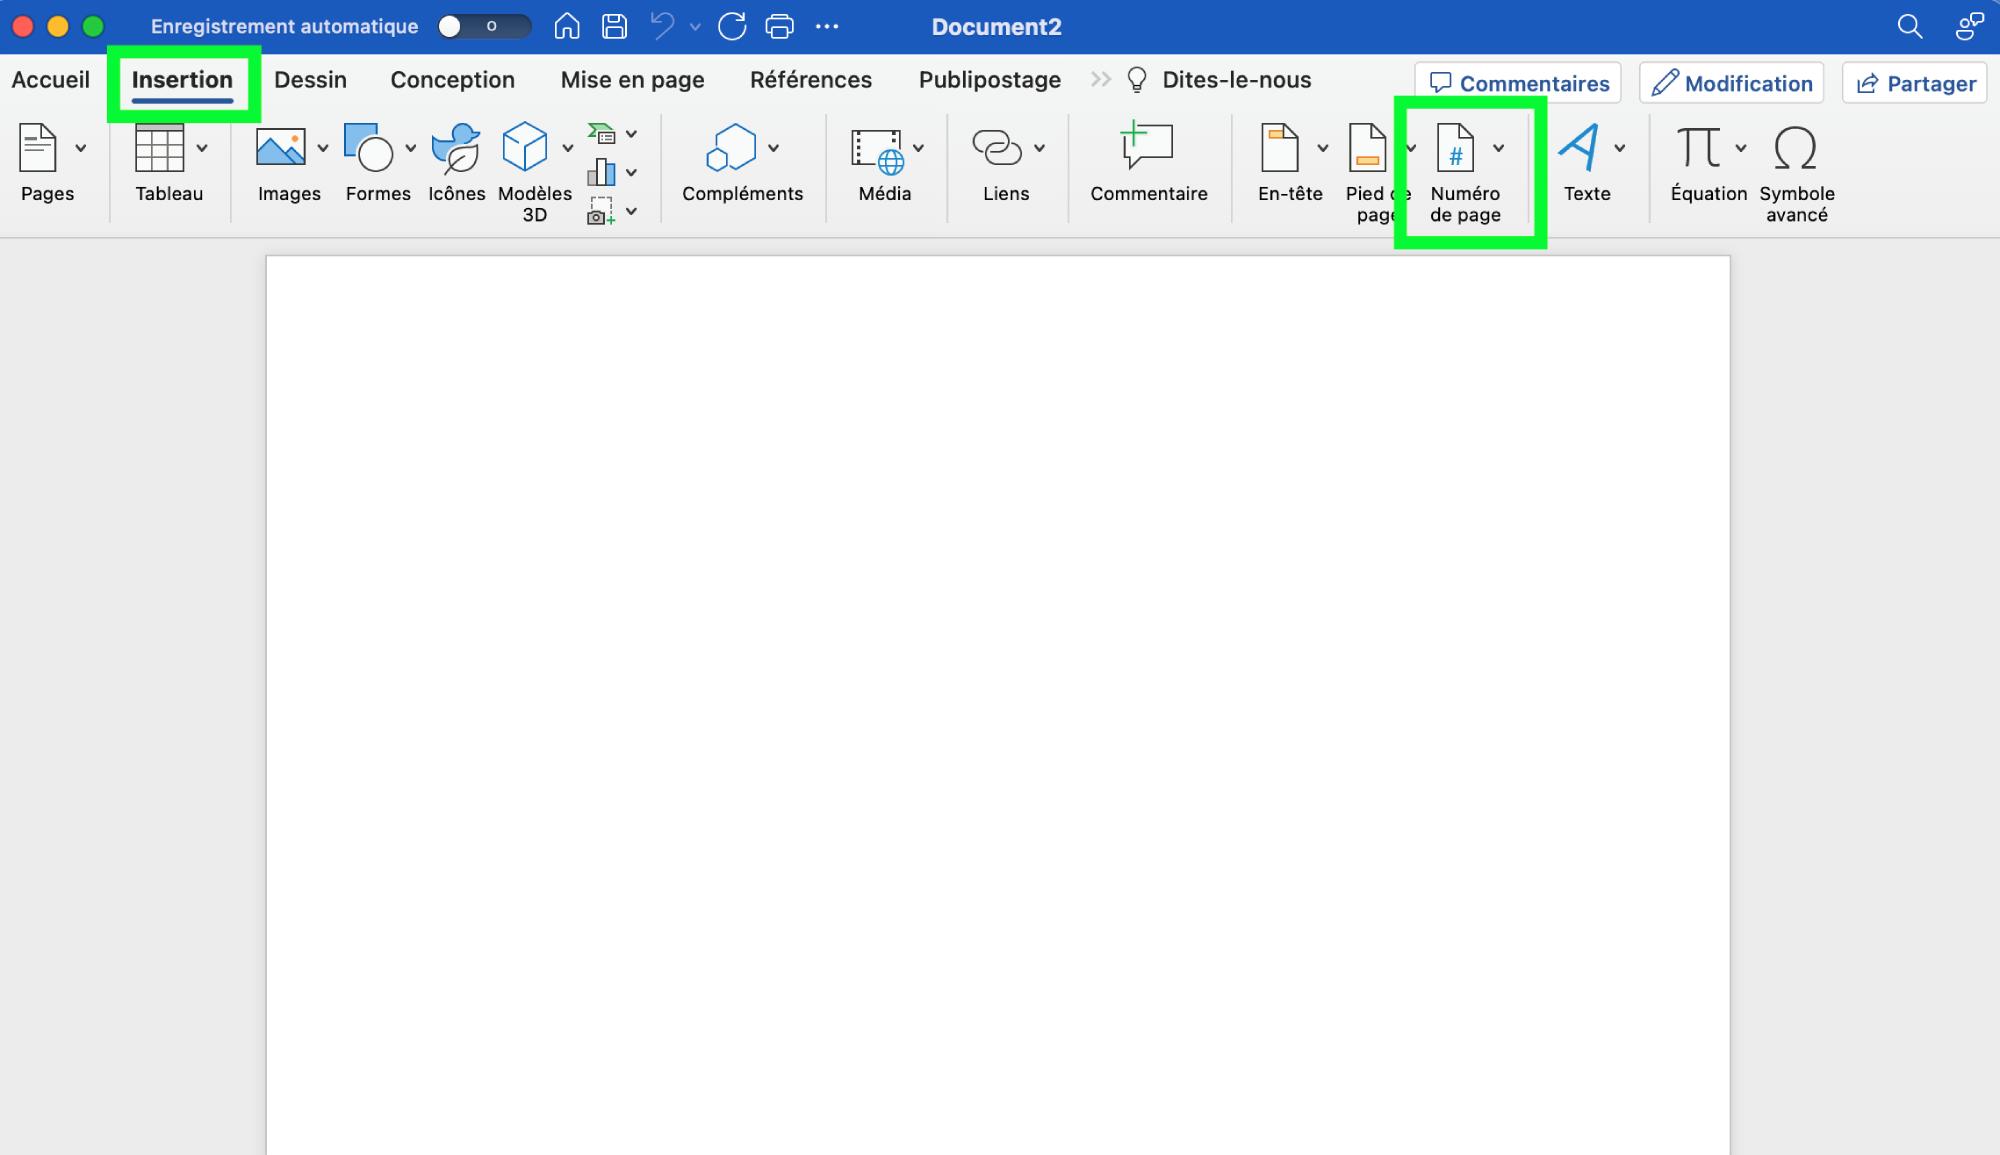
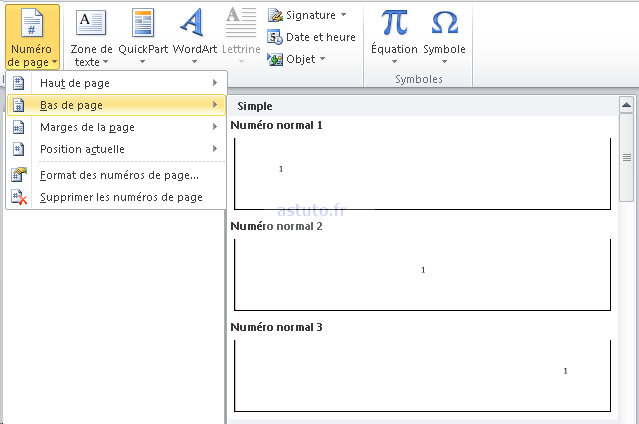
- Now, go to "Page Number", then "Format Page Numbers...".
- In the "Page Number Format" window, under "Page Numbering", select "Start at:" and enter "1". This tells Word to start the numbering from 1 on this page.
- Insert the page number again if it disappeared after formatting. This time, only the pages after the cover page will display the number.
And… voila! Your page numbers should now be starting on the page after the cover page, like the organized genius you are!
A Few Extra Tips & Tricks
- Double-check everything! Seriously, scroll through your document to make sure the numbers are correct and that the cover page is number-free.
- Experiment! Word can be a bit finicky, so don't be afraid to play around with the settings until you get it just right. That’s what I ended up doing at 3 AM, and look, I’m here to share the knowledge!
- Consider different numbering styles. Roman numerals for the intro, Arabic numerals for the main content? Fancy, huh? The "Format Page Numbers" window lets you get pretty creative.
So there you have it! No more cover page page numbers ruining your perfectly crafted documents. Now go forth and conquer Word, one section break at a time!