Okay, okay, imagine this: moi, struggling at my desk, completely surrounded by sticky notes overflowing with "important" ideas. The kind of ideas that mostly involve inventing a self-cleaning coffee mug or writing a novel about a sentient croissant. Suddenly, BAM! A bird flies past my window. Just a fleeting glimpse, but enough to make me think, "Huh. I should draw that." Except... I can barely draw a convincing stick figure. Sound familiar?
But that's the beauty of it, isn't it? The urge to create, even if your artistic skills are, let's just say, "under development." And what's a more universally appealing subject than a bird in flight? So, if you're like me and your artistic prowess tops out at drawing lopsided smiley faces, fear not! We're going on a journey to conquer the oiseau en vol dessin facile together. Because everyone can draw a bird, trust me!
Why Birds? Seriously, Why Birds?
Besides the fact that they're awesome, birds are a fantastic subject for beginners. Here's why:
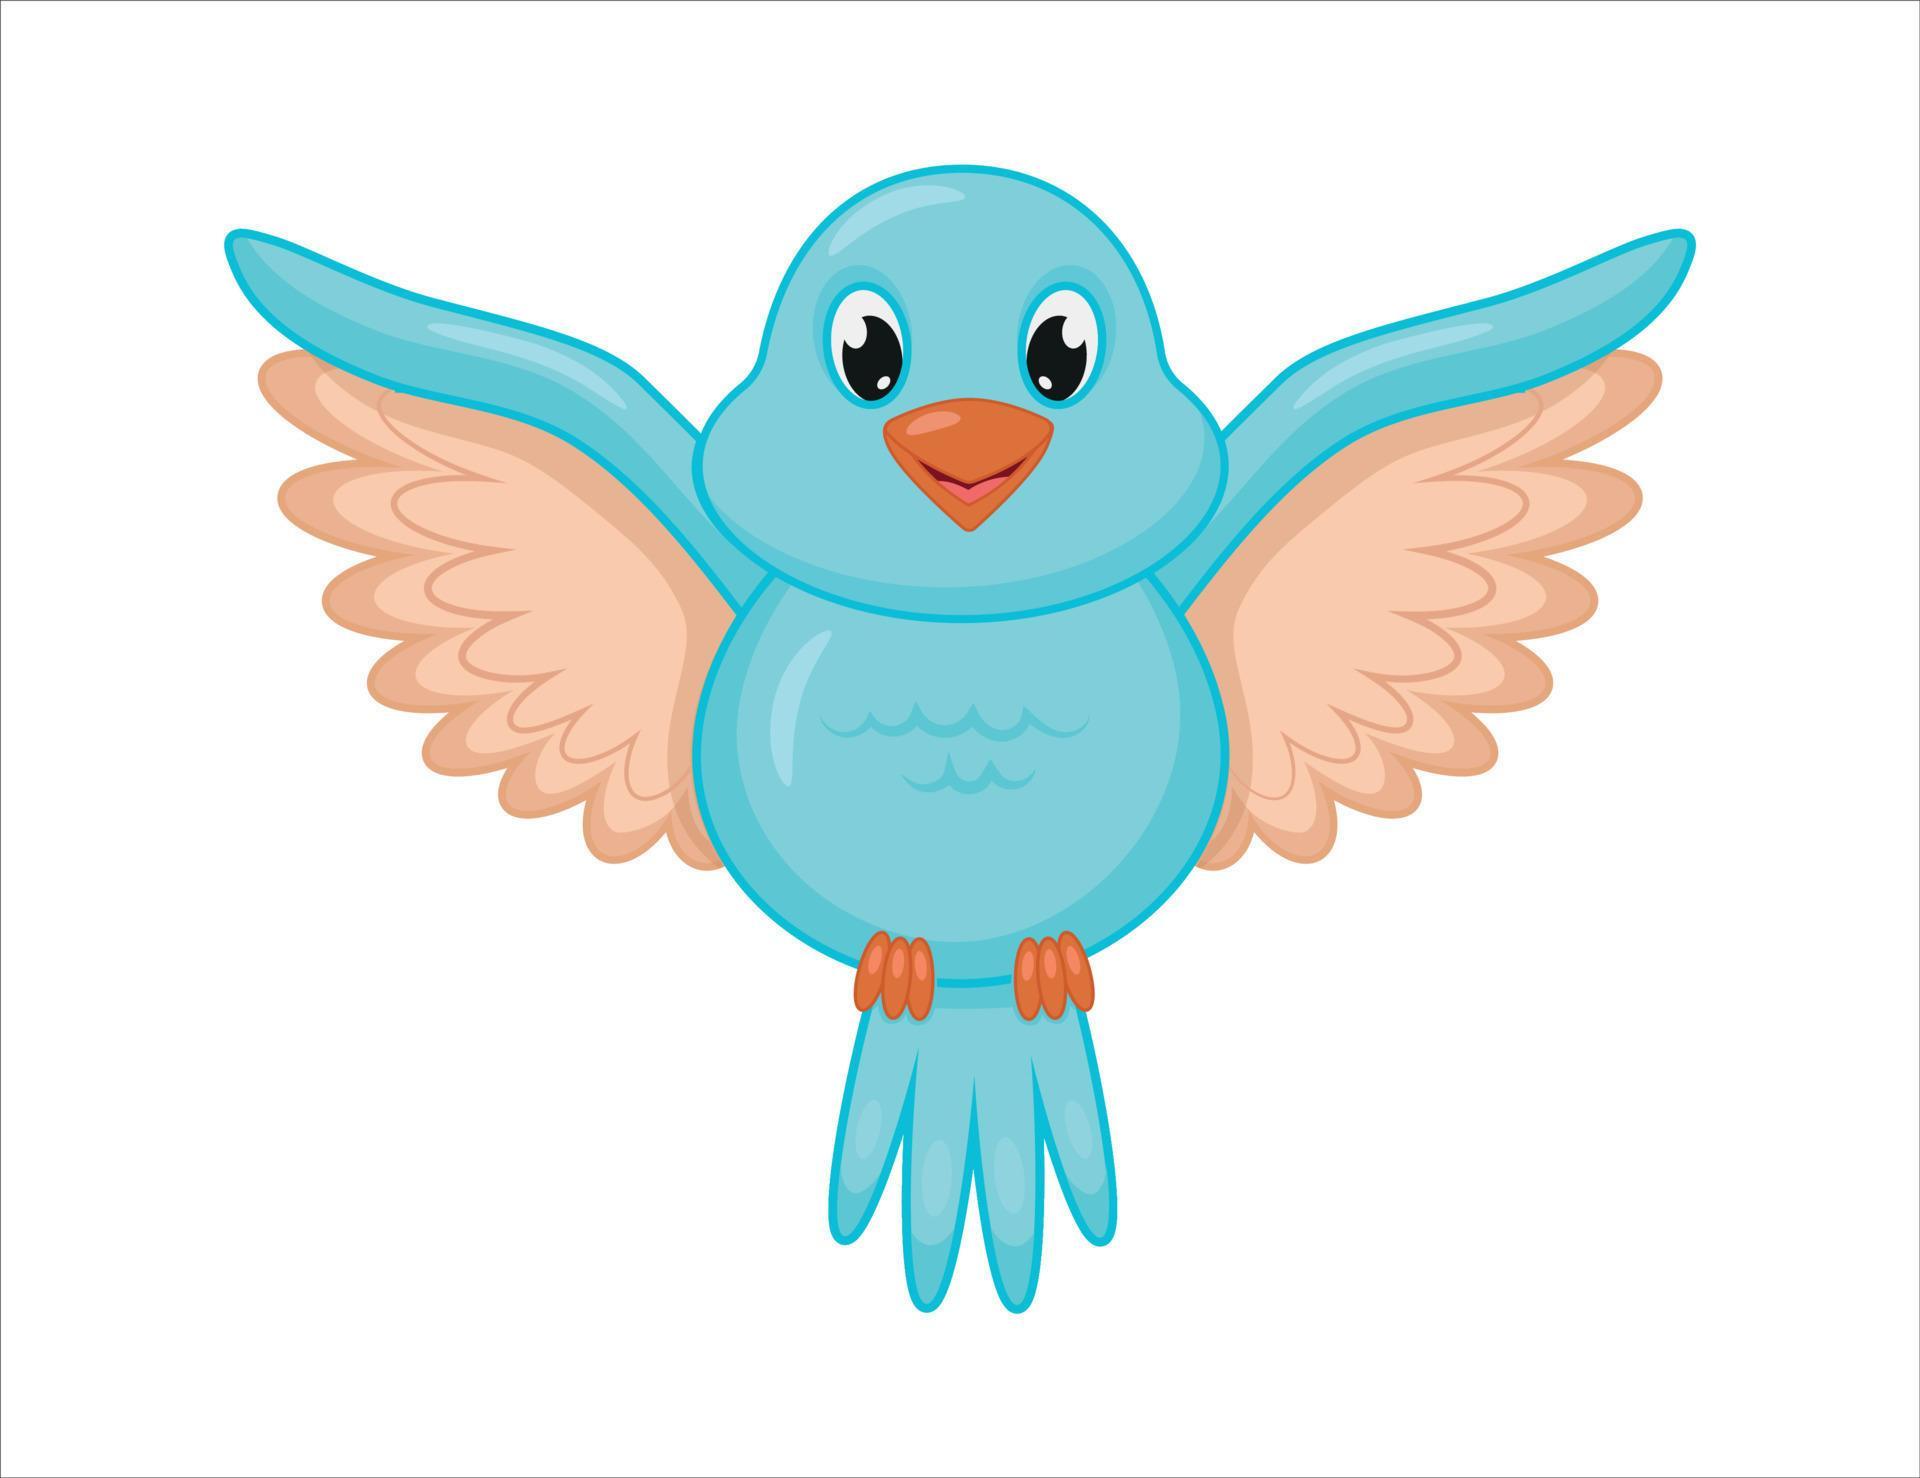
- Simple Shapes: Think about it – basic oval for the body, triangle-ish wings, and a little beak. We can handle that, right? (Don't answer that if you're already picturing a Picasso-esque abstract bird. We're aiming for "recognizable," not "museum-worthy" today.)
- Dynamic Poses: Even a slightly wonky drawing looks good because birds are always moving. A slight asymmetry? "Oh, that's just perspective!" See? Instant artist cred.
- Therapeutic: Seriously, focusing on the simple act of drawing, even a basic bird, is super relaxing. Forget those self-cleaning coffee mugs for a while.
- Versatile: Once you've mastered the basics, you can start experimenting with different types of birds, different poses, and different styles. The sky's the limit! (Pun intended, obviously.)
So, grab a pencil, a piece of paper (or even the back of a grocery list – no judgment here!), and let's dive in.
The Anatomy of a Flying Fluffy Thing (Simplified!)
We're not going for a scientific illustration, but a basic understanding of bird anatomy will definitely help. Think of it in terms of these key parts:
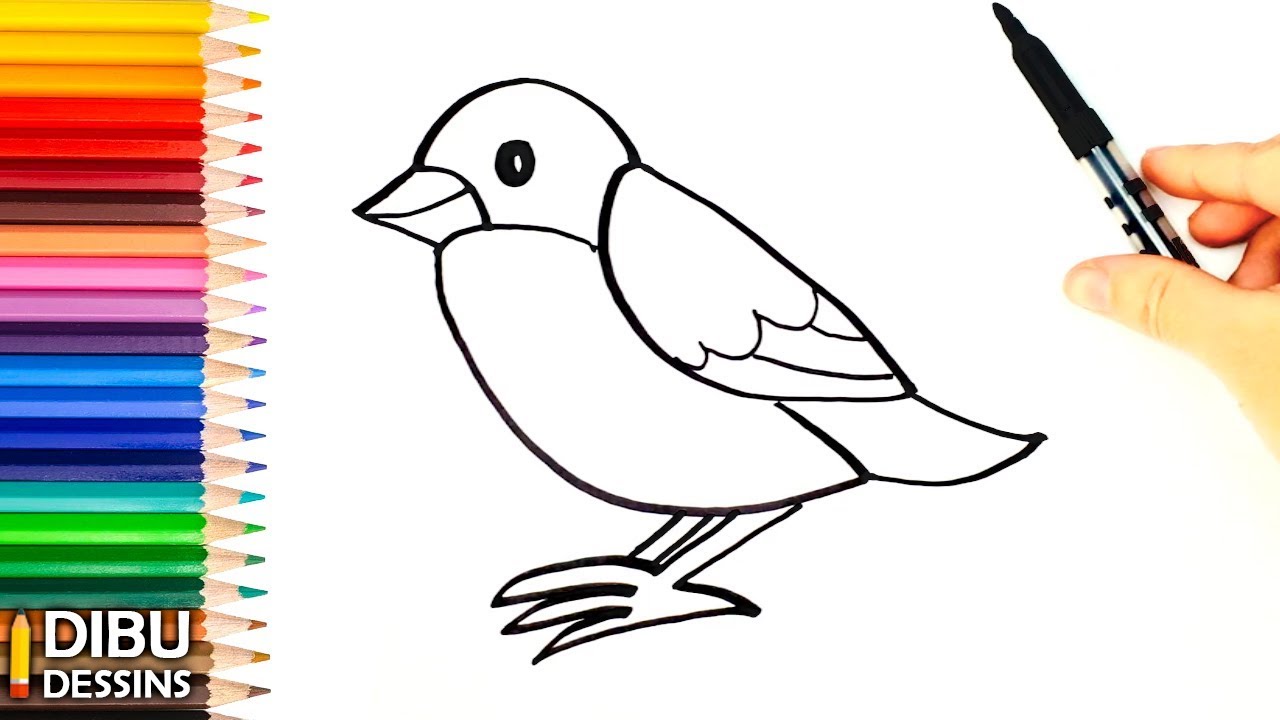
- Body: The main part, usually oval or teardrop shaped. This is where all the action starts.
- Wings: These are the most important part for conveying flight. Don't overthink them! Think elongated triangles, or even just curved lines for now.
- Head: Usually smaller than the body, and attached to the front. Don't forget the beak!
- Tail: Helps with balance and steering. Can be long, short, forked, or fan-shaped.
- Legs (Optional): Sometimes you see them tucked up under the bird, sometimes dangling. We'll tackle this later.
Remember, simplicity is key. We're not trying to draw every feather. We're just capturing the essence of a bird in flight. (Deep, right? Maybe I should write that novel.)
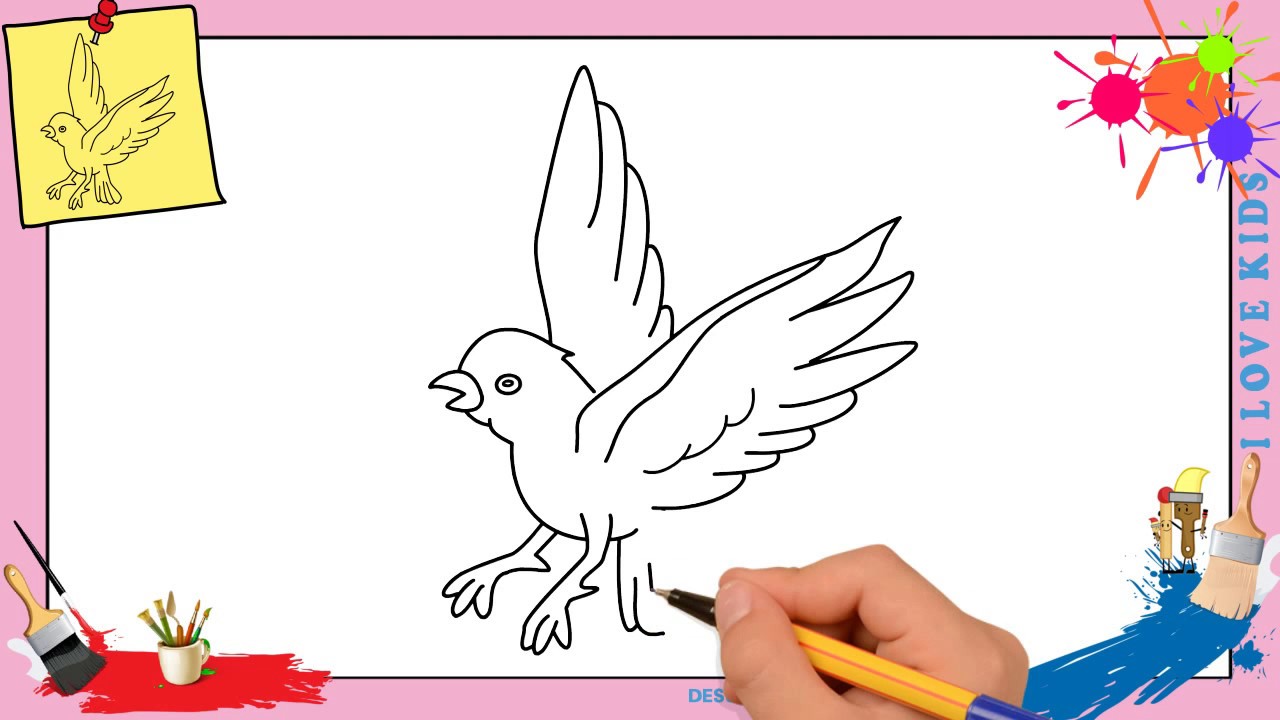
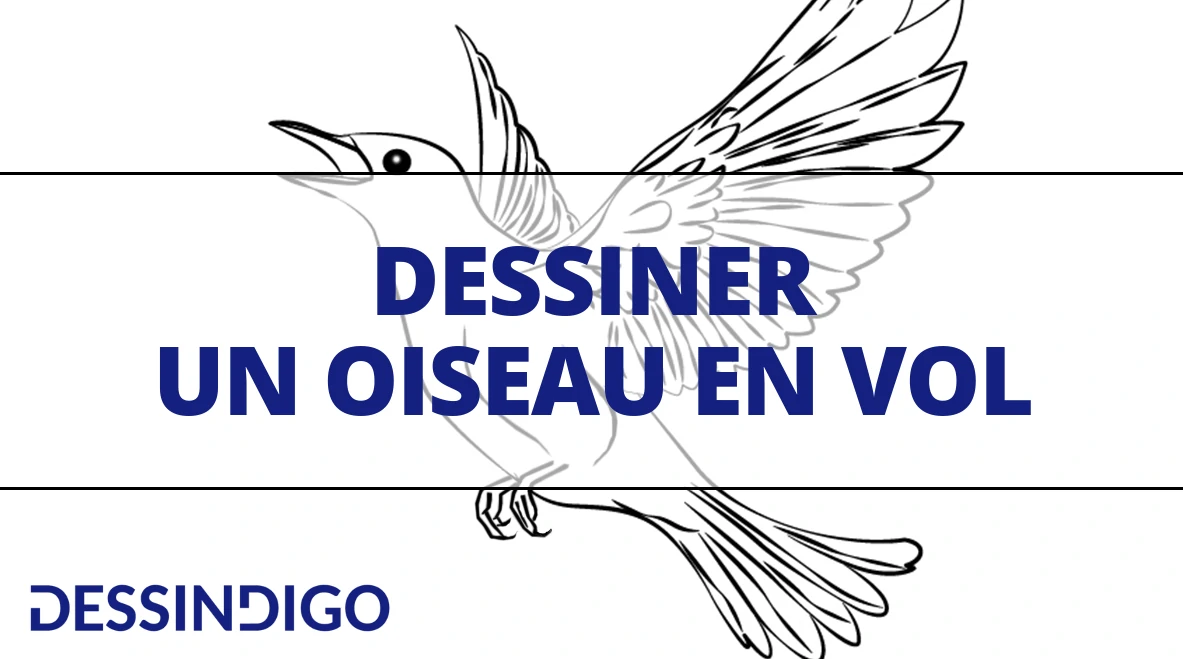
Easy Step-by-Step: Drawing Your First Bird
Alright, time to get our hands dirty (or, you know, graphite-y). Here's a simple method to get you started:
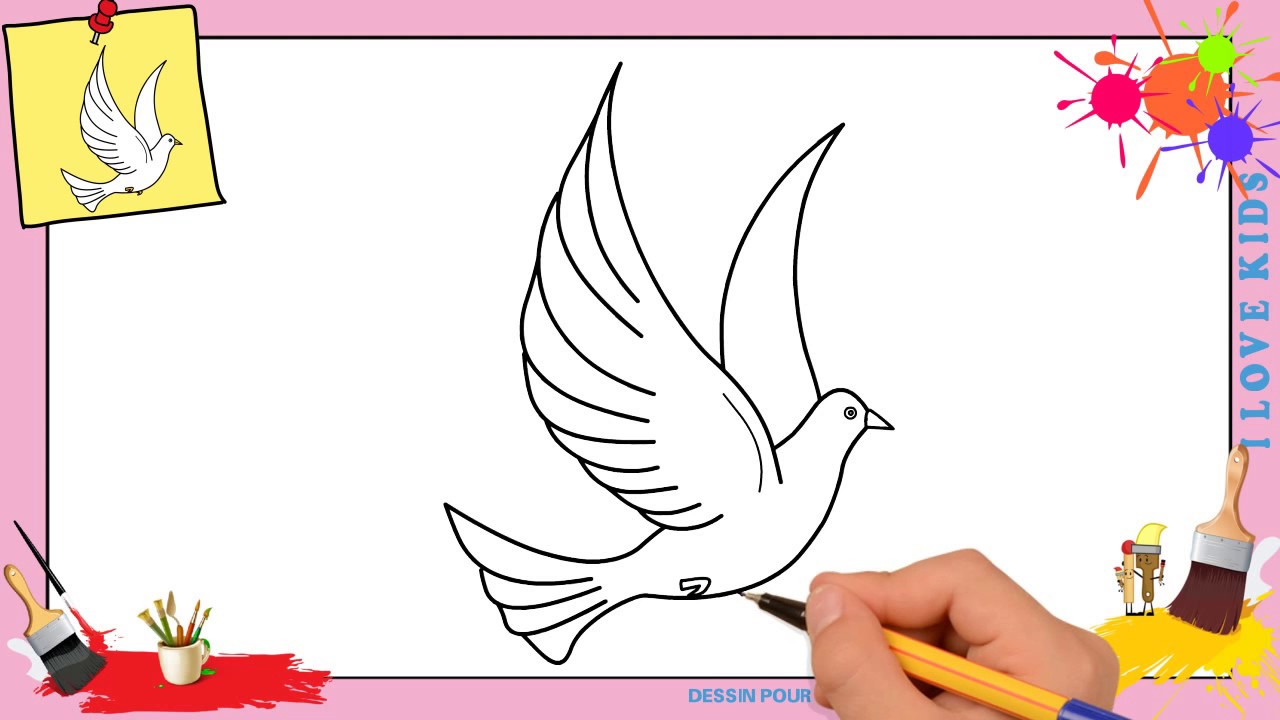
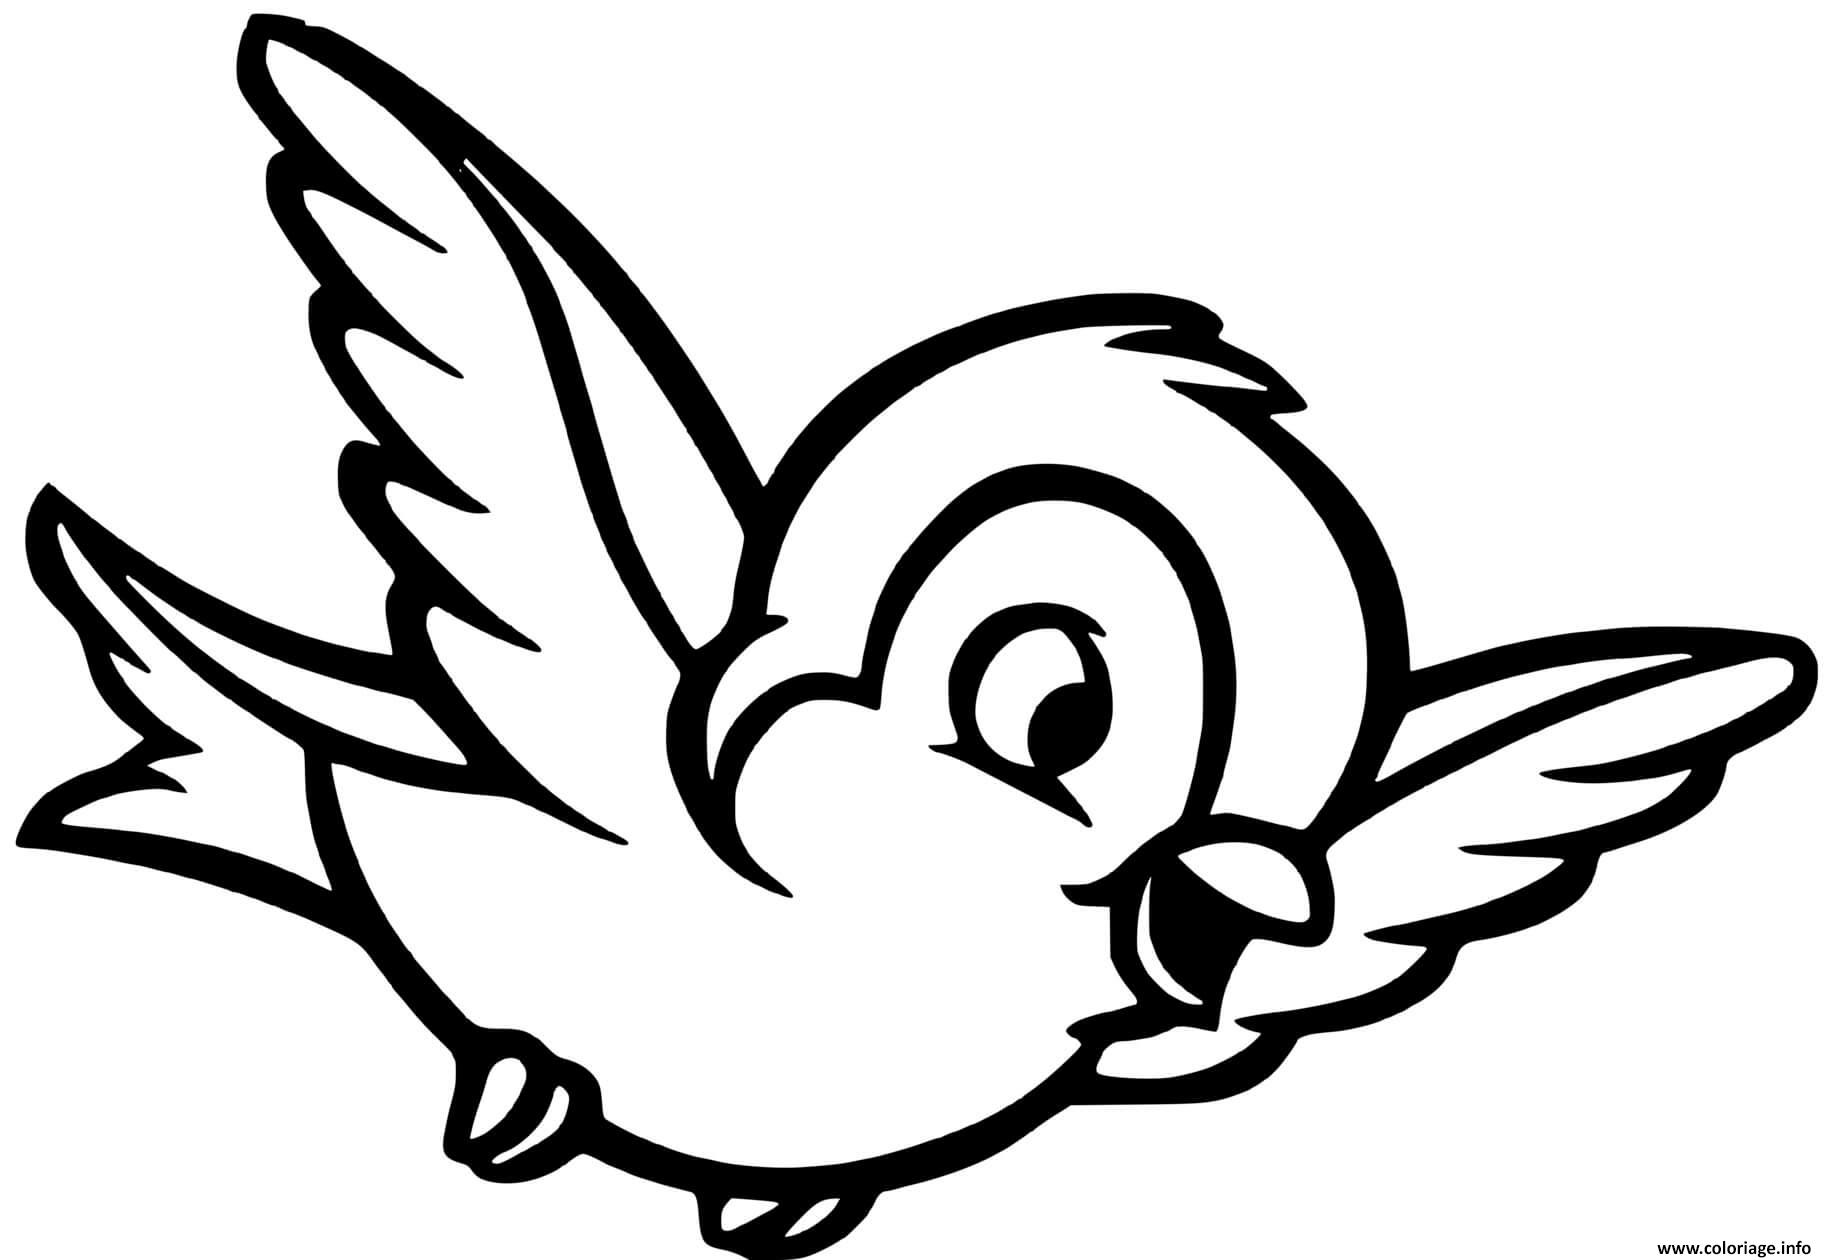
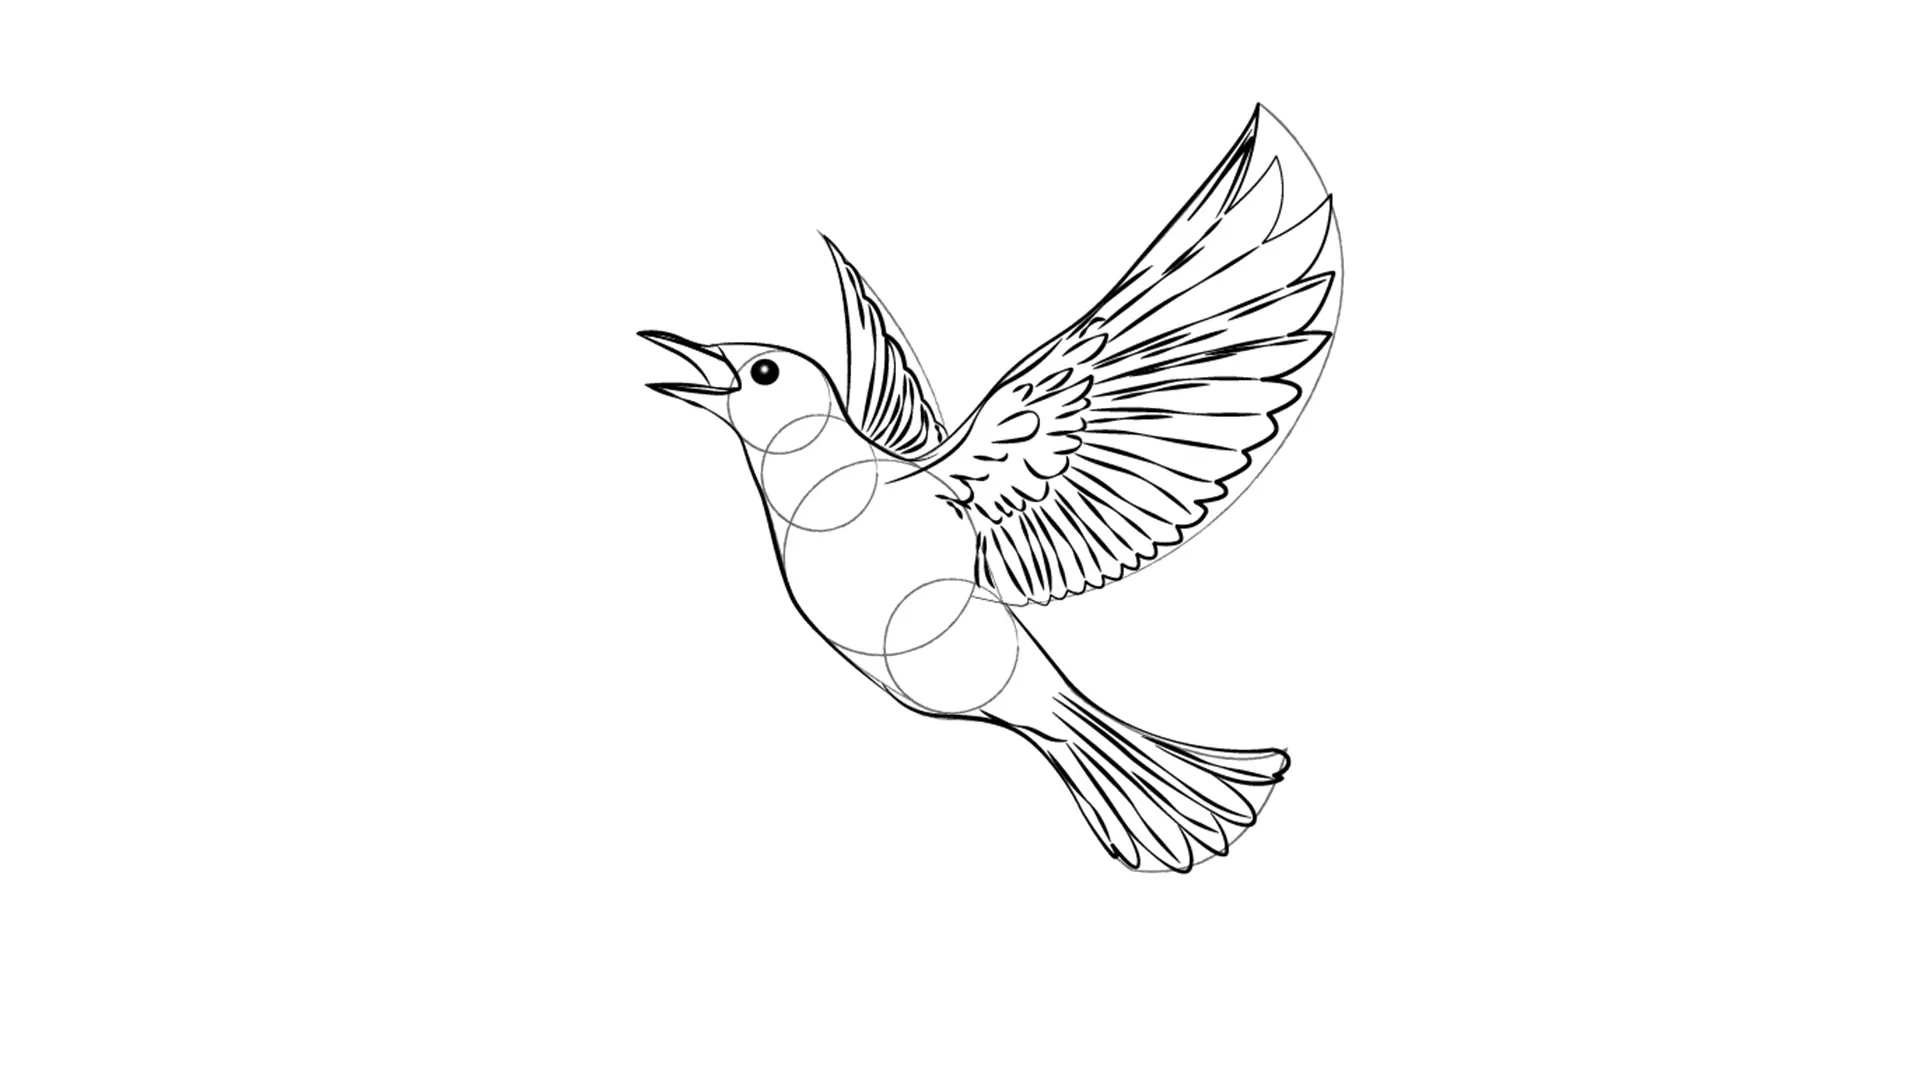
Step 1: The Basic Shape
Start with a light oval for the bird's body. Don't press too hard with your pencil – you'll want to be able to erase it later. Imagine it’s an egg lying on its side.
Step 2: The Wings
Now for the wings! This is where things can get a little tricky, but don't panic. Draw two curved lines extending outwards from the body. Think of them as simple arcs. For a bird in a soaring position, have the wing tips point slightly upwards. For a bird flapping downwards, curve the lines downwards.

Tip: Don't make the wings perfectly symmetrical unless you’re going for a super stylized look. Slight variations will make your bird look more natural.
Step 3: The Head and Tail
Add a small circle or oval for the head at the front of the body. Don't forget a little triangle for the beak! For the tail, draw a simple fan shape at the back of the body. Again, keep it simple. A few lines will do the trick.
Step 4: Refining the Shape
Now it's time to refine the basic shapes. Erase any unnecessary lines from the initial oval. Give the wings a slightly more defined shape. You can add a little curve to the edges to make them look more feathery. Sharpen the beak a bit. And generally just tidy things up.
Side Note: Don’t be afraid to erase! Erasing is your friend. Embrace the eraser. It’s part of the creative process. (Plus, it hides all my mistakes.)

Step 5: Adding Details (Optional)
This is where you can add a little bit of personal flair. You can add some simple lines to suggest feathers, darken the outline to make the bird pop, or even add some shading to give it more depth. You can also add little legs tucked under the bird if you’re feeling ambitious (or just want to torture yourself a little bit).
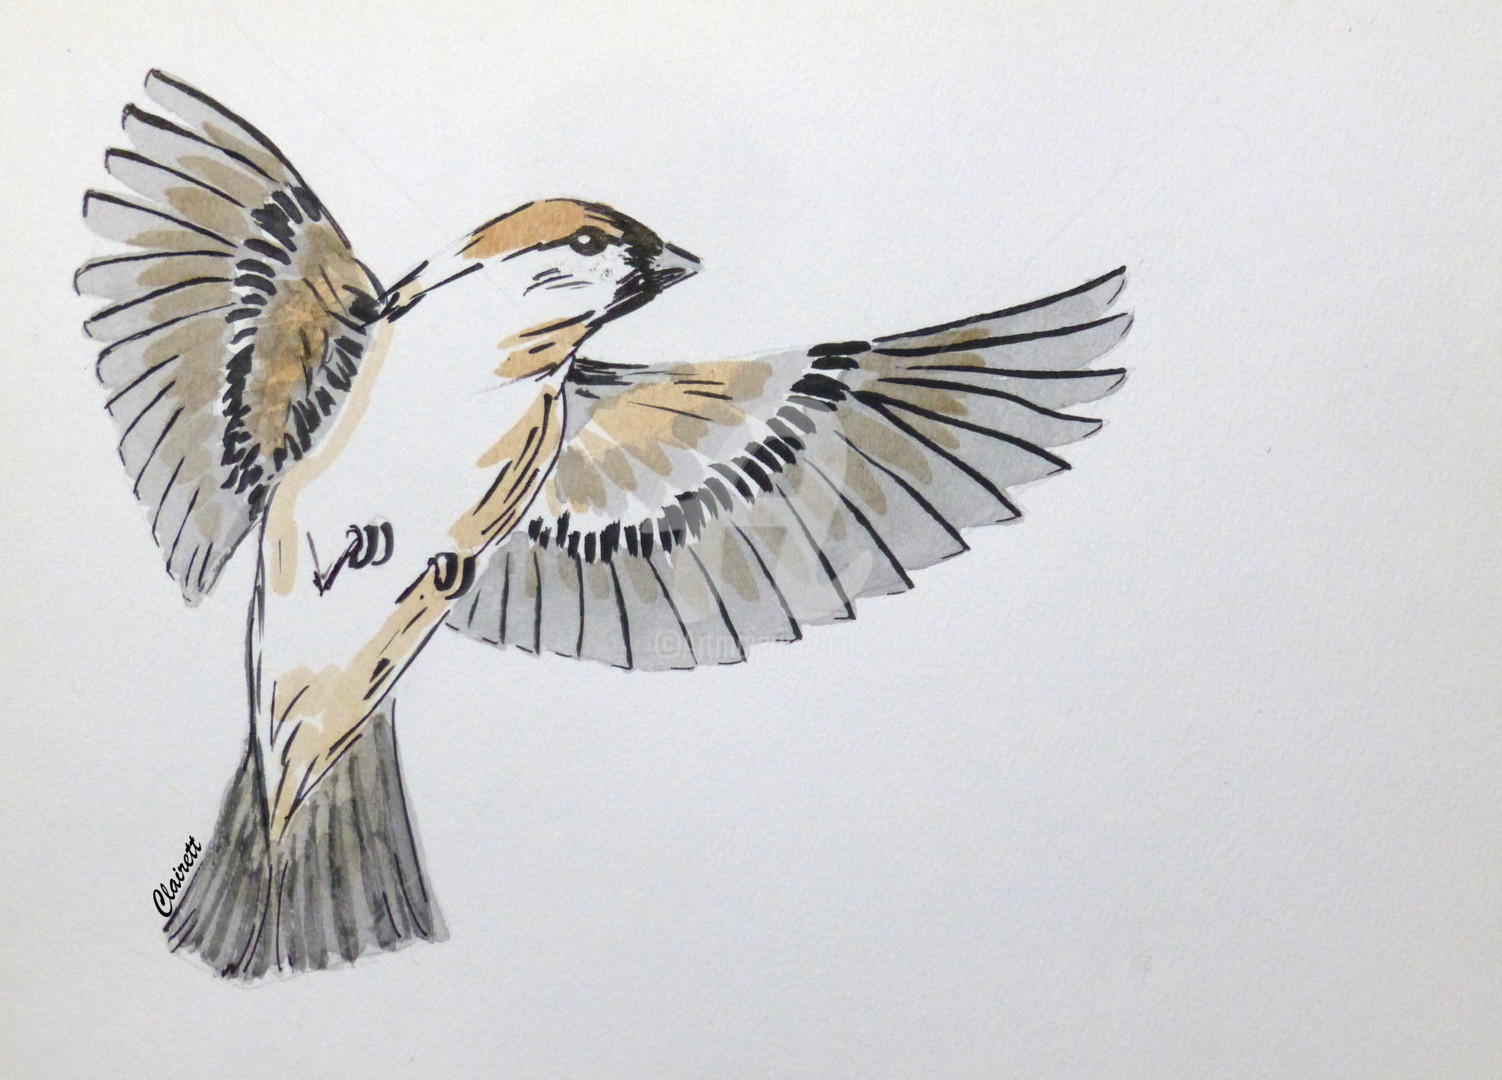
Another Tip: Look at reference photos! Google "birds in flight" and study the shapes of the wings and tails. Don't copy them exactly, but use them as inspiration.
Common Mistakes (And How to Avoid Them)
We all make mistakes, especially when we're learning something new. Here are a few common pitfalls to watch out for:
- Symmetrical Wings: As mentioned before, avoid perfectly symmetrical wings. They look unnatural and stiff.
- Stiff Body: Don't draw the body too straight. A slight curve will make the bird look more dynamic.
- Too Many Details: Resist the urge to draw every single feather. Focus on the overall shape and form.
- Giving Up Too Soon: Don't get discouraged if your first few attempts don't look perfect. Keep practicing, and you'll improve!
Honestly, the best way to improve is to just keep drawing. The more you practice, the better you'll get at capturing the essence of a bird in flight. It's all about muscle memory and developing an eye for shape and form.
Beyond the Basics: Leveling Up Your Bird-Drawing Skills
Okay, so you've mastered the basic bird shape. Now what? Here are a few ways to take your bird-drawing skills to the next level:
- Experiment with Different Poses: Try drawing birds soaring, flapping, diving, or landing. Each pose will present new challenges and opportunities.
- Study Different Types of Birds: Each species has its own unique shape and proportions. Try drawing eagles, hummingbirds, swallows, or even penguins!
- Try Different Mediums: Experiment with pencils, pens, markers, watercolors, or even digital drawing tools. Each medium will produce a different effect.
- Add Context: Draw your bird in its natural environment. Add trees, clouds, or other elements to create a more complete scene.
- Develop Your Own Style: Don't be afraid to experiment and find your own unique way of drawing birds. The most important thing is to have fun!
Final Thought: Remember that drawing is a journey, not a destination. Enjoy the process, and don't be afraid to experiment and make mistakes. And who knows, maybe one day you'll even draw a bird that's good enough to star in a self-cleaning coffee mug commercial. (Okay, maybe I'm still stuck on that idea.)
So go forth and draw! May your pencils be sharp, your paper be plentiful, and your birds be… well, recognizably birds. Good luck!