Okay, so picture this: me, midnight, staring into the abyss of my freezer. Not for some profound existential reason, but because I was desperate for ice cream. Like, needed-it-to-function desperate. Except... all I had was yogurt. Plain, boring yogurt. My inner child (and my current adult self) screamed. That's when I remembered my trusty Ninja Creami, sitting pretty on the counter. Could it work magic? Spoiler alert: it absolutely could! And that, my friends, is how I stumbled upon the amazing world of glace au yaourt Ninja Creami. Get ready to ditch the store-bought stuff!
Pourquoi la Glace au Yaourt Ninja Creami, c'est la Vie?
Let's be honest, pre-made ice cream can be a bit of a mystery. What exactly are those ingredients? With the Ninja Creami, you're in control. Plus, yogurt ice cream is healthier (we're talking protein power!), more customizable, and frankly, way more fun to make. I mean, who doesn't love playing mad scientist in the kitchen?
- Healthy-ish: Okay, maybe not kale smoothie healthy, but definitely better than most ice cream.
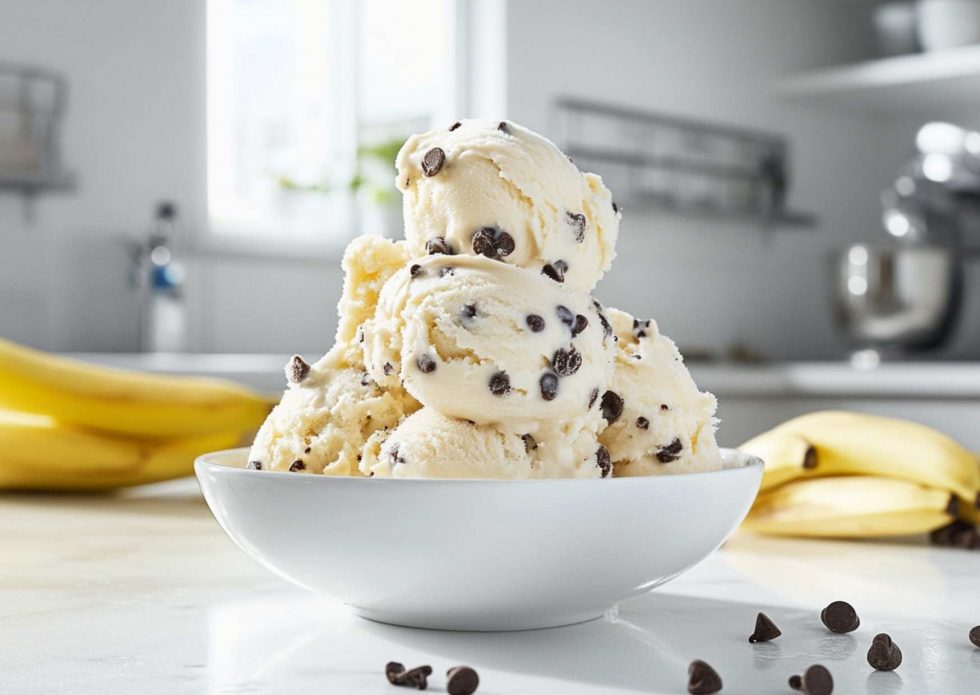
- Customizable: Fruits, chocolate chips, nuts, cookie dough... the possibilities are endless! (Seriously, go wild!)
- Super Easy: If I can do it, anyone can.
- Impress Your Friends: "Oh, this? Just a little something I whipped up." (Bonus points for nonchalance.)
La Recette (Facile, Promis!)
Alright, let's get down to brass tacks. Here's the basic recipe I use, but feel free to tweak it to your heart's content. Remember, this is your frozen masterpiece!
Ingrédients:
- 500g de yaourt (grec ou normal, selon vos préférences - I usually go for Greek for extra creaminess)
- 50-100g de sucre (or sweetener of your choice, to taste - Stevia? Honey? Do your thing!)
- 1 cuillère à café d'extrait de vanille (optional, but highly recommended - it adds a certain je ne sais quoi)
- Optional extras: fruits, chocolate, peanut butter, etc. (the world is your oyster!)
Instructions:
- Mélangez le yaourt, le sucre et la vanille (si vous l'utilisez) dans un bol. Assurez-vous que le sucre est bien dissous. (No one wants gritty ice cream, trust me.)
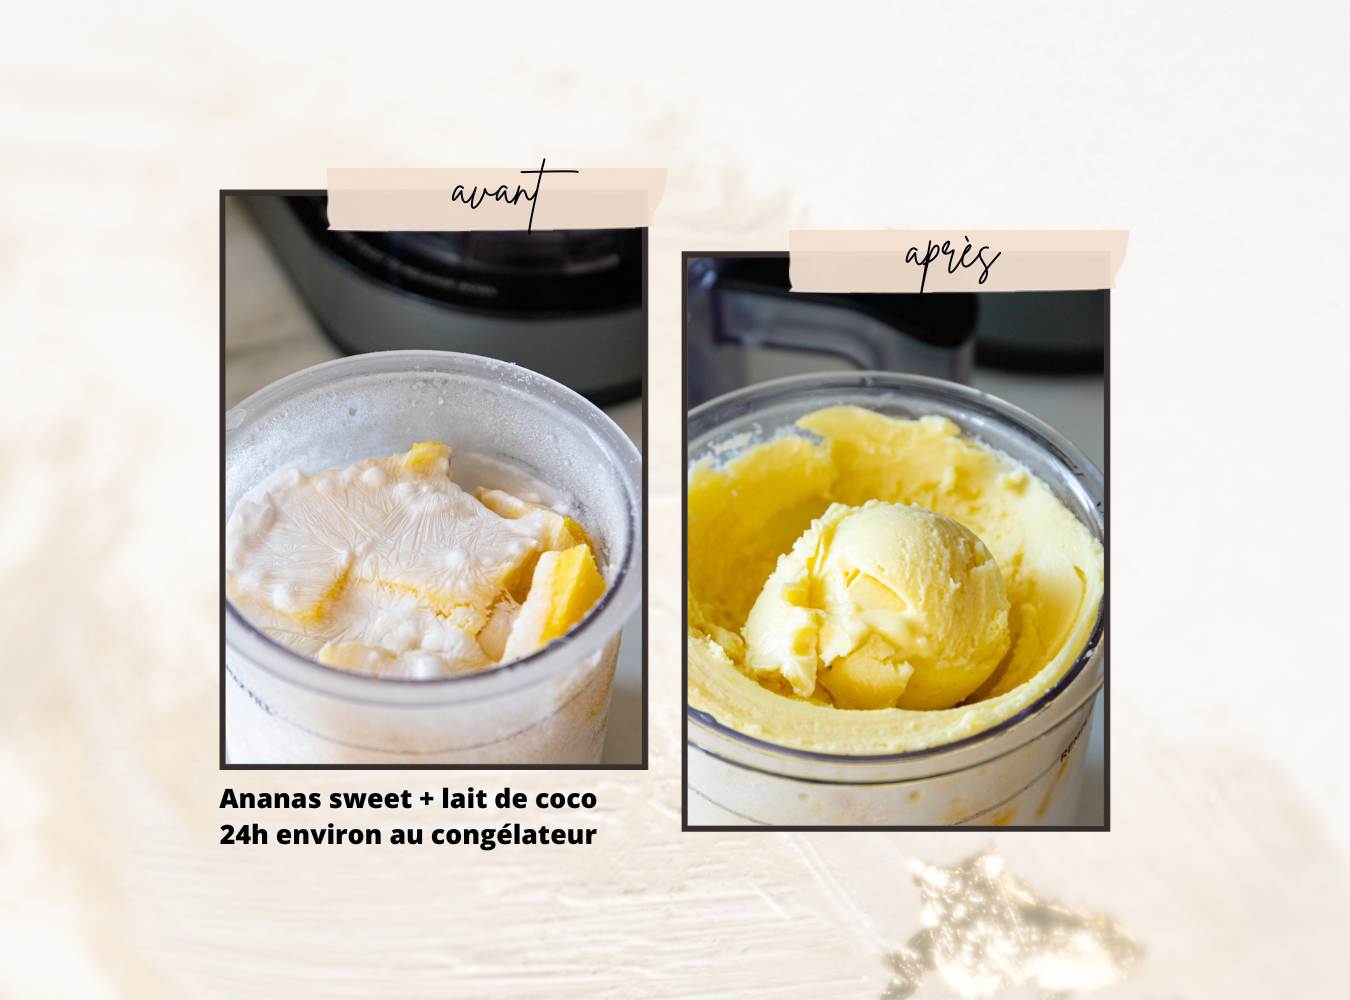
- Versez le mélange dans le récipient Ninja Creami.
- Congelez pendant au moins 24 heures. (Patience, young Padawan.)
- Sortez le récipient du congélateur et laissez-le reposer pendant environ 10 minutes. (This helps soften it up a bit.)
- Placez le récipient dans la Ninja Creami et sélectionnez le programme "Glace".
- Si la glace est encore friable après le premier passage, utilisez la fonction "Re-Spin" une ou deux fois jusqu'à obtenir la consistance souhaitée. (This is where the magic happens!)
- Ajoutez vos extras préférés et utilisez la fonction "Mix-In" pour les incorporer. (Chocolate chips, FTW!)
- Dégustez! (This is the best part, obviously.)
Petits Conseils de Pro (Parce que je suis un peu un pro, maintenant.)
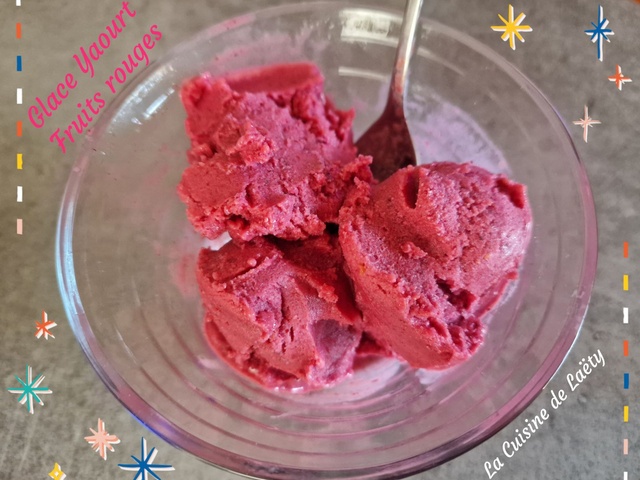
- Experiment! Don't be afraid to try different flavors and combinations. Mango and lime? Raspberry and white chocolate? Go for it!
- Sweetness is Key: Yogurt can be tart, so make sure you add enough sweetener to balance it out. (Taste as you go!)
- Freeze Time Matters: 24 hours is a must! (Don't try to rush it, or you'll end up with a sad, icy mess.)
- Re-Spin is Your Friend: Don't be afraid to use it! It's what makes the ice cream smooth and creamy.
So there you have it! My guide to making amazing glace au yaourt with the Ninja Creami. Now go forth and create your own frozen masterpieces! And don't forget to share your creations with me (on social media, or just, you know, send me some ice cream). Bon appétit!