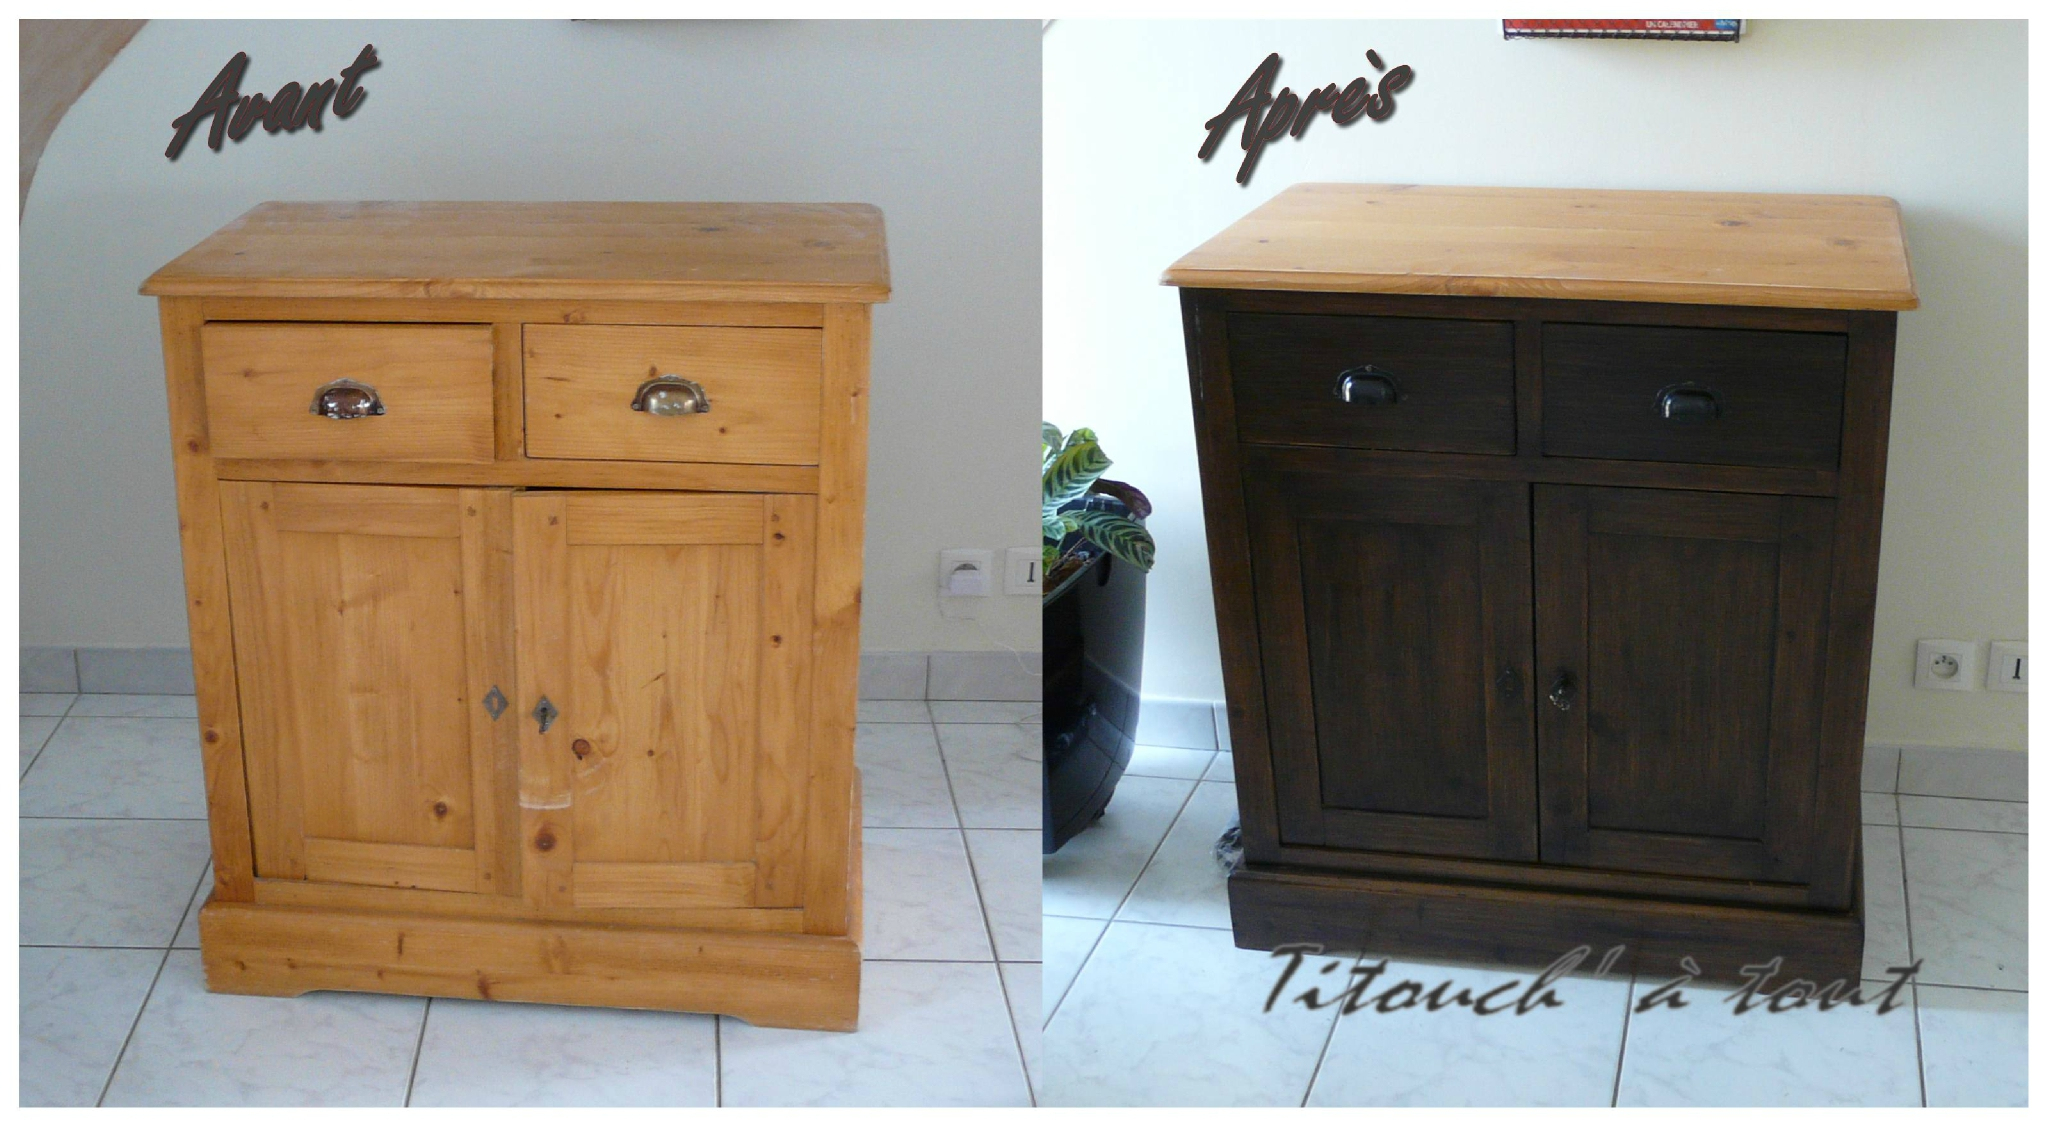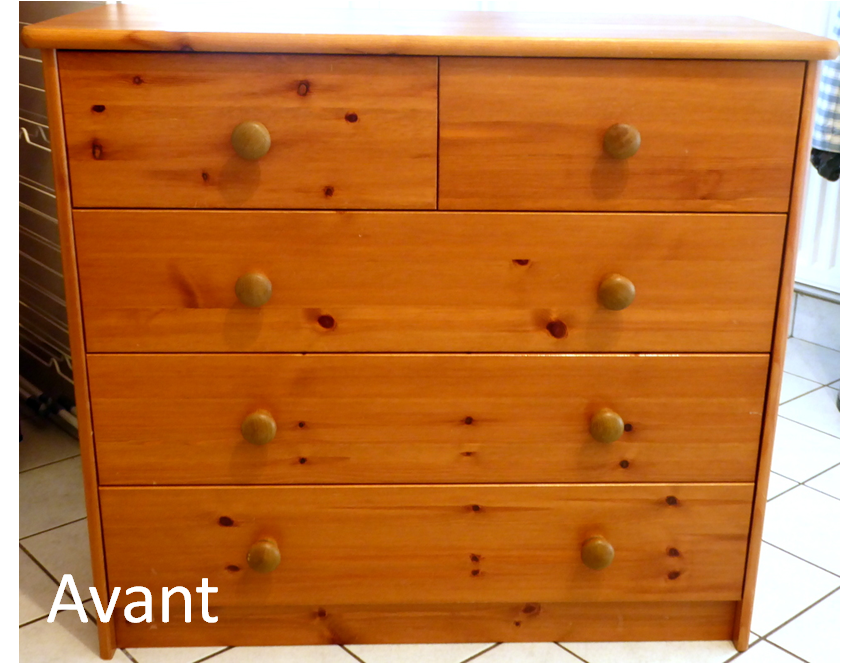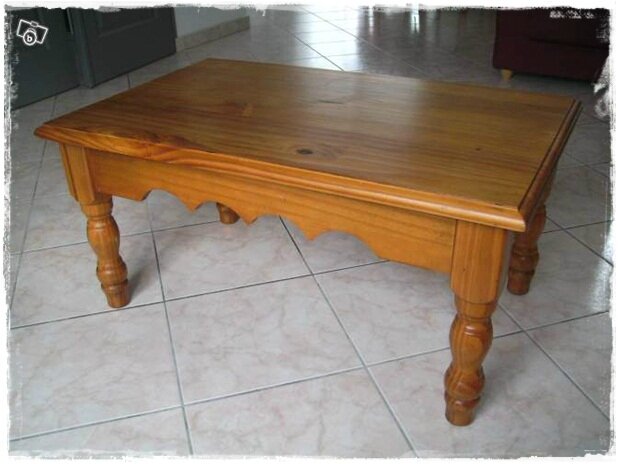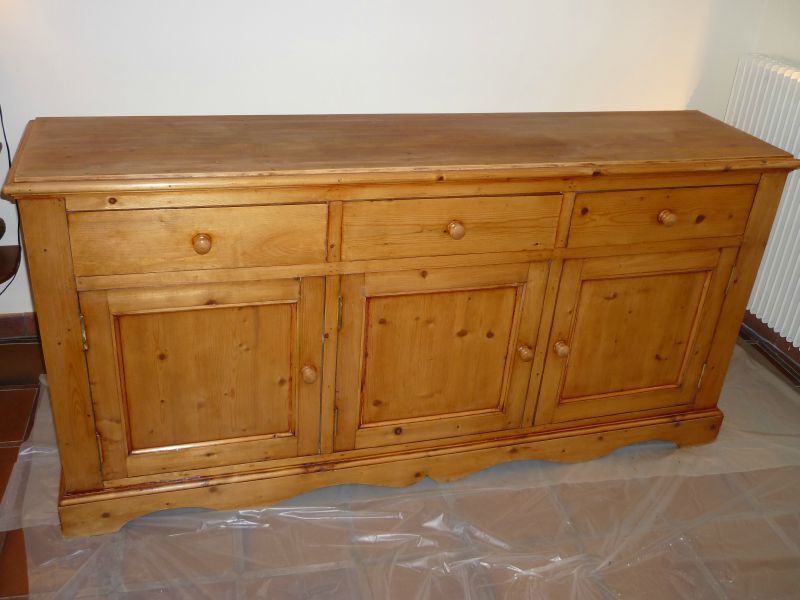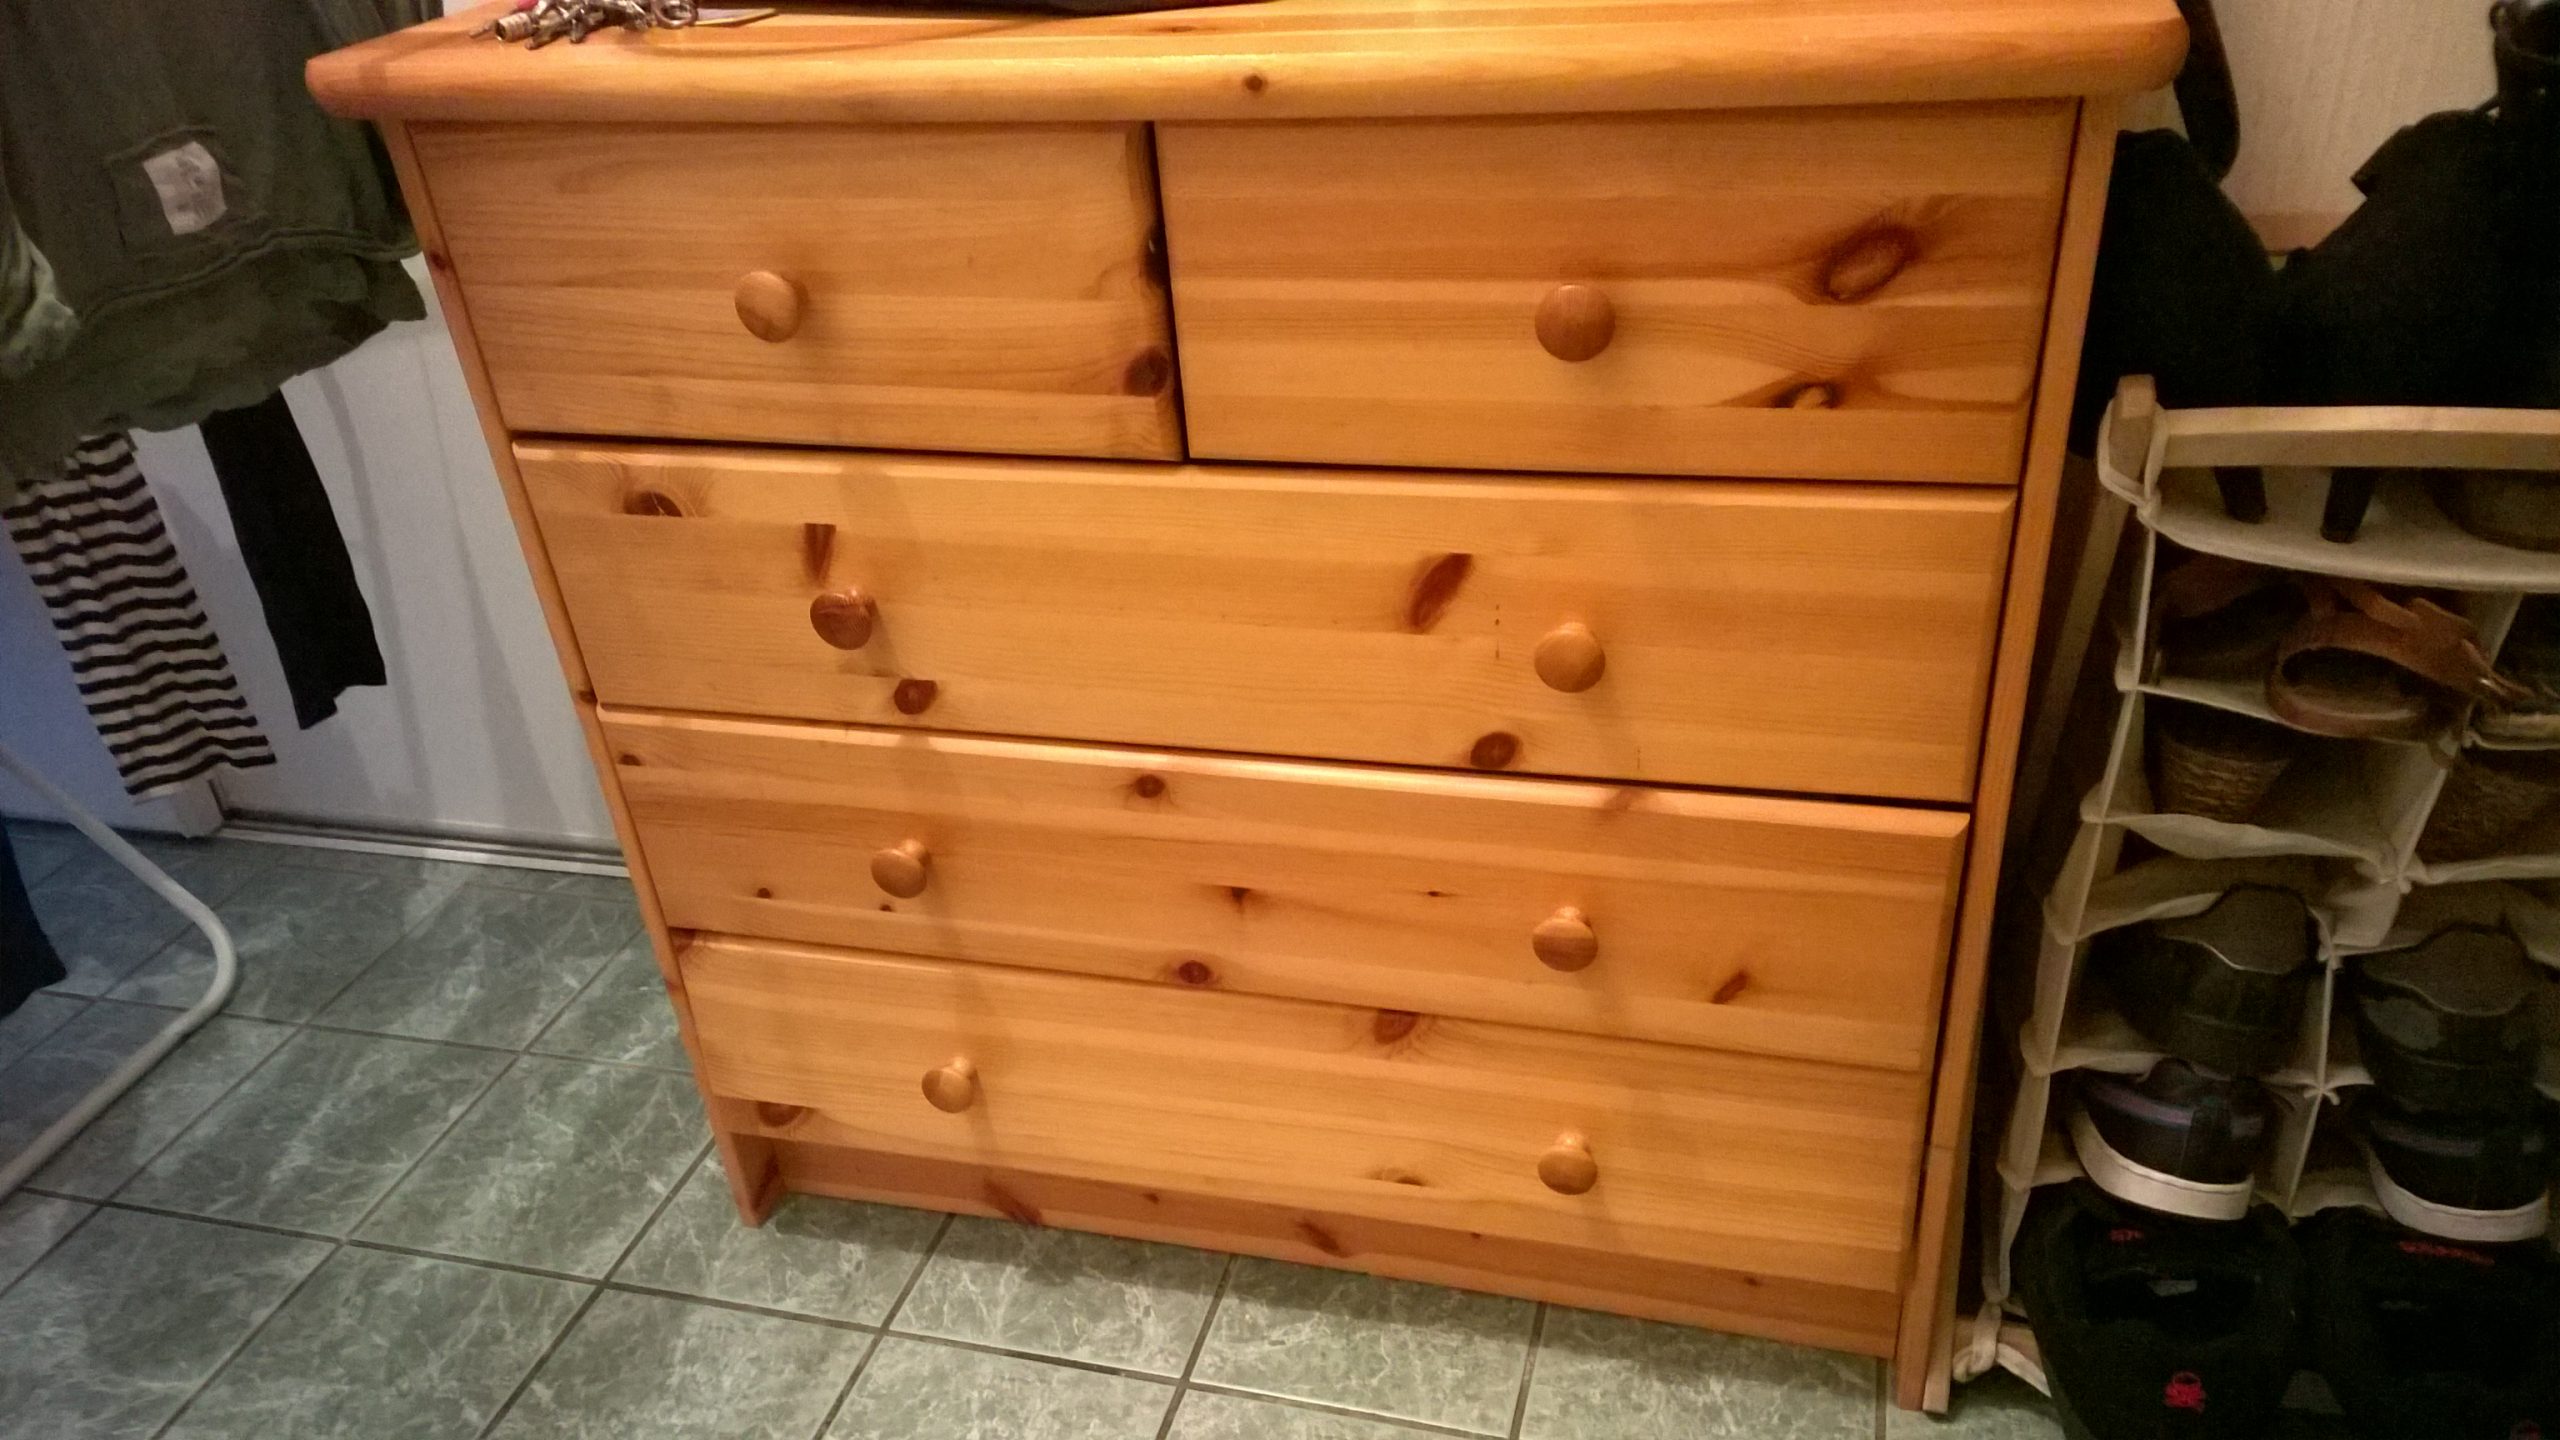
Okay, imagine this: me, armed with a paintbrush and a whole lot of misguided optimism, staring down a pine dresser. This dresser. The honey-stained pine dresser that screamed "1990s chalet" louder than a yodeling contest. My friend Marie had gifted it to me, bless her heart, saying "Oh, it's got character!" (Translation: "I'm getting rid of it, good luck!"). So there I was, determined to rescue it from its fate as a relic of questionable design choices. Hence, this guide! If you're in the same boat – staring at a honey-colored monument to pine – this is for you.
Because let's be honest, honey-stained pine... it had its moment. A looooong moment. But it's time to move on, people!
Why Repaint? Why Not Just Burn it? (Just Kidding... Mostly)
So, why bother? Why not just consign the offending furniture to the recycling gods? Well, sometimes, the structure is good! Maybe it's a solid piece. Maybe it fits perfectly in that awkward corner of your living room. Or maybe, like me, you're just feeling thrifty. Whatever the reason, a fresh coat of paint can breathe new life into even the most aesthetically challenged piece of furniture.
Think of it as furniture CPR. Only less messy. Probably.
Getting Started: Prep is Key (Seriously!)
Right, so before you start slapping paint around like a toddler with finger paints (tempting, I know), there's some prep work to do. This is the boring part, but trust me, it's essential.

- Cleaning: Give that honey-monster a good scrub. Grease, dust, years of accumulated... stuff... needs to go. Use a degreaser and some warm water.
- Sanding: Sanding is your friend! Lightly sand the entire surface. You're not trying to strip the stain entirely, just roughen it up a bit so the primer can grip. 120-grit sandpaper should do the trick.
- Priming: This is crucial when painting over a dark stain like honey. Use a good quality primer. I prefer a shellac-based primer, but a good bonding primer will also work. Apply one or two coats, following the manufacturer's instructions. Let it dry completely between coats.
- Tape it Up: Protect any areas you don't want painted (like hardware or glass).
Side note: Invest in good painter's tape. The cheap stuff is a nightmare. Trust me.
Painting: The Fun Part (Finally!)
Okay, the moment we've all been waiting for! Time to unleash your inner artist (or, you know, just apply paint). Choose your weapon – a brush, a roller, or a spray gun. Personally, I prefer a combination: a brush for the details and a roller for the larger surfaces. Whatever you choose, apply thin, even coats.
- Choose Your Paint: Latex paint is generally a good option for furniture. Choose a satin or semi-gloss finish for durability and easy cleaning.
- Apply Thin Coats: This is key. Multiple thin coats are much better than one thick, gloppy coat. Let each coat dry completely before applying the next.
- Sand Lightly Between Coats (Optional): If you want a super smooth finish, lightly sand with a fine-grit sandpaper (220-grit or higher) between coats.
Pro tip: Don't be afraid to experiment with colors! A pop of color can completely transform a piece of furniture.
Finishing Touches: The Devil is in the Details
Almost there! Once your paint is dry (and I mean really dry), it's time for the finishing touches.

- Remove the Tape: Do this carefully to avoid pulling up any paint.
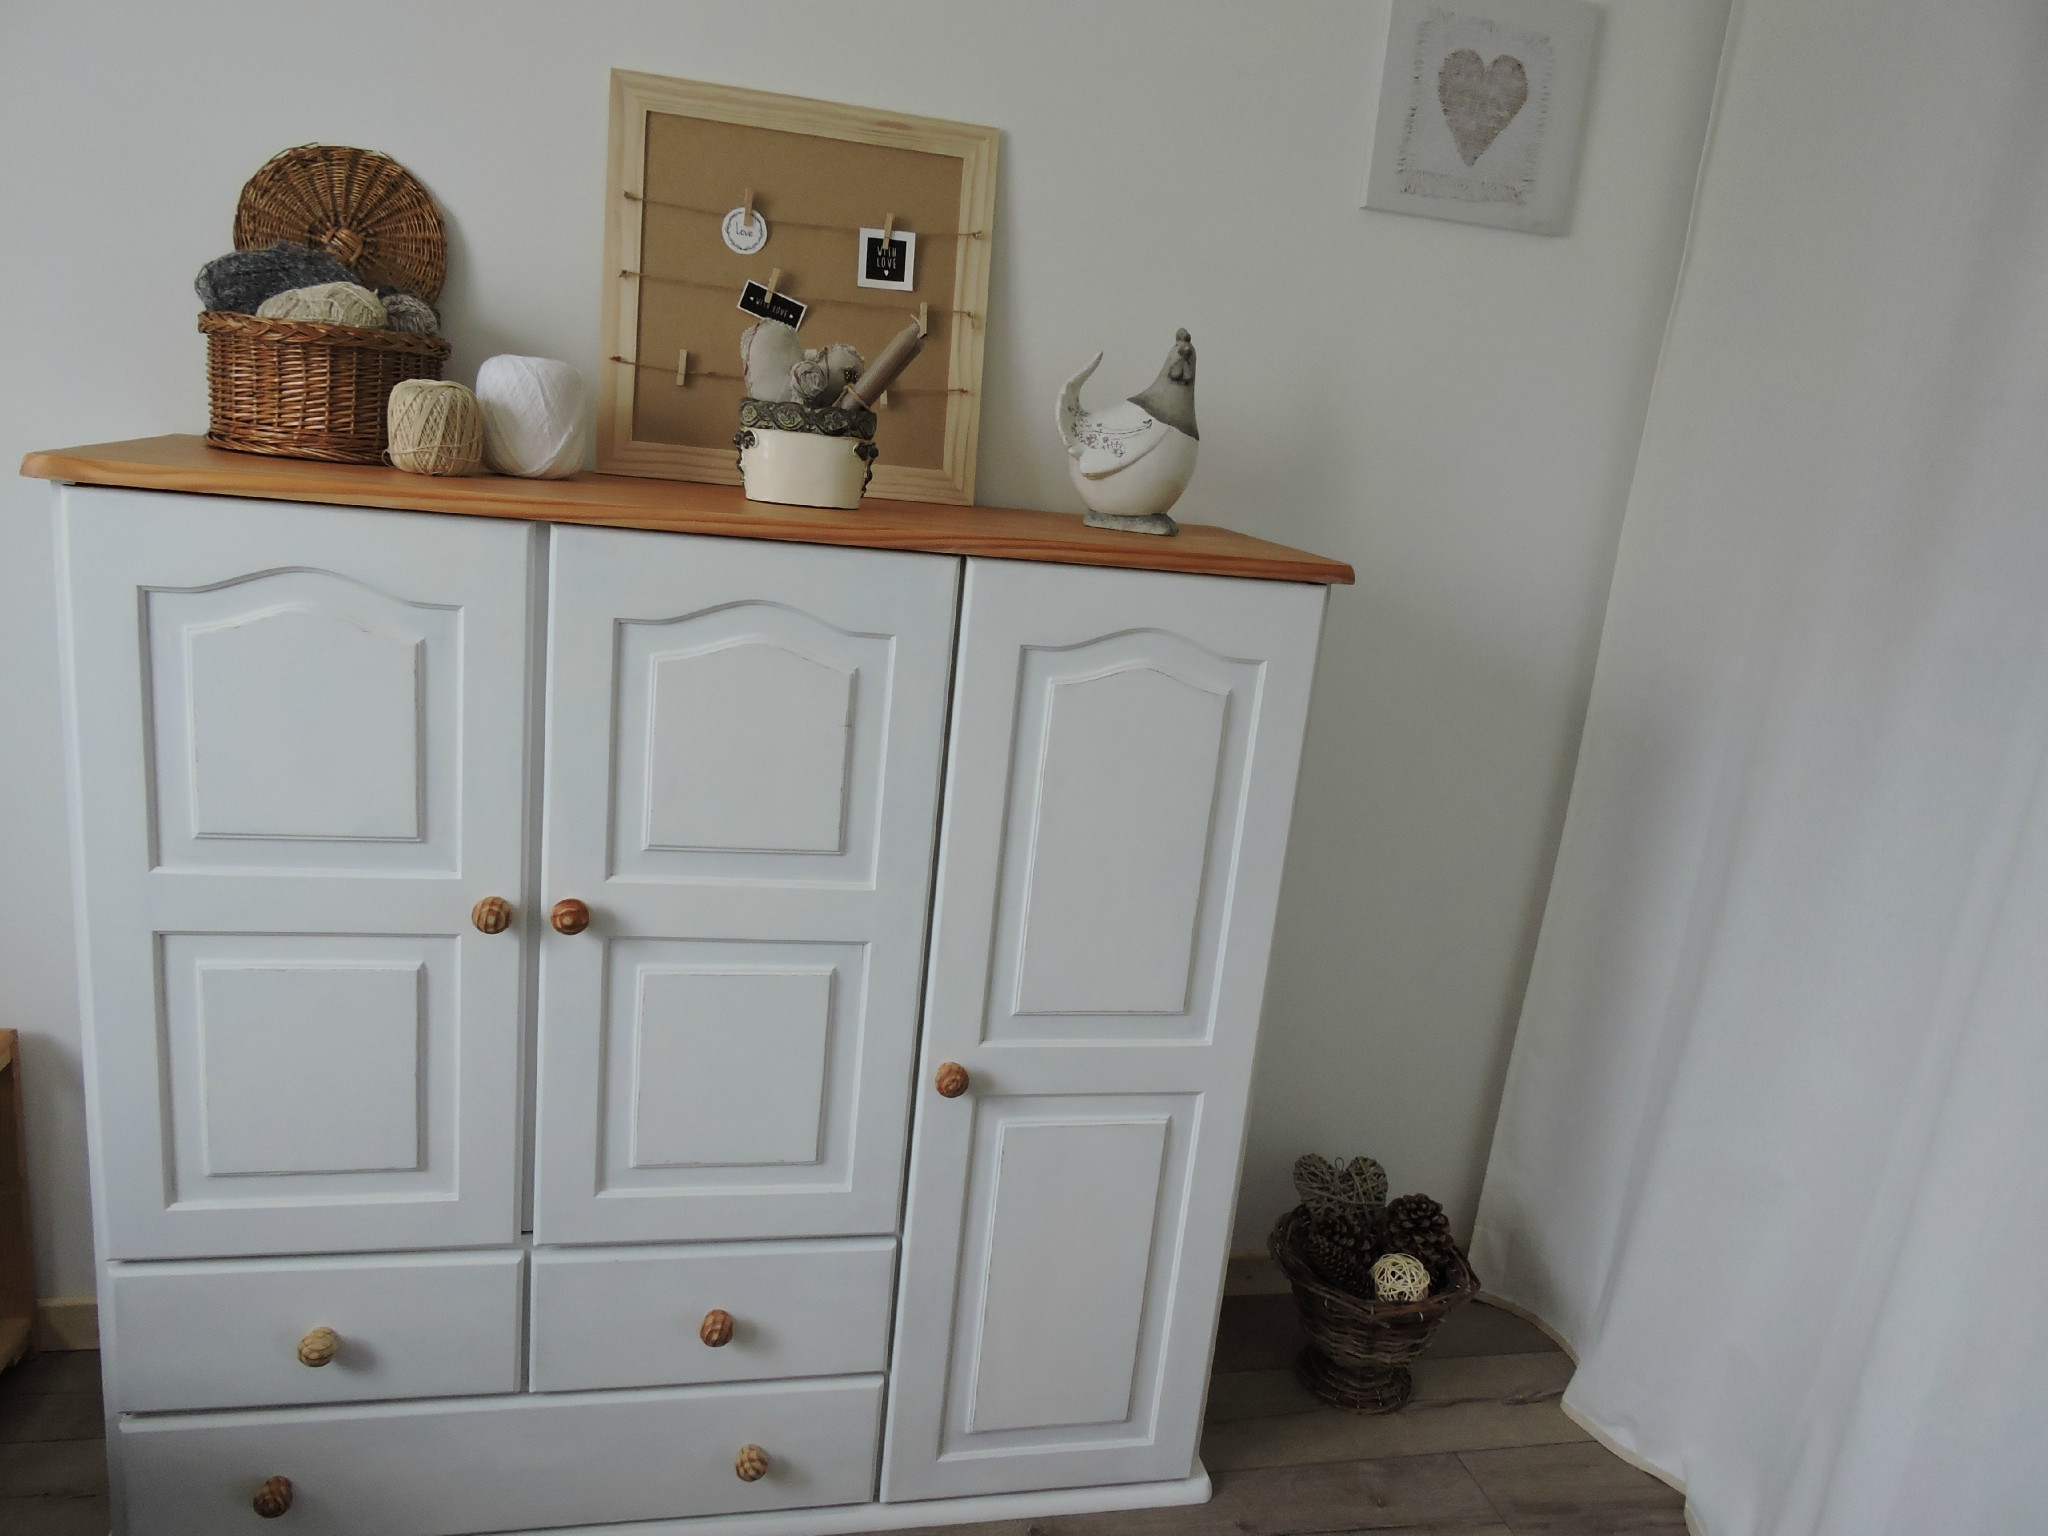
- Add Hardware: New hardware can make a huge difference! Consider replacing the original knobs and pulls with something more modern or stylish.
- Seal it (Optional): For extra durability, you can apply a clear coat of polyurethane or varnish. This is especially important for furniture that will see a lot of wear and tear.
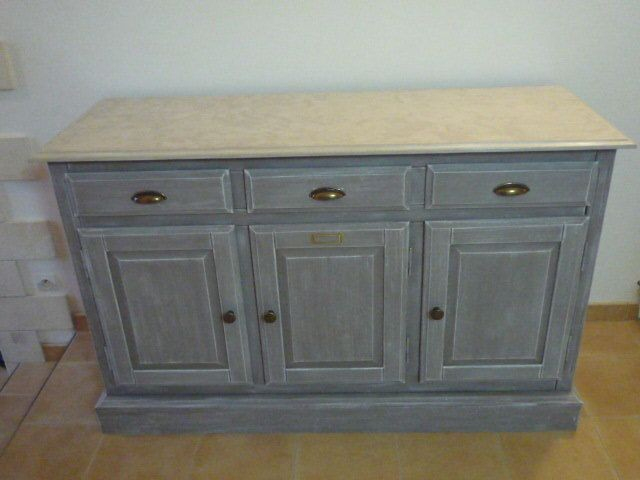
And there you have it! Your honey-stained pine furniture is now a stylish, updated piece. Hopefully, with significantly less yodeling vibes.
Go forth and conquer, my friend! And send me pictures of your finished projects – I'd love to see them!