Ok, confession time. Last week, I may or may not have spent an embarrassingly long time staring at a hole in my favorite tights. You know, the kind that starts as a tiny snag and then, with the slightest provocation (a cat, a door handle, breathing), transforms into a gaping abyss? Yeah, that kind. My first instinct was, of course, to toss them. But then, the nagging voice of my inner eco-warrior piped up. "Don't you dare throw those perfectly good synthetic fibers away! There's got to be something you can do!" And thus began my descent into the wonderful world of DIY tawashi, specifically, tawashi made with (drumroll please…) old tights!
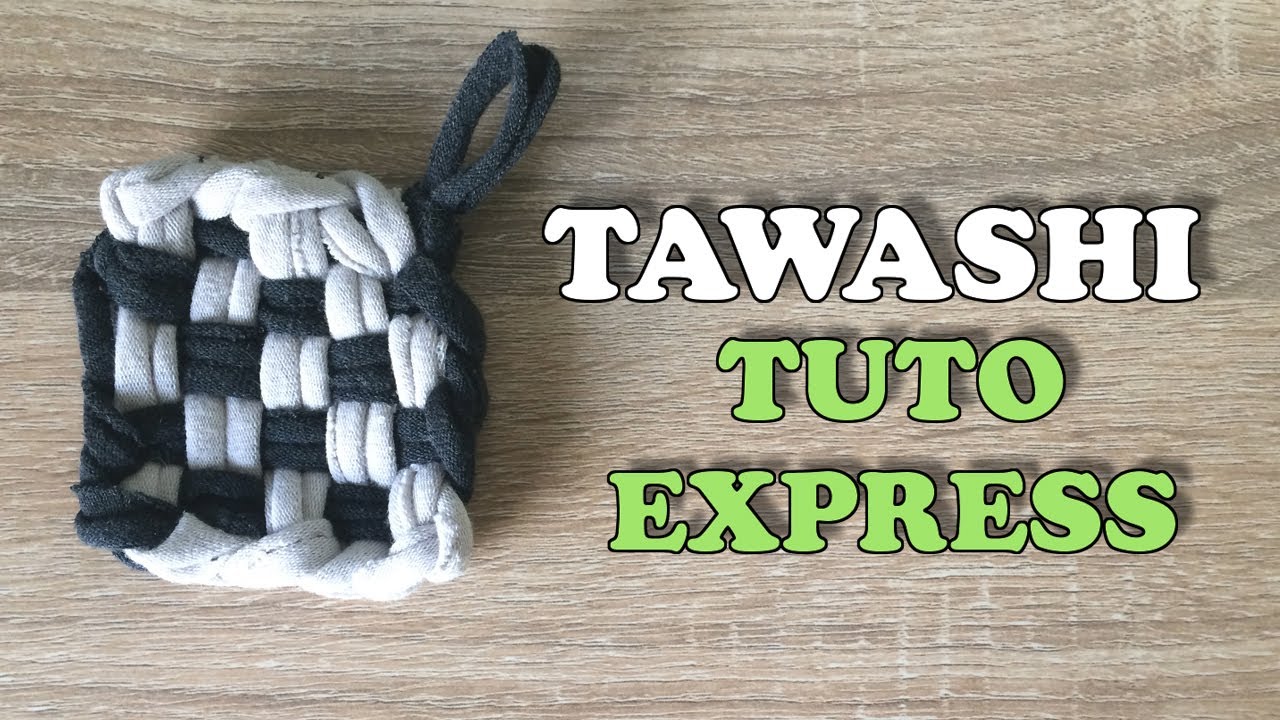
But wait, what is a tawashi, you ask? (Don't worry, I had to Google it too!). Basically, it's a Japanese scrubbing brush, traditionally made from natural materials like hemp or palm fibers. Think of it as a super eco-friendly and ridiculously cute alternative to your plastic sponge. And the best part? You can make them yourself!
Why Tawashi? (Besides Saving the Planet, Obviously)
Let's be real, we're all trying to be a little more sustainable these days. Ditching disposable sponges is a small but significant step, and tawashi are a surprisingly effective replacement. But there's more to it than just environmental brownie points:
- Durability: Tawashi, especially those made with sturdy materials like tights, are incredibly long-lasting. Say goodbye to sponges that crumble after a week!
- Versatility: Use them for everything from washing dishes to scrubbing vegetables to cleaning the bathroom sink. (Just maybe use separate tawashi for different purposes... hygiene, people!).
- They're Adorable!: Seriously, who can resist a cute little homemade scrubbing brush? They add a touch of handmade charm to your kitchen sink.
- They're a Great Way to Repurpose Old Clothes: Finally, a use for those lonely, holey socks and tights lurking in the back of your drawer!
- It's Therapeutic!: The act of making tawashi is surprisingly relaxing. Put on some music, get your craft on, and enjoy the process.
So, are you convinced yet? Good! Let's get to the nitty-gritty of making a tawashi with tights.
Tawashi Time: The Tights Edition
Okay, this is where the fun begins. Here's what you'll need:
- Old tights (or socks!): The thicker the tights, the sturdier the tawashi. Fishnet tights? Probably not the best choice. But hey, experiment!
- Scissors: Sharp ones are your friend.
- Cardboard (optional): For creating a template. A cereal box works perfectly!
- Yarn or string (optional): For tying off the center of the tawashi.
- A willingness to experiment and embrace imperfections!: This isn't rocket science. Don't stress about making it perfect.
The Basic Method: Braided Bliss
This is probably the easiest method, perfect for beginners:
- Cut the Tights: Cut your tights into strips. Aim for strips that are about 1-2 cm wide. The length will depend on how big you want your tawashi to be.
- Make a Braid: Take three strips and braid them together. Secure the ends with knots. You can use a rubber band at the end, or just tie the last pieces really tight.
- Coil and Secure: Coil the braid into a spiral shape. You can glue each layer together with hot glue if you want, but it is not necessary.
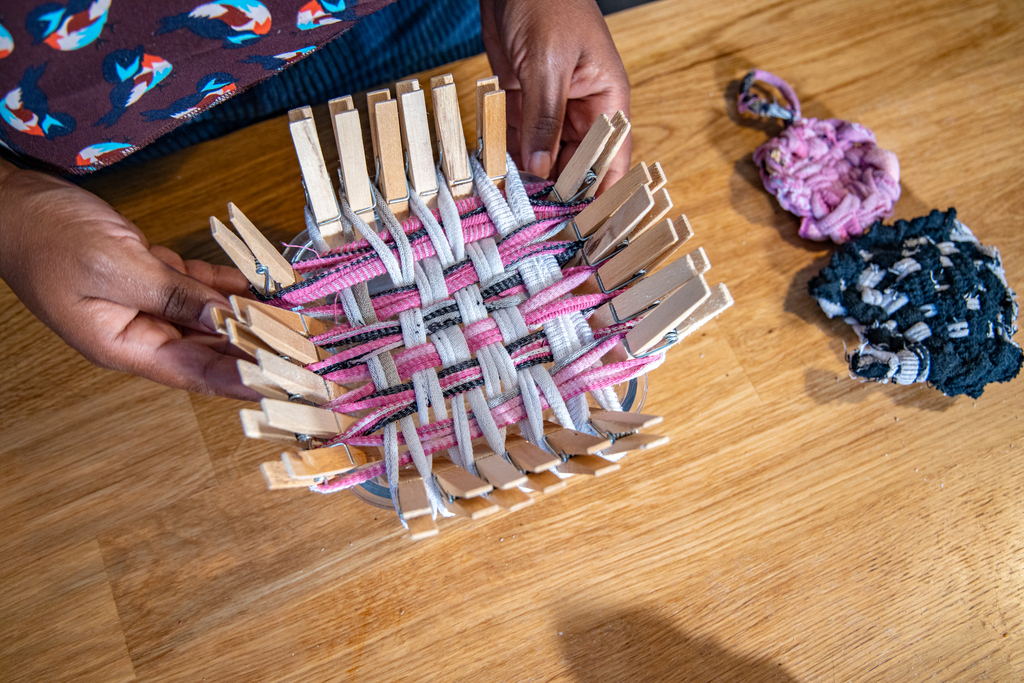
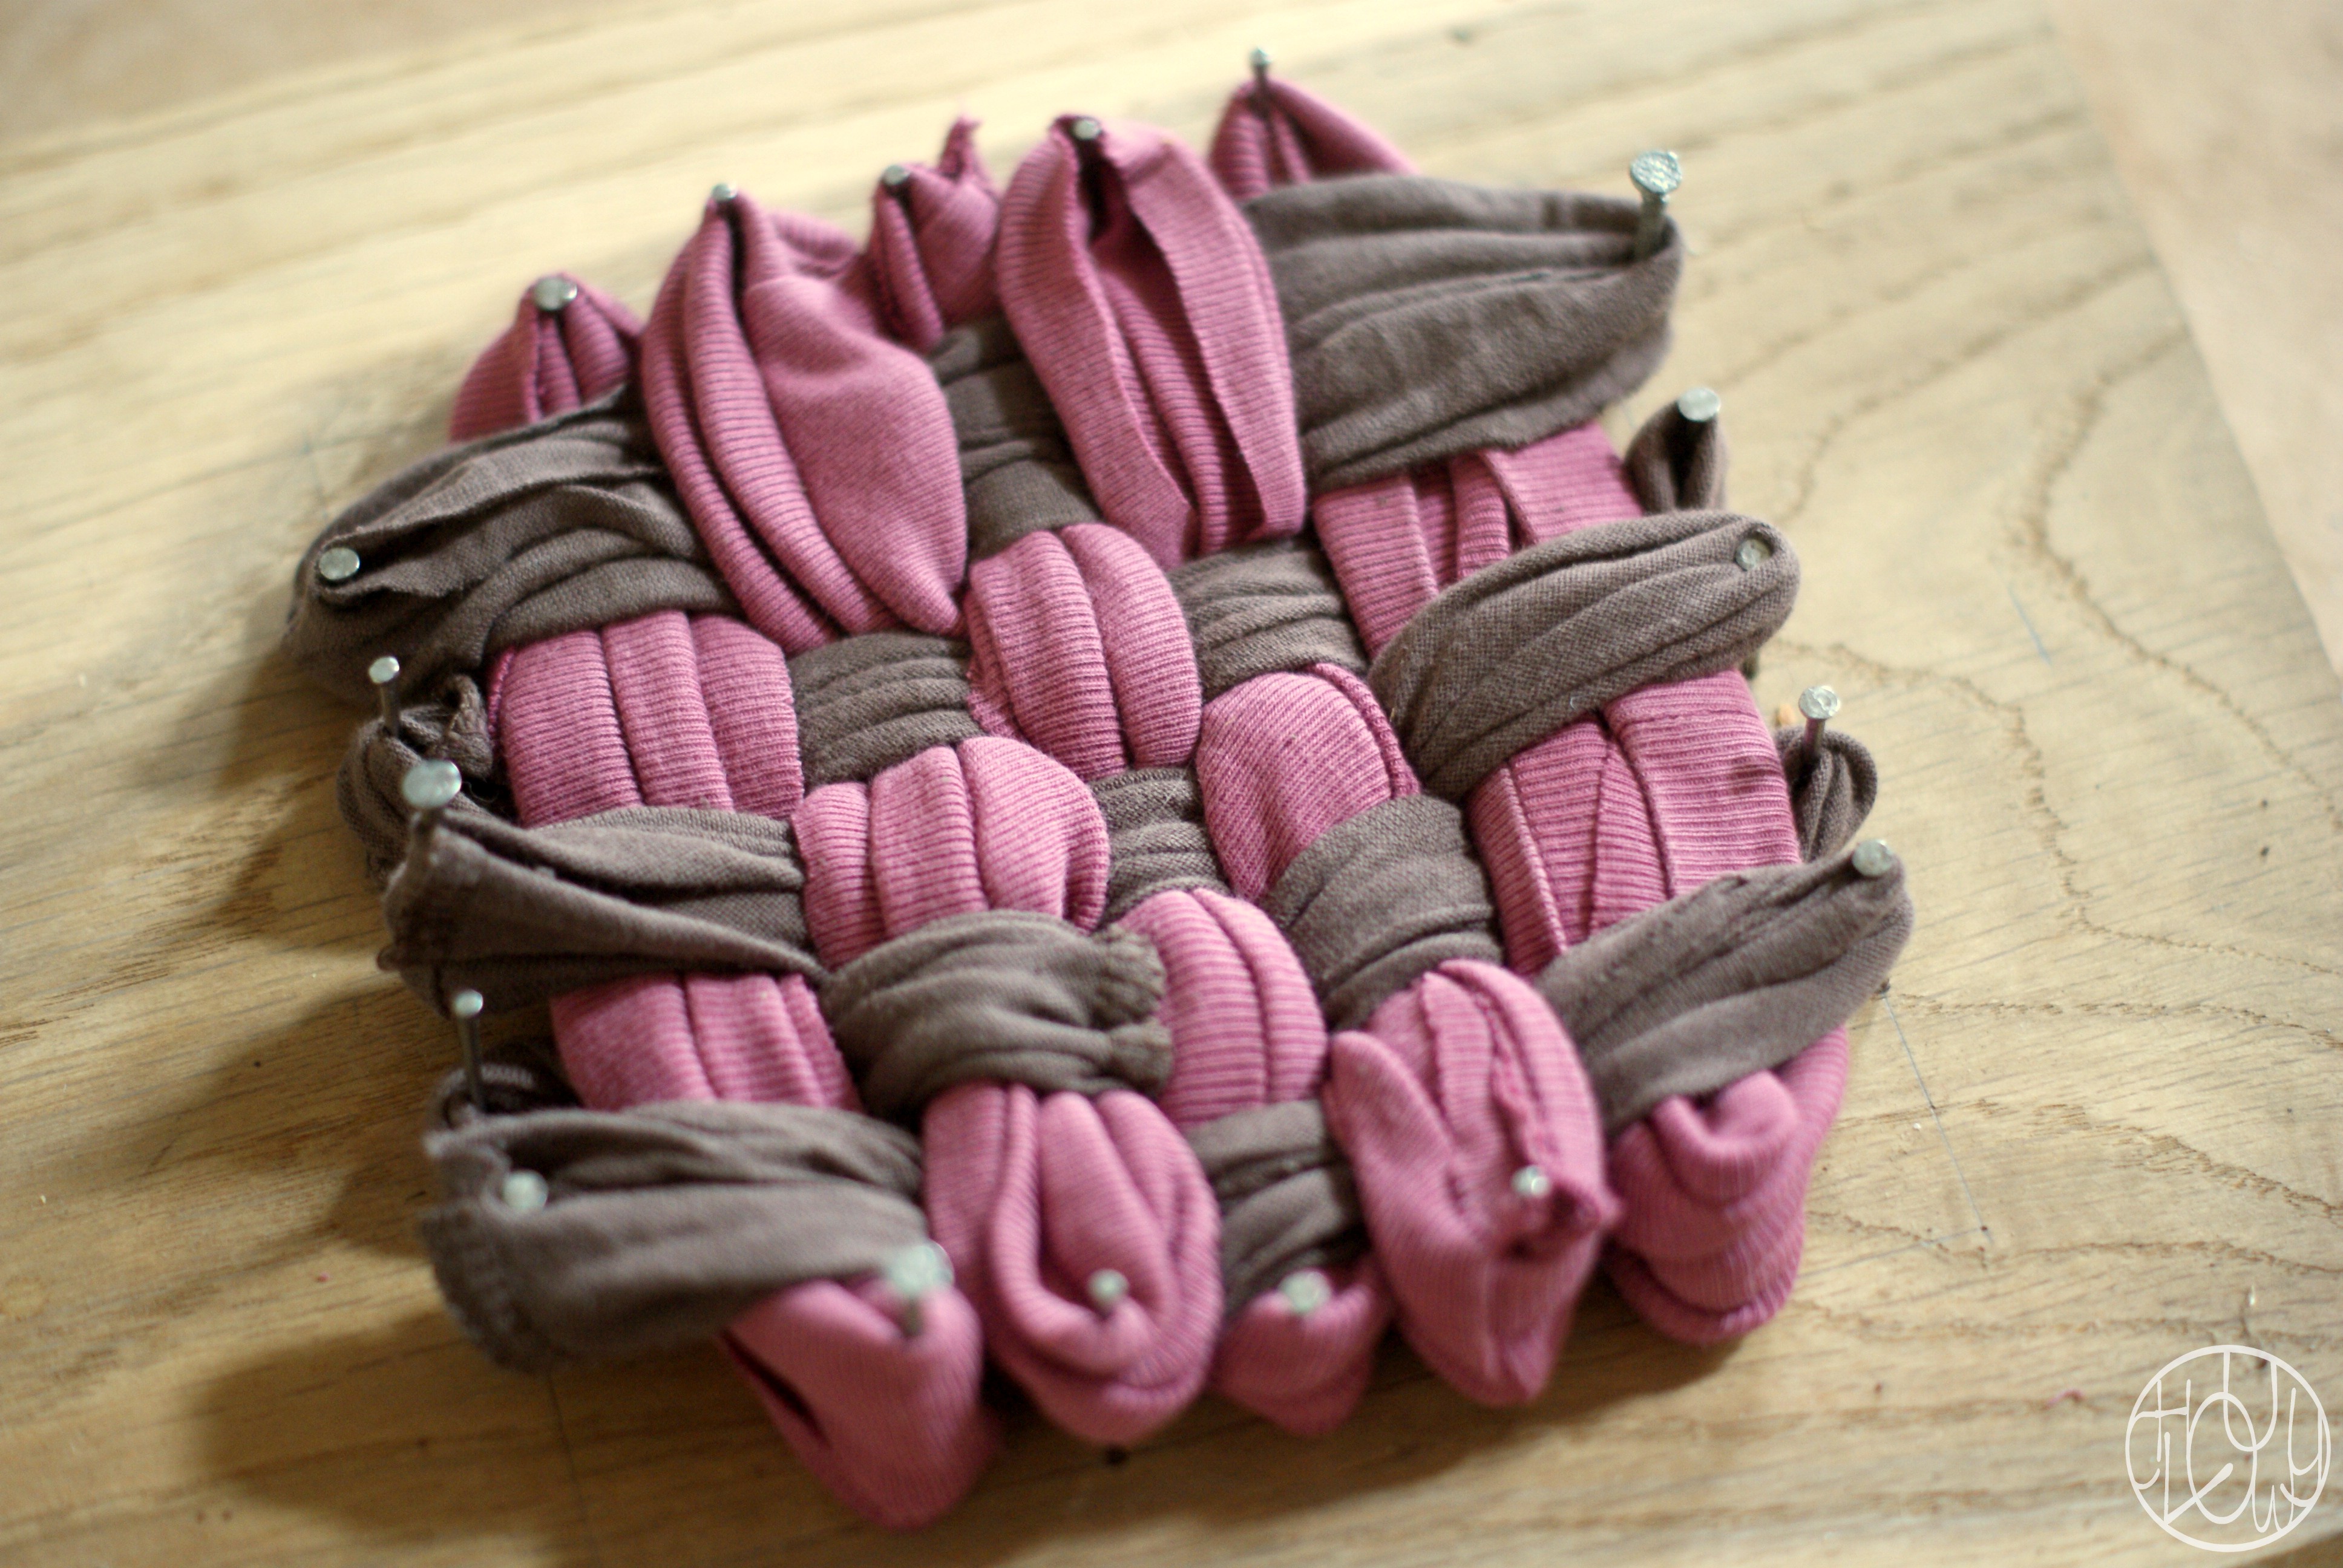
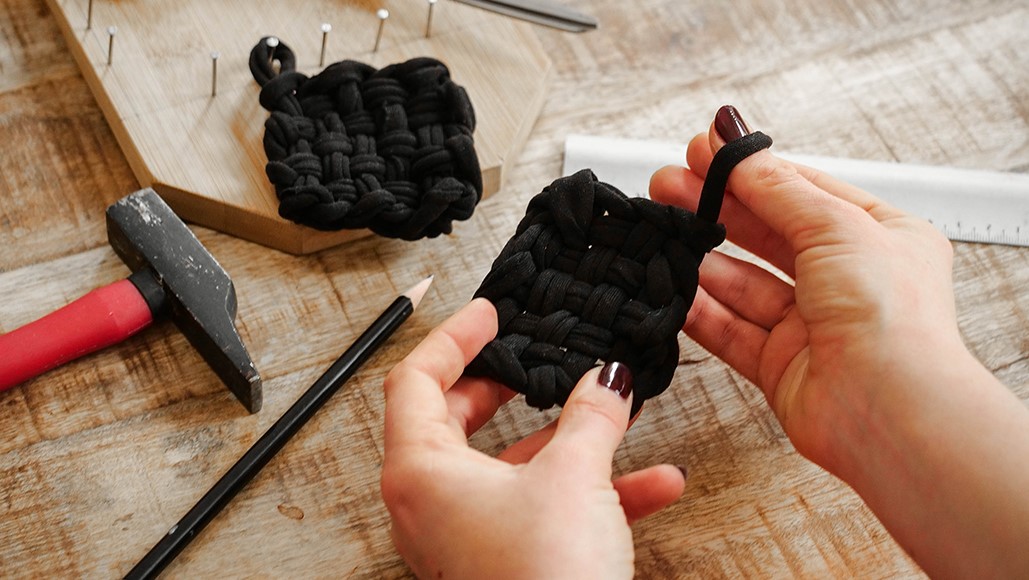
The Advanced Method: Looping Lunacy
This method involves more steps, but the result is a denser, more textured tawashi. It might seem complicated at first, but once you get the hang of it, it's surprisingly easy.

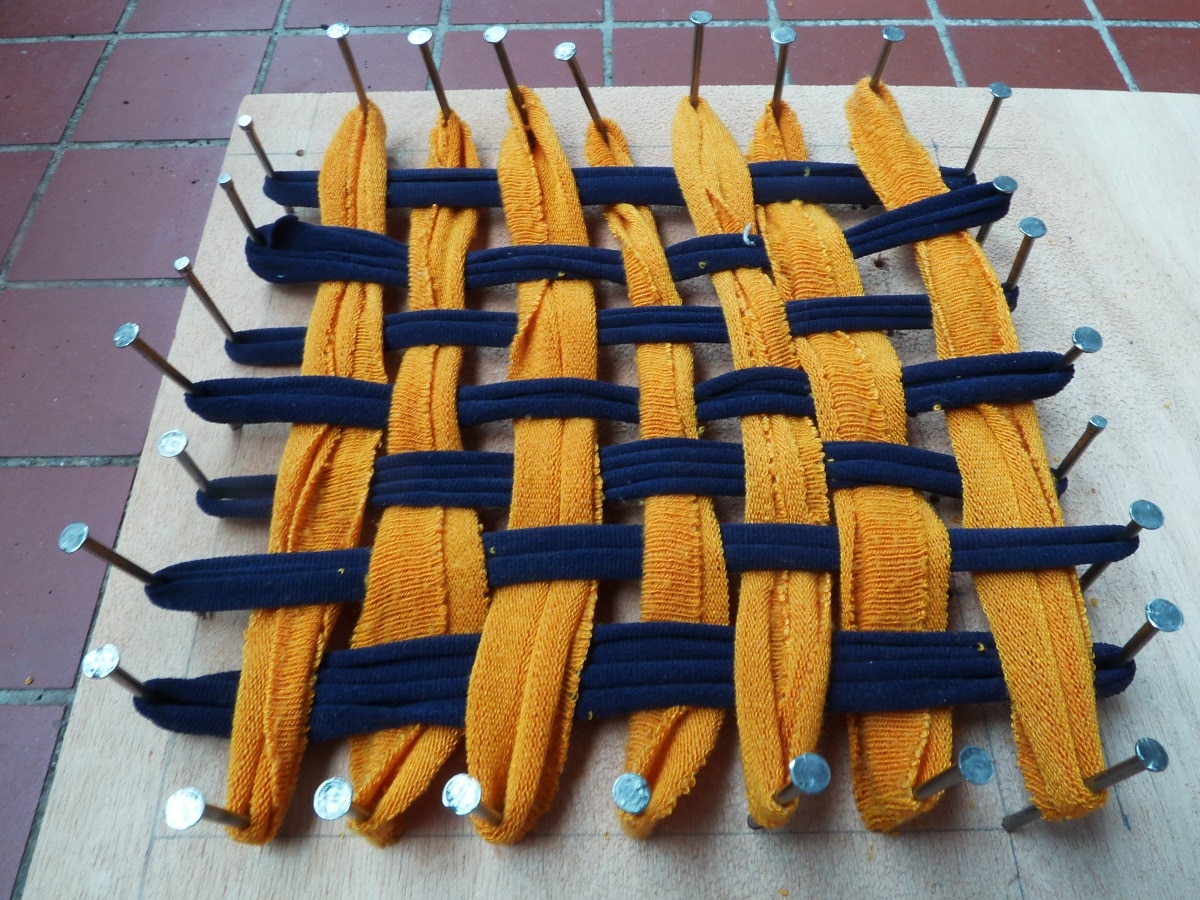
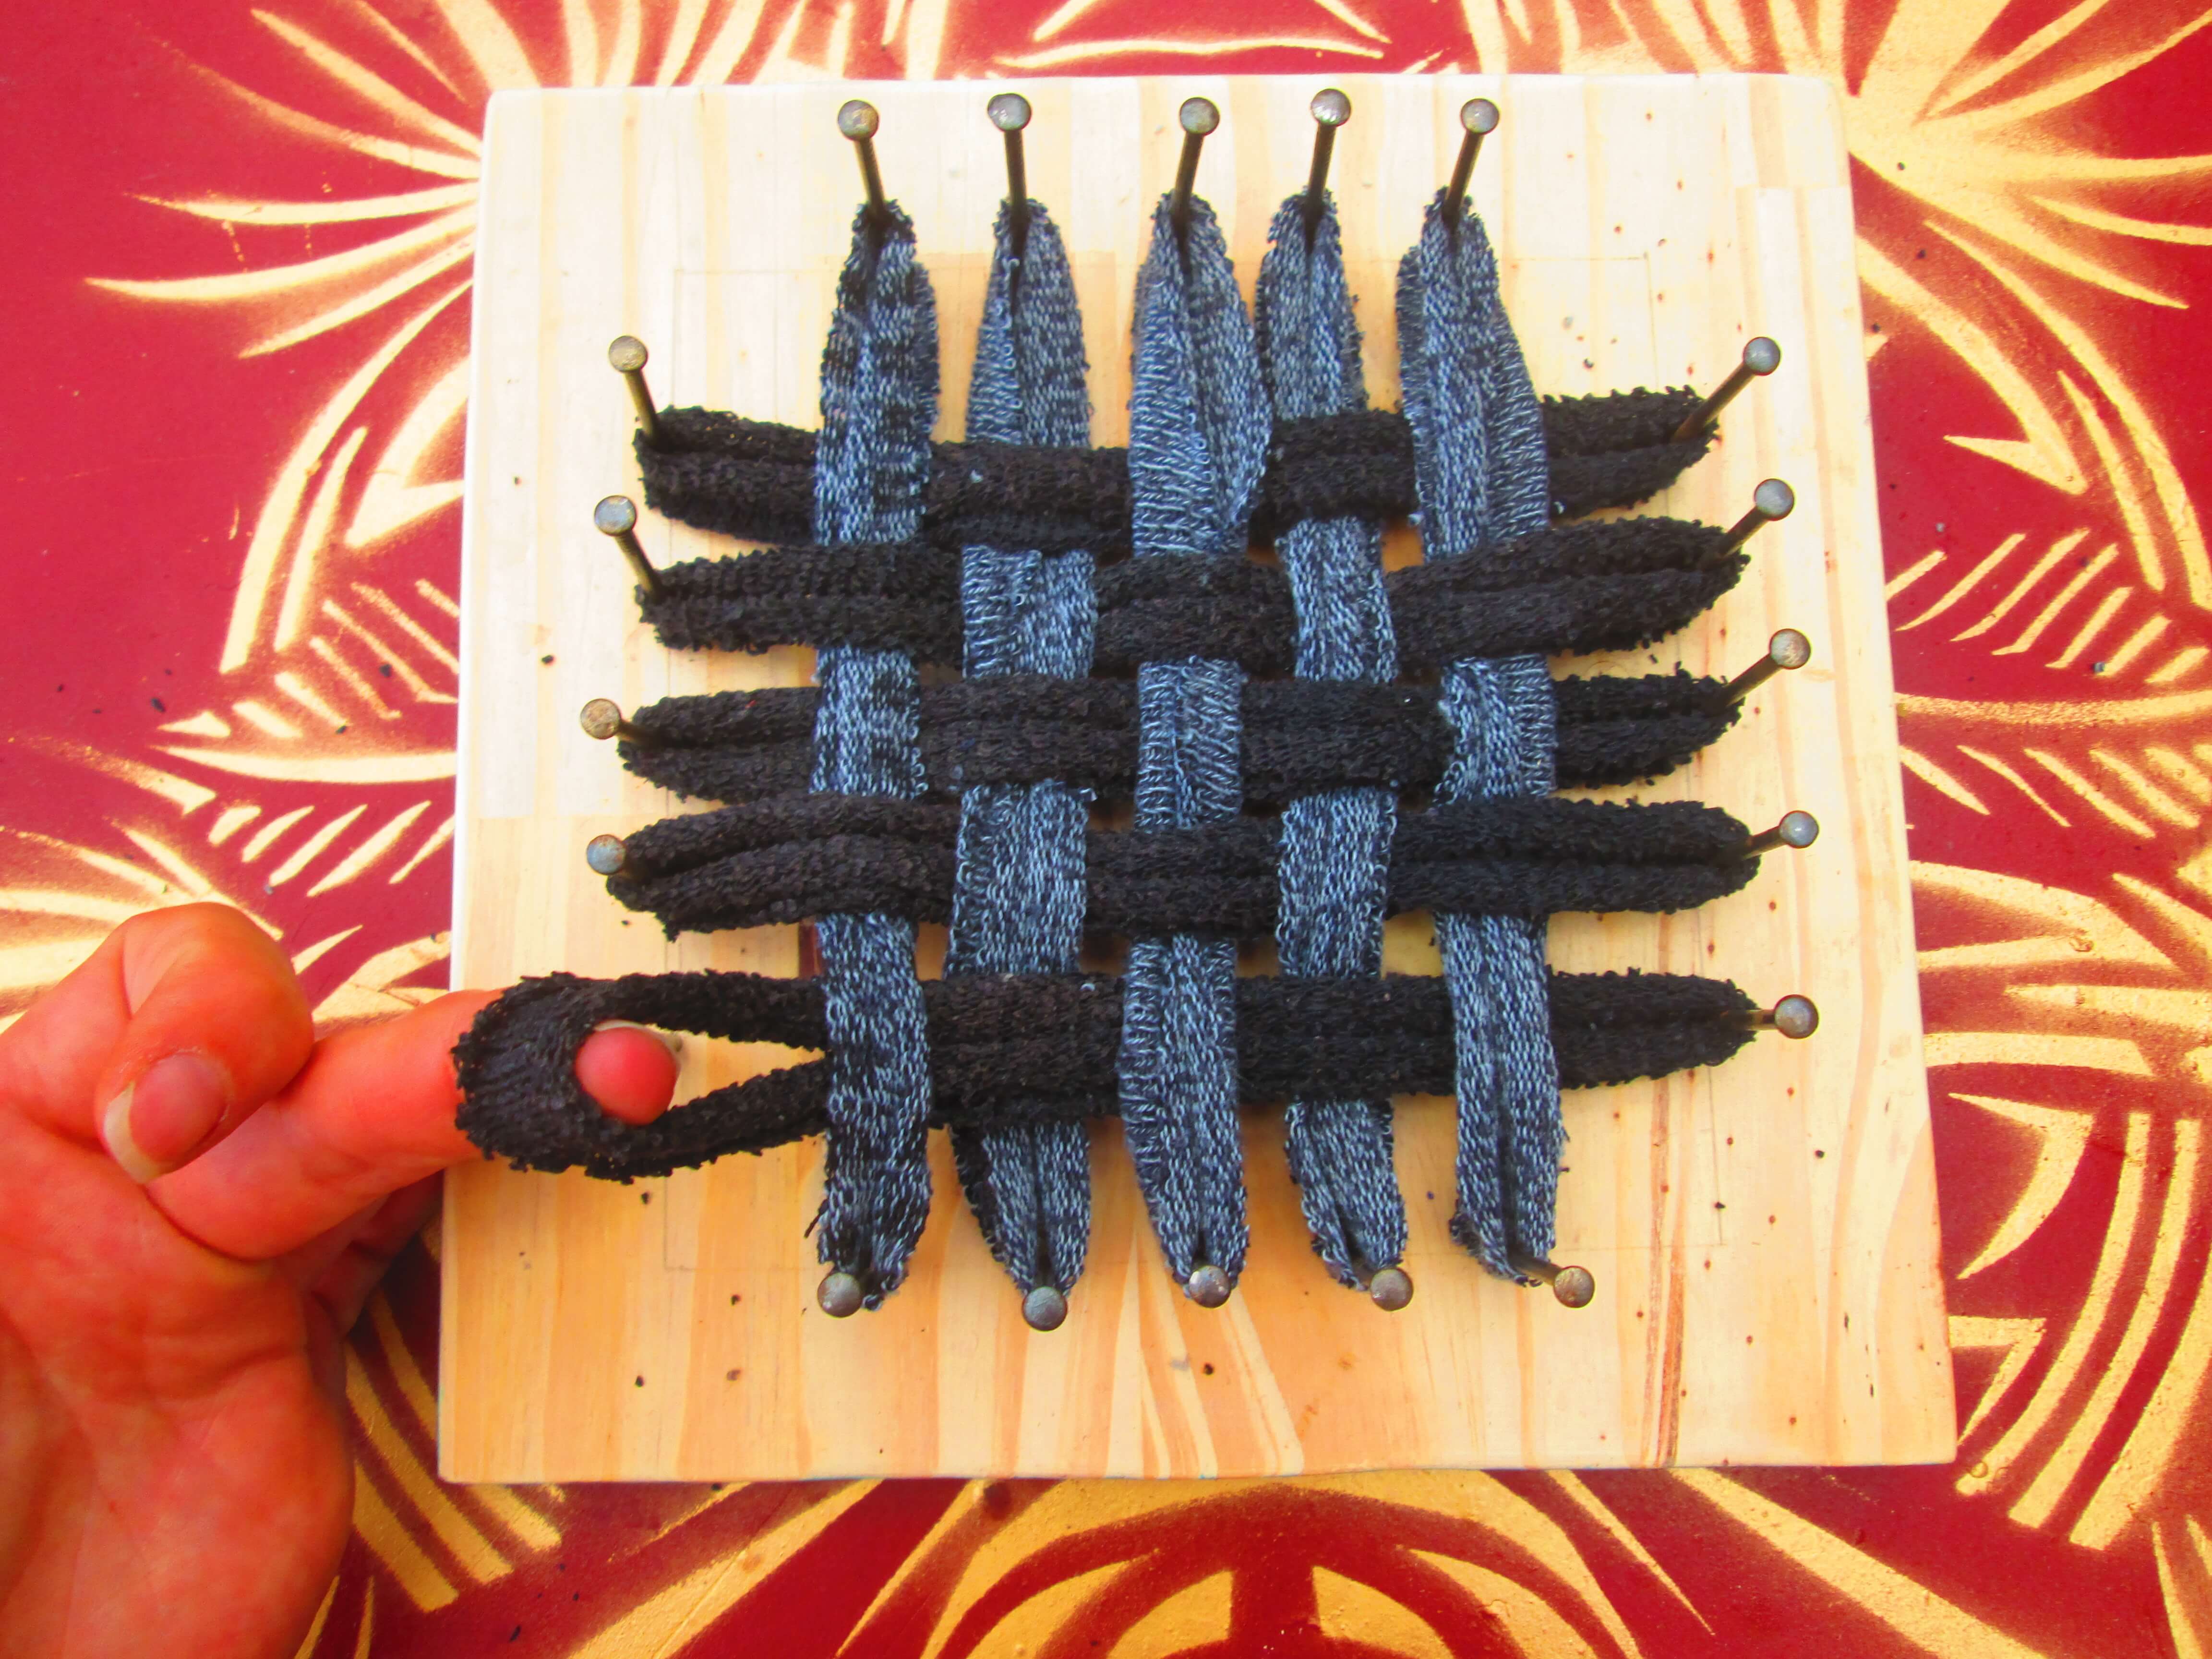
- Prepare the Strips: Cut your tights into strips, as described above.
- Create the Loop Foundation: Lay down the strips of the tights side by side on the table. Start tying them together with other strips of tights.
- Start Looping: This is where the magic happens. Grab one strip and start looping it around one of the rows of strip that are on the table. Do this all the way through the end of the rows.
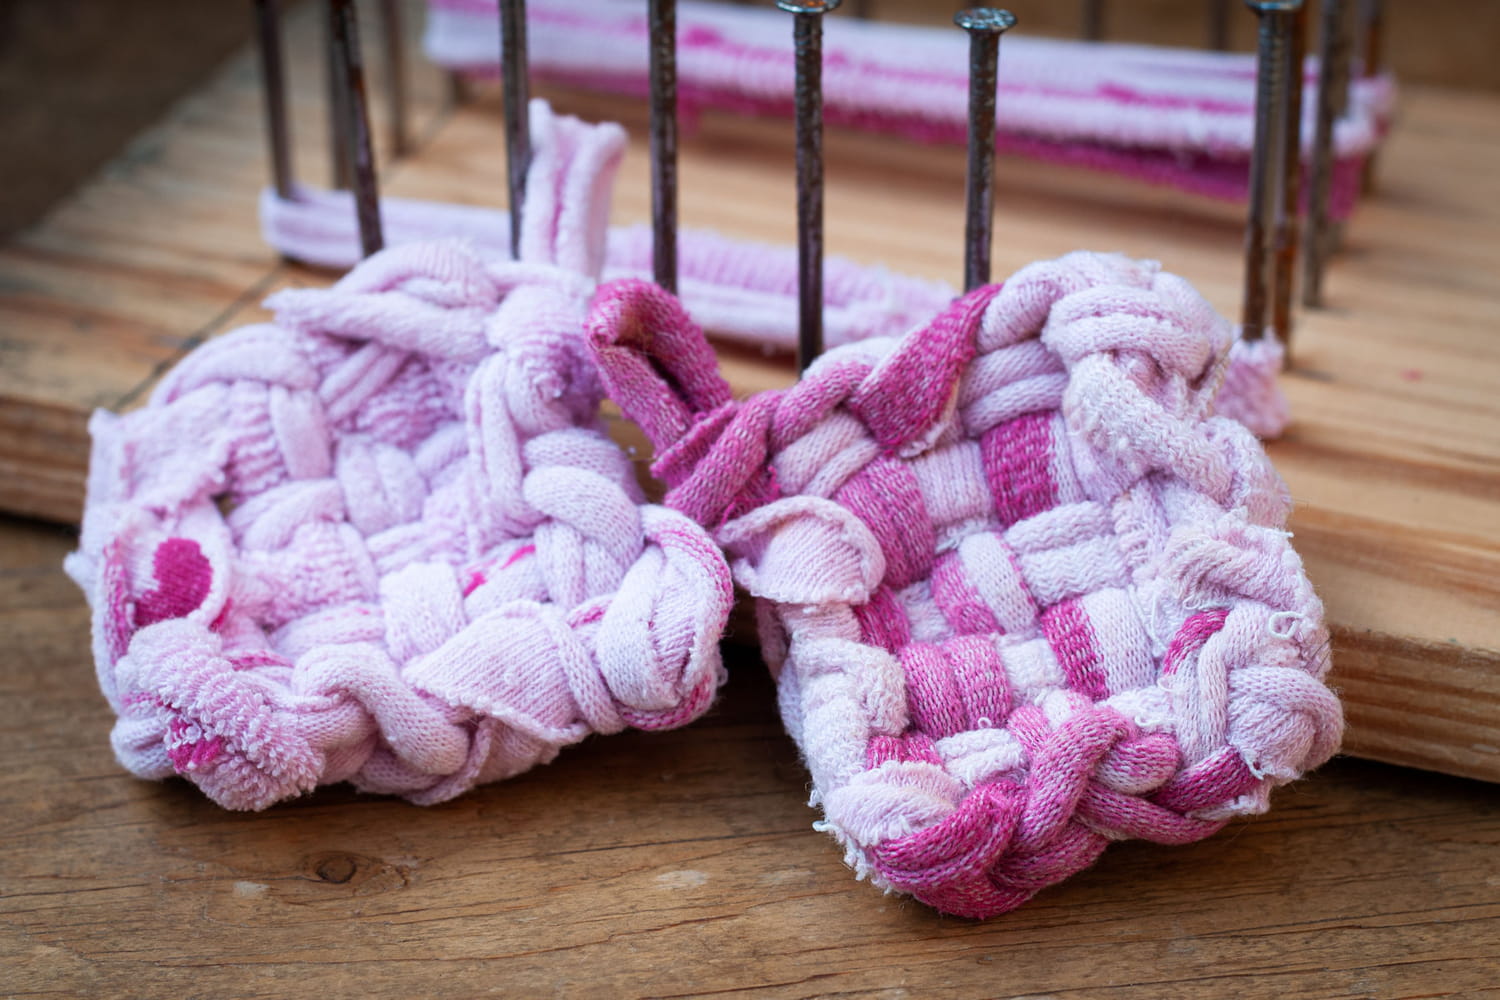
- Form the Tawashi: Once you have created the looped square, put the edges of the square into the middle.
- Secure the Center: Use yarn or string to tie off the center of the tawashi, creating a secure bundle.
Pro Tip: Don't be afraid to get creative! Mix and match different colors and textures of tights for a unique look. You can also add embellishments like buttons or beads.
Troubleshooting Tips (Because Things Rarely Go Exactly as Planned)
- Tights Slipping?: Wet your fingers slightly to get a better grip on the tights.
- Tawashi Too Loose?: Use more strips of tights, or tighten your loops.
- Tawashi Too Small?: Cut longer strips of tights.
- Feeling Overwhelmed?: Take a break! Rome wasn't built in a day, and neither is a perfect tawashi.
Side Note: You might find that the nylon material of the tights makes the tawashi a little slippery at first. This is normal. Just give it a good rinse with water before using it.

Beyond the Basics: Tawashi Inspiration
Once you've mastered the basic techniques, the possibilities are endless! Here are a few ideas to get your creative juices flowing:
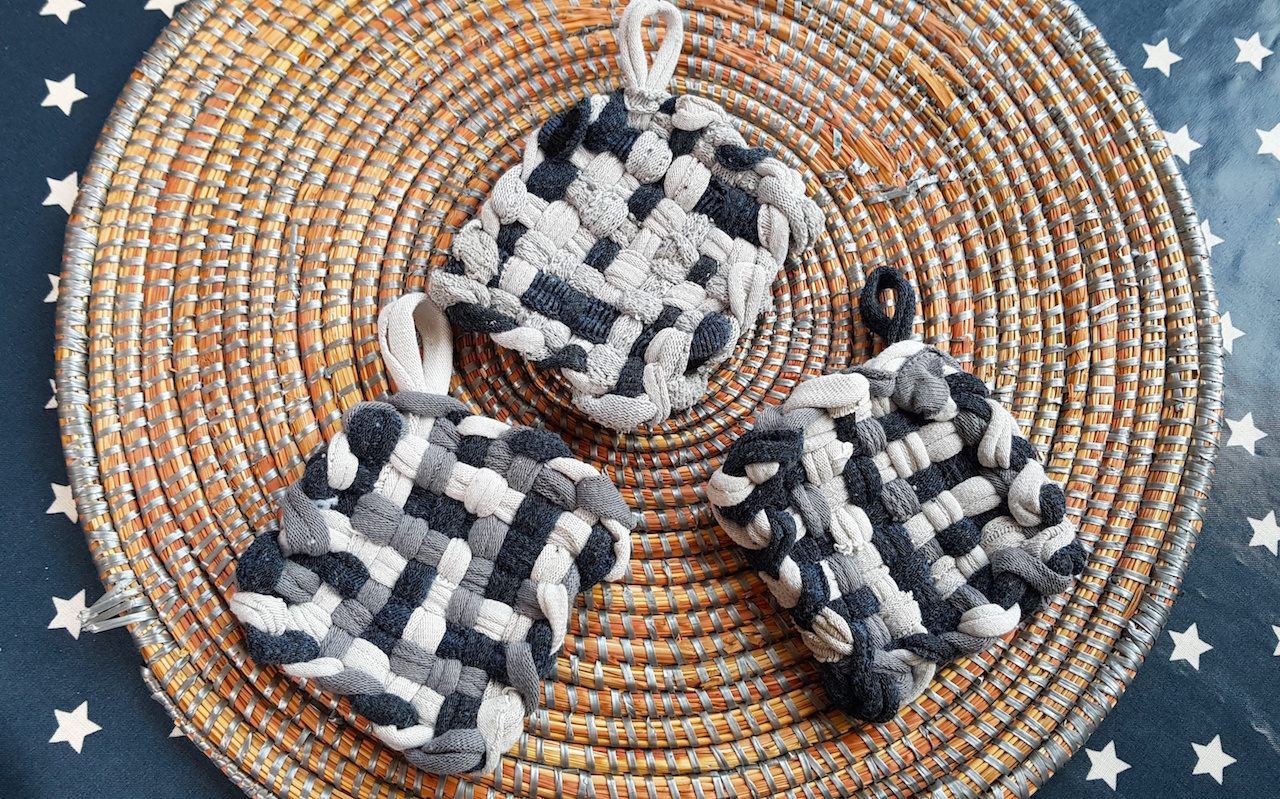
- The Rainbow Tawashi: Use tights in a variety of colors to create a vibrant and cheerful scrubbing brush.
- The Striped Tawashi: Alternate different patterns of tights to create a visually interesting design.
- The Textured Tawashi: Combine different types of fabrics (e.g., tights and socks) for a unique tactile experience.
- The Animal Tawashi: Shape your tawashi into an animal, like a cat or a bear. (Okay, this might be a bit ambitious for beginners, but hey, dream big!).
Remember: There are no rules! The best tawashi are those that reflect your own personal style and creativity.
Final Thoughts: Embrace the Imperfection
So there you have it – a complete guide to making tawashi with old tights! It's a fun, eco-friendly, and surprisingly addictive craft project. Don't worry if your first tawashi isn't perfect. The beauty of handmade items is that they're all unique and imperfect. Embrace the wonkiness, and enjoy the satisfaction of knowing that you've given a new life to something that would have otherwise ended up in the landfill.
Now, go forth and create! And don't forget to share your tawashi creations with me. I'd love to see what you come up with!
Happy tawashi-ing!
![Comment fabriquer une éponge tawashi ? [DIY] - YouTube](https://i.ytimg.com/vi/JkhjI7srH_8/maxresdefault.jpg)


![FABRIQUER UNE EPONGE TAWASHI [TUTO ZERO DECHET] - YouTube](https://i.ytimg.com/vi/HkmSeXUtdm8/maxresdefault.jpg)