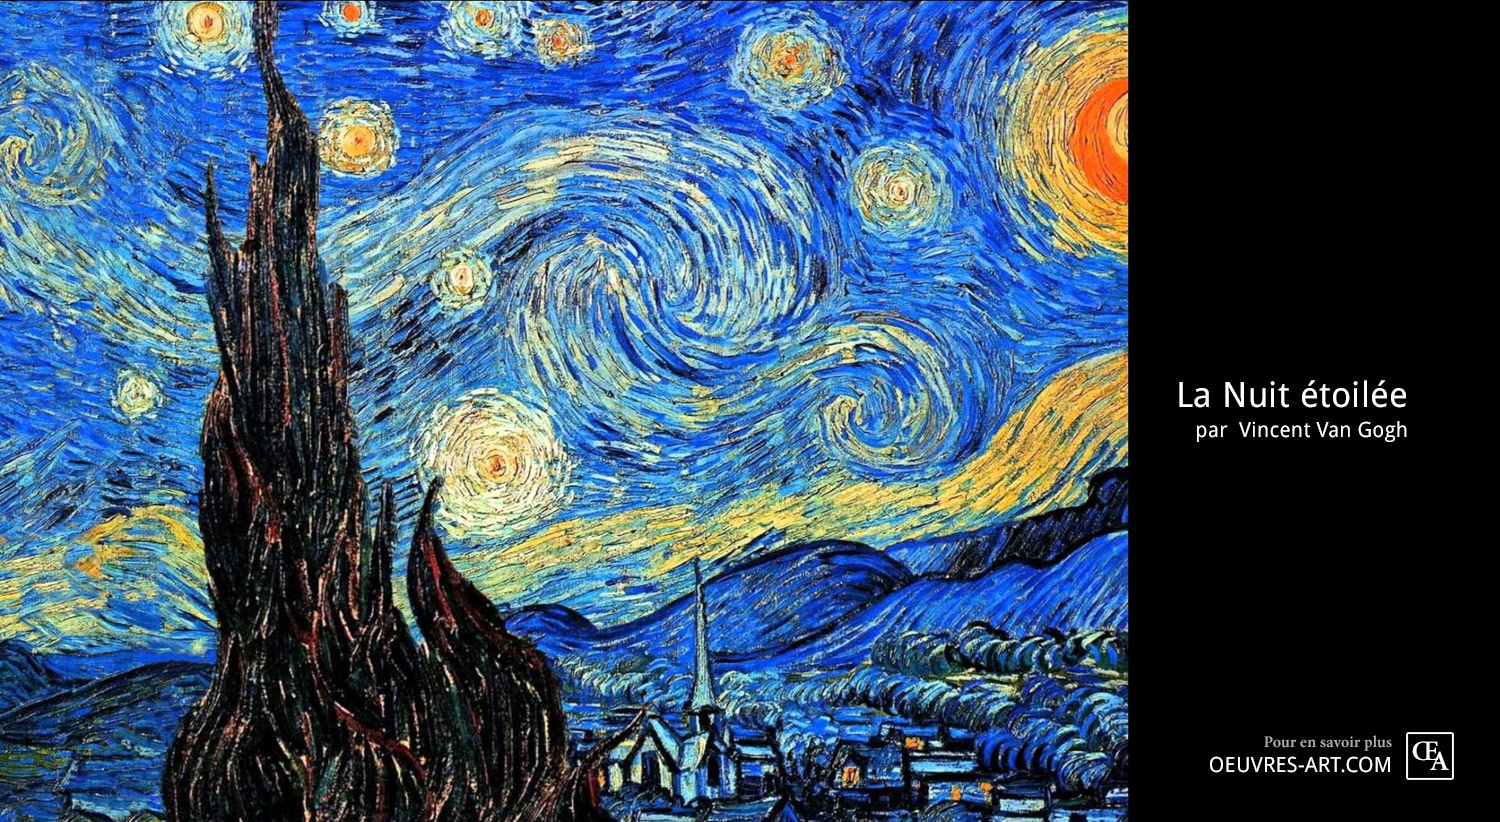
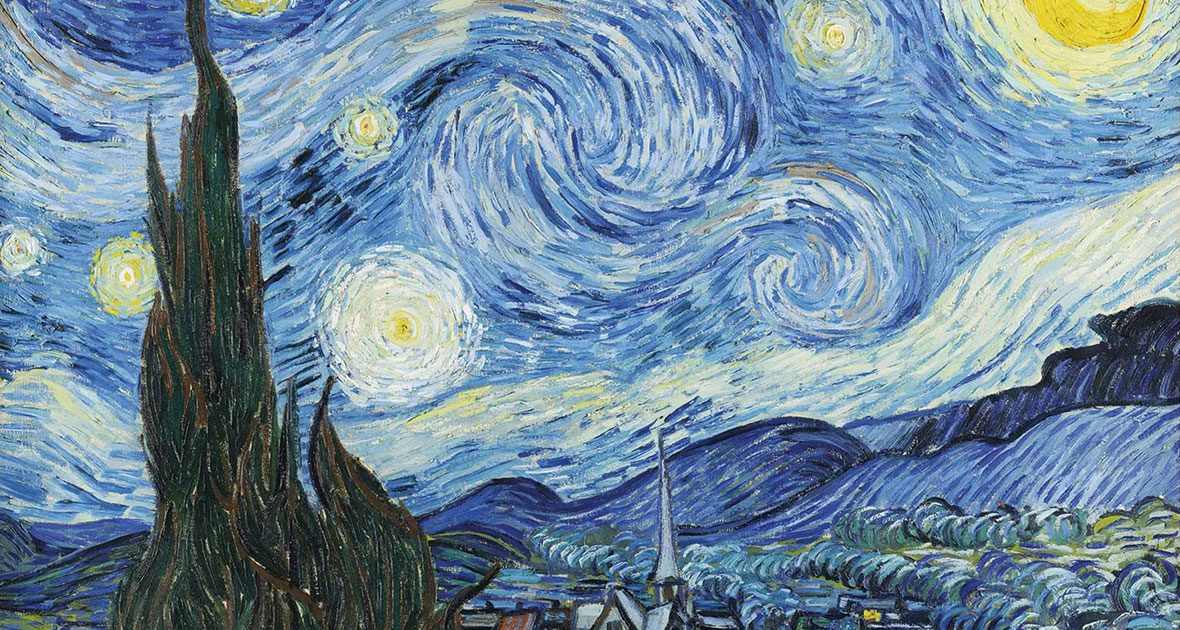
Okay, imagine this: I'm at a party, attempting to explain art to someone who thinks Pollock is just a happy accident with spilled paint. They look at me, completely blank, and I panic. "Think Starry Night!" I blurt out. "Everyone understands Starry Night!" And then I thought, "Wait, can everyone really draw it?" That's what sparked this whole thing. Let's face it, Van Gogh's masterpiece is iconic, but actually putting pencil to paper? That's another story. So, grab your art supplies, because we're diving in!
Breaking Down the Beast: Simplification is Key
First things first: Don't be intimidated! Starry Night looks complex, but it's all about breaking it down into manageable shapes. Think of it like learning a new language – you start with the alphabet, not War and Peace. (Trust me, that's advice I wish I'd followed when trying to learn Italian.)
- The Cypress Tree: This pointy boi on the left? It's essentially a flame shape, elongated and textured. Don't worry about perfection; its wildness is part of its charm.
- The Village: Tiny houses huddled together at the bottom. Rectangles and triangles, my friends! Think simple, blocky shapes.
- The Hills: Rolling curves. Pretend you're drawing a cartoon landscape. Easier than doing your taxes, right? (Almost.)
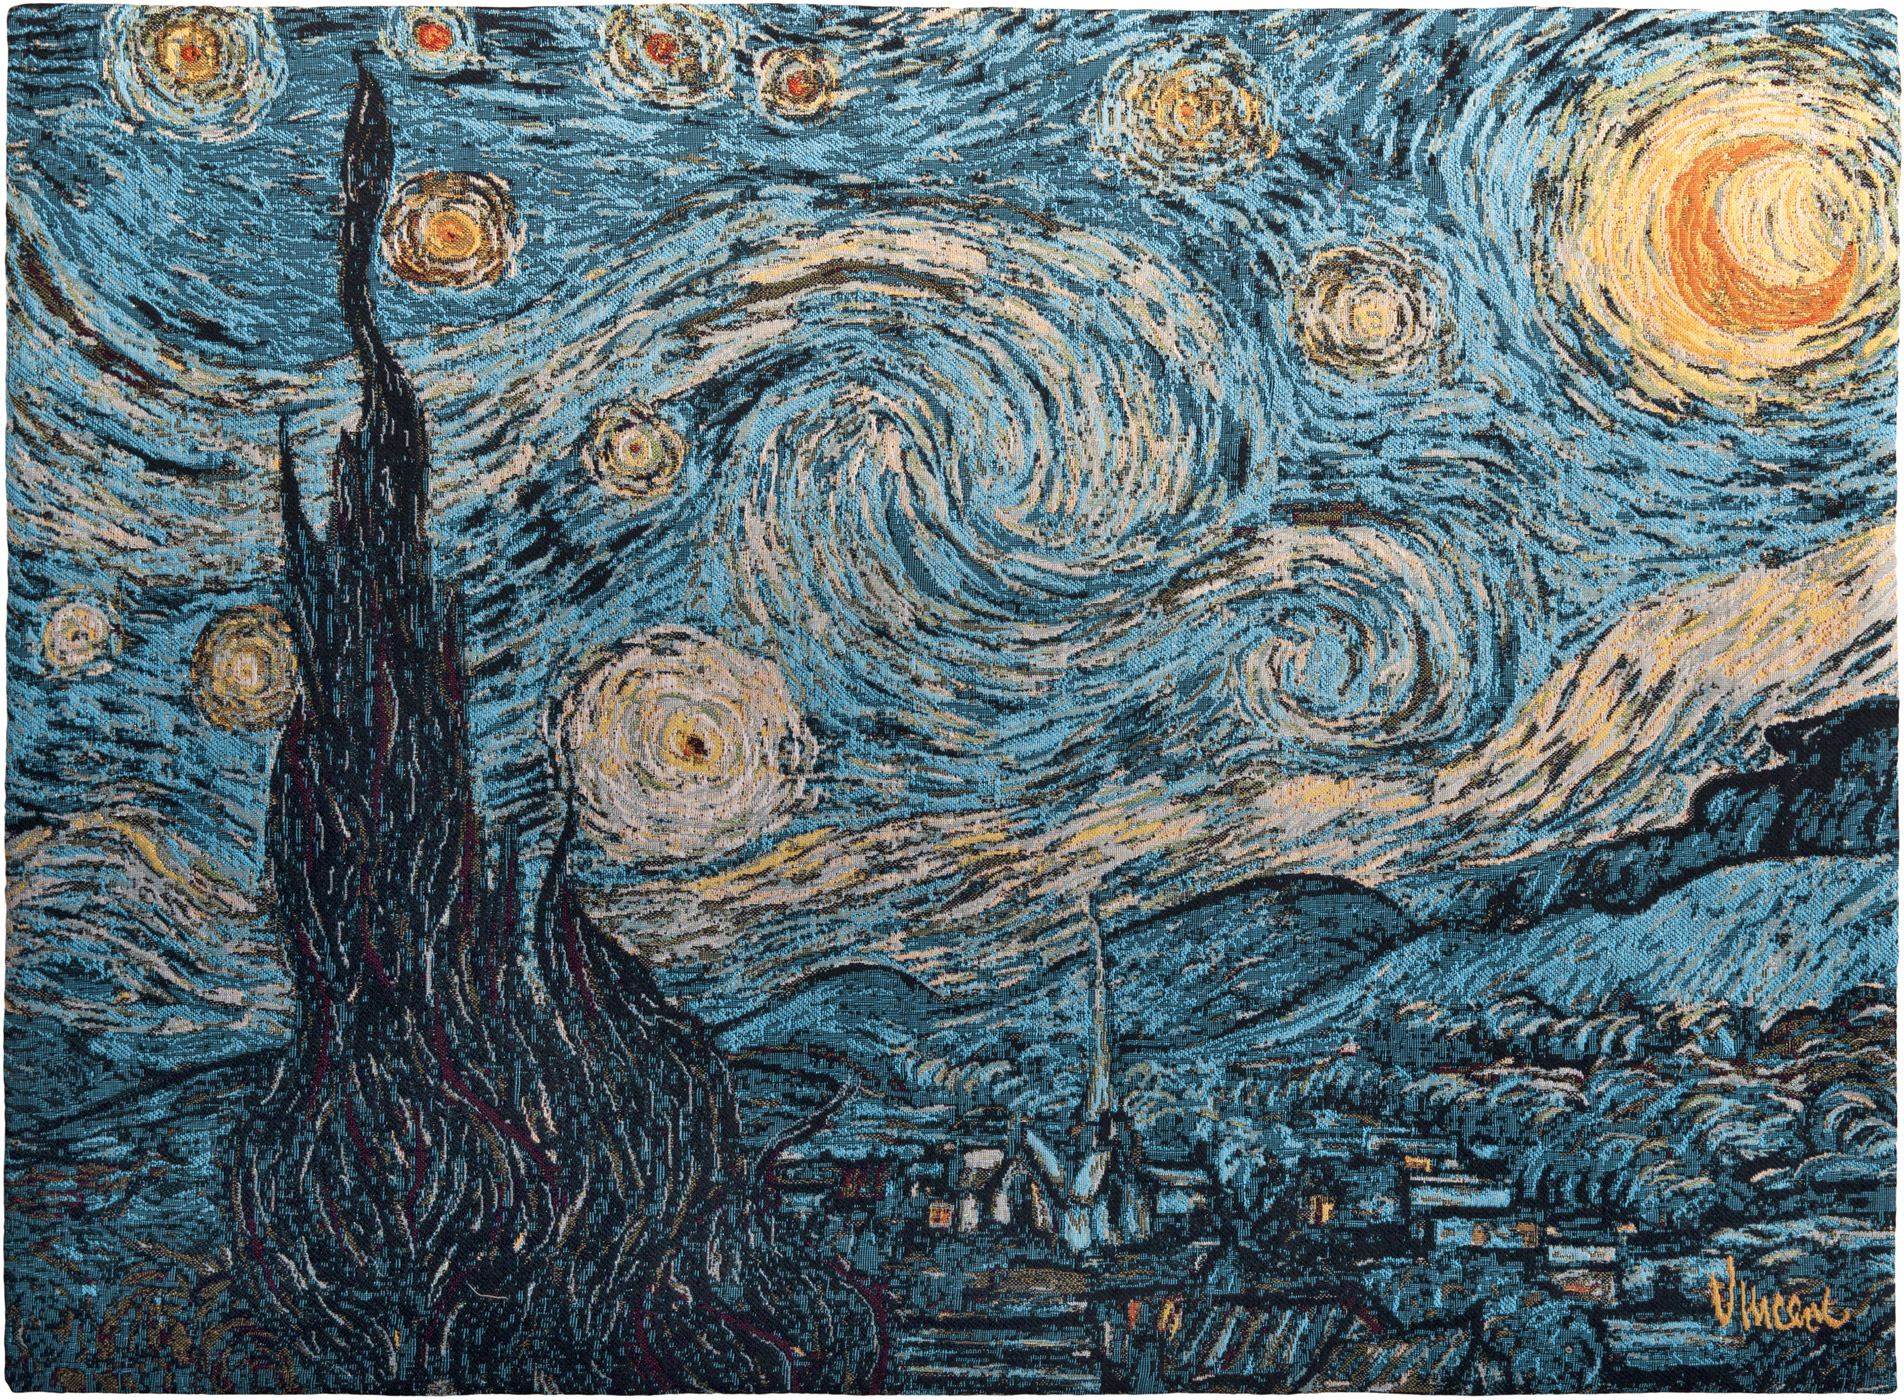
- The Sky (the real MVP): This is where the magic happens. Swirling brushstrokes of blues, yellows, and whites. Think of it as controlled chaos.
See? Not so scary after all! You've already conquered the shapes; now let's add some Van Gogh flair.
Swirls and Dabs: Emulating Van Gogh's Style
Van Gogh's brushstrokes are what make Starry Night so distinctive. He wasn't about smooth blending; he was all about visible, textured marks. This is where you get to let loose and channel your inner tortured artist! (But hopefully without the actual torture part.)
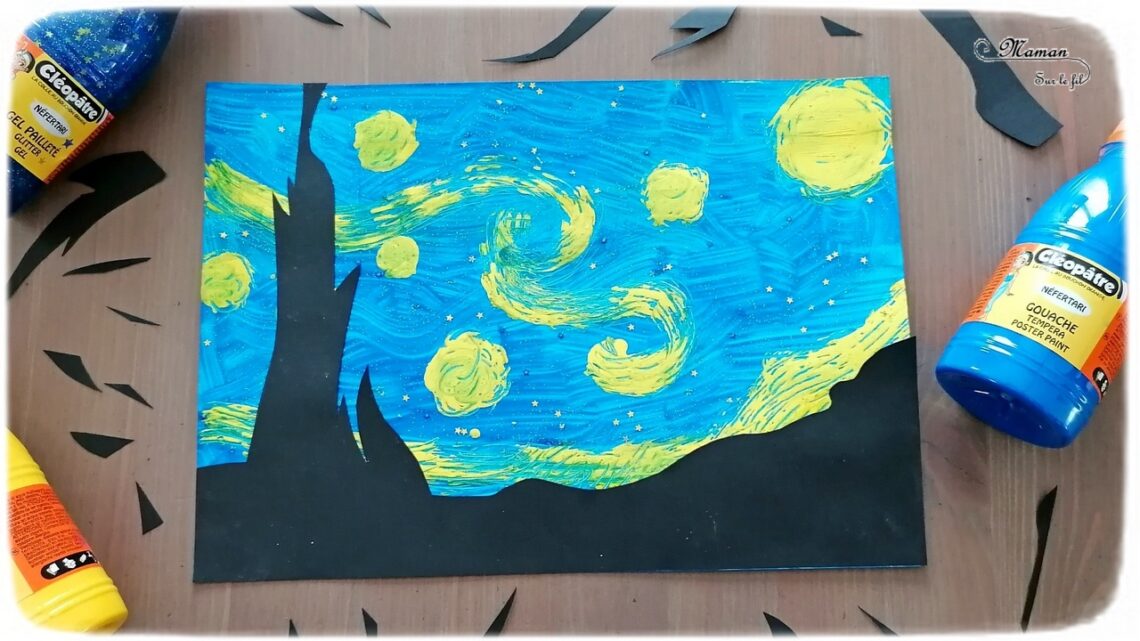
- Short, Thick Strokes: Imagine you're tapping the paper with your pencil or brush. That's the kind of effect we're going for.
- Swirling Motions: Use a circular motion to create the iconic swirls in the sky. Don't be afraid to overlap colors and create a sense of movement. Think of it as a cosmic dance.
- Varying Pressure: Apply different amounts of pressure to create depth and texture. Lighter pressure for the background, heavier pressure for the foreground. (This is like the 'secret sauce' of shading!)
Adding the Glow: Light and Color
The light in Starry Night is intense and almost otherworldly. This comes from Van Gogh's use of contrasting colors and strong highlights. How can we achieve that in our drawings? Good question!
- Yellows and Whites: Use these to highlight the stars, the moon, and the edges of the swirling clouds. Think of them as spotlights shining through the darkness.
- Blues and Purples: These create the base for the night sky and add depth to the shadows. Don't be afraid to mix and match to create a rich, layered effect. (Experimentation is key!)
- Contrast: This is where the magic happens. The contrast between the bright yellows and whites and the dark blues and purples is what makes the painting so visually striking. Don't be shy about pushing the darkness!
Remember: This isn't about creating a perfect replica. It's about capturing the essence of Starry Night and having fun in the process. So, grab your materials, put on some inspiring music (maybe some Debussy?), and let your creativity flow! You might surprise yourself with what you create.
And if all else fails, you can always blame it on the post-impressionism. 😉